Author:
Frank Hunt
Date Of Creation:
16 March 2021
Update Date:
1 July 2024
Content
- To step
- Method 1 of 3: Get started
- Method 2 of 3: Setting up Mail
- Method 3 of 3: Installing new apps
So you've gotten your hands on a brand new iPad, and now you want to make sure you're getting the most out of it? This guide will get you started and download apps in no time!
To step
Method 1 of 3: Get started
 Make sure your iPad is fully charged. To get the most out of your battery, it is good to fully charge it before charging the iPad for the first time. Usually the battery will be about 40% charged when it comes out of the factory.
 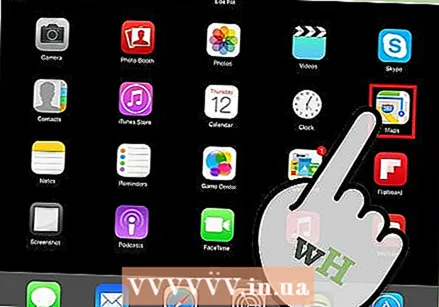 Run the initial setup. If this is your first time using the iPad, you will need to configure a number of settings before you can start. When you turn on the iPad, the Setup Assistant will start automatically.
 - Configure your Location Services. This service will keep track of where your iPad is and provide apps that request it with the necessary data. This can be useful for map apps and social media apps. Turn this off if you want.
- Use the Setup Assistant to set up your wireless network. The iPad will scan for wireless networks within its signal range. Select the network you want to connect to and enter the access codes that you may need for the connection.
- Once you have successfully established the connection, the connection strength indicator will appear in the status bar.
- Enter or create your Apple ID. You will need this to access your files in iCloud, as well as make purchases through iTunes. Creating an account is free.
- Set up iCloud. This service makes backups of all your images, contacts, apps, documents, etc., on a remote server. This means that you can access files from any computer and back up your iPad without having to connect the device to a computer.
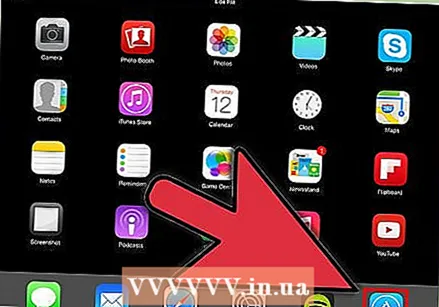
 Familiarize yourself with the user interface. You can move icons by tapping and holding the icon. The icons will vibrate and you can then drag them around the screen to arrange them as you wish.
 - The bottom half of the screen contains the apps Apple thinks the average user will open most often. These will be displayed regardless of which home screen you are in. You can change them by moving the icons.
Method 2 of 3: Setting up Mail
 Tap the Mail icons in the bottom bar of your home screen. This will open the welcome screen of your mail app and allow you to configure the settings.
 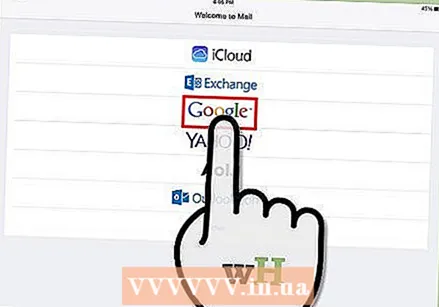 Select your email service. If you are using one of the services from the list, tap it and enter the required information. Usually you will need an email address and a password for the service you have selected.
 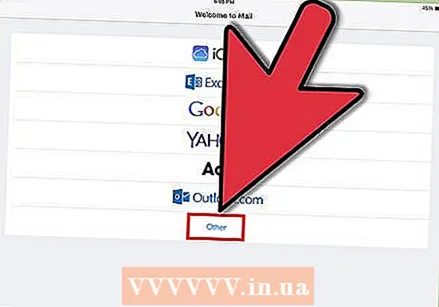 Set an unrecognized email address. If your email is not in the list, you will have to enter that information manually. Select Other then Add Account from the Mail Welcome screen.
 - Enter your name, email address and password for your email account, and a description (Work, Home, etc.). Tap on Save.
- You need the host name of your email provider. You should be able to find it on your email provider's help page.
Method 3 of 3: Installing new apps
 Open the App Store. There are many free and commercial apps available. You can search by category, popularity, or search for a specific app. Paid apps require an iTunes card that you can buy from the store or your bank account information.
 - To enter your credit card information, go to the Home screen and tap Settings. Select iTunes & App Stores. Select your Apple ID and enter your password. In the Edit section, select Payment Information. Enter your credit or debit card information and tap Done.
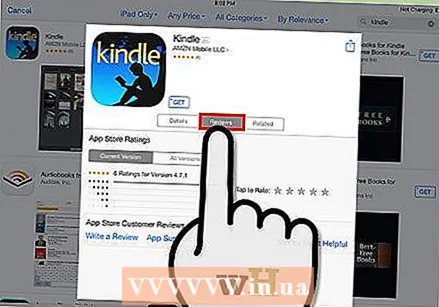 View ratings and requirements. Before you buy an app, it is wise to read a number of user reviews and find out what they thought of it. Also check the system requirements. Some of the older apps are not optimized for the newer iPads, and may not function properly if they work at all.
 - An overview of the devices the app is compatible with will appear in the System Requirements section. Make sure you don't accidentally buy an app for the iPhone that is not compatible with the iPad.
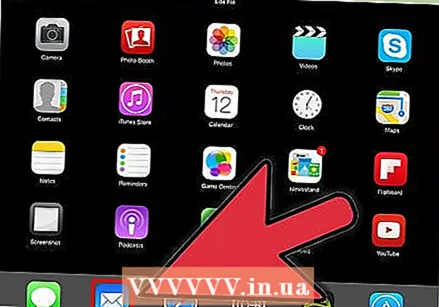
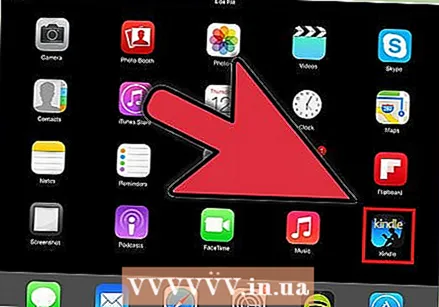 Once you have selected an app to download, an icon will appear on your home screen, along with a download bar. This bar shows how long it will take for the download and installation to complete.
 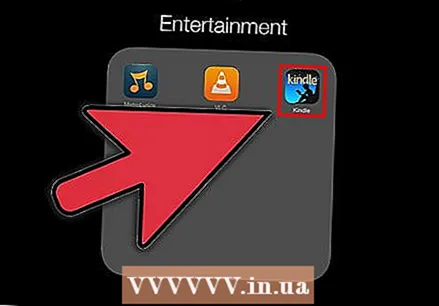 You can categorize apps by dragging them on top of each other. This will create folders you can use to keep your home screen from getting cluttered.


