Author:
Charles Brown
Date Of Creation:
4 February 2021
Update Date:
3 July 2024

Content
- To step
- Part 1 of 4: Playing a CD in Windows
- Part 2 of 4: Adjust the autoplay settings in Windows
- Part 3 of 4: Playing a CD on a Mac
- Part 4 of 4: Adjust your Mac's default CD settings
- Tips
This wikiHow teaches you how to run audio CDs on Windows and Mac computers.
To step
Part 1 of 4: Playing a CD in Windows
 Press the Eject button on your CD-ROM drive. You will usually find these on the front of the disk drive, on the right side.
  Place the disc in the tray with the label side up.
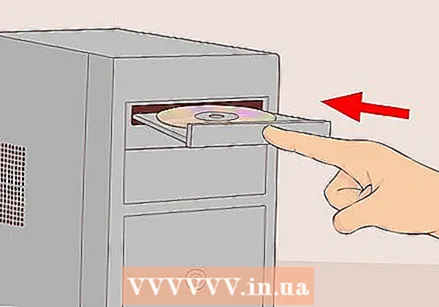 Close the tray by pushing it or pressing Eject again. The drawer motor will usually control the closing, except if it is a notebook station, which is powered by a spring.
 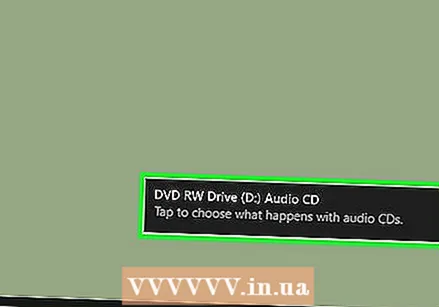 Indicate what should be done with audio CDs. If you do not see a message about this on your screen, then you have already designated an action that must be carried out when an audio CD is inserted.
 - If you want to change the setting for automatically opening a program when a CD is inserted, you can do this via the Control Panel.
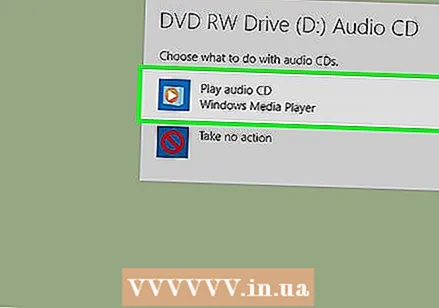 Click Play Audio CD. You will see the program for playing the CD below. If you have installed several programs for playing audio CDs, they are listed below each other. Windows Media Player is the default program for all versions of Windows.
 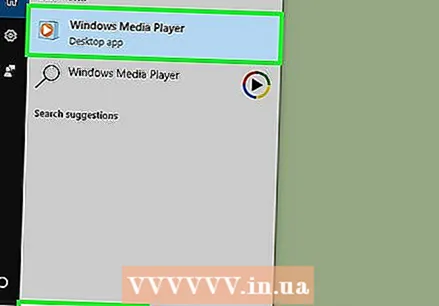 Start Windows Media Player AutoPlay does not appear. If nothing happens when you insert the disc, you can start Windows Media Player yourself.
 - Press ⊞ Win and type "windows media player".
- Click Windows Media Player in the list.
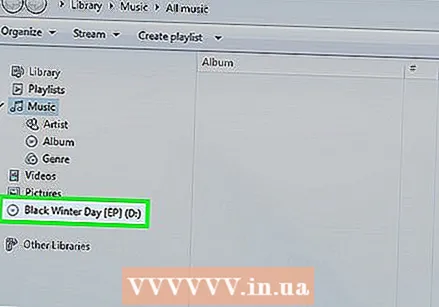 Double click on your audio CD in the left menu. The CD will start playing and you will see all tracks appear in the center of the window.
  Click the volume button in Windows Media Player. This allows you to adjust the volume of the CD while it is playing. This volume slider is separate from the system volume. Make sure your system volume is high enough so that adjusting the volume in Windows Media Player has some effect.
Part 2 of 4: Adjust the autoplay settings in Windows
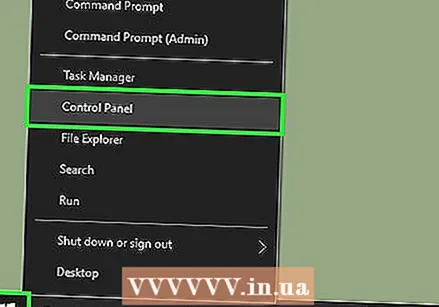 Open the Control Panel. This process is slightly different on Windows 10 and 8 versus Windows 7 and earlier versions:
 - Windows 10 and 8 - Right-click the Start button and select "Control Panel".
- Windows 7 and earlier - Click the Start button and select "Control Panel" from the Start menu.
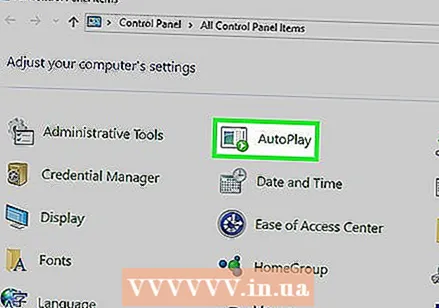 Click on the AutoPlay option. If you don't see this option, click the "View" menu in the top right corner and select "Large icons" or "Small icons".
 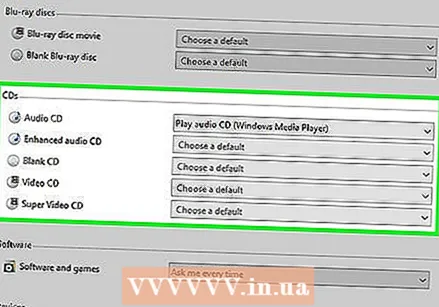 Scroll to the CDs section.
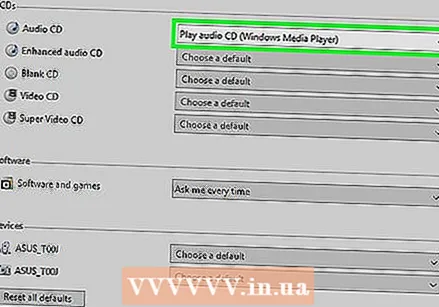 Click the Audio CD menu.
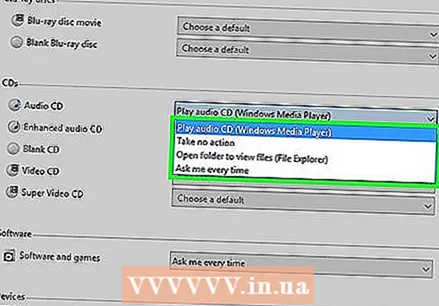 Click the action to be taken when an audio CD is inserted.
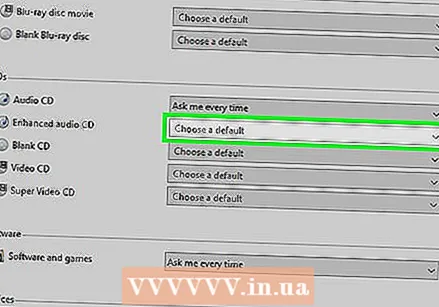 Click the Enhanced Audio CD menu.
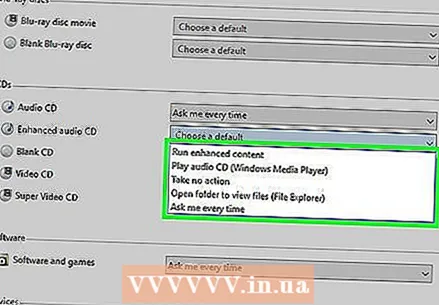 Click on the action to be taken for enhanced audio CDs.
 Click on the Save button. The actions you set become the new default actions when an audio CD is inserted into the computer.
Part 3 of 4: Playing a CD on a Mac
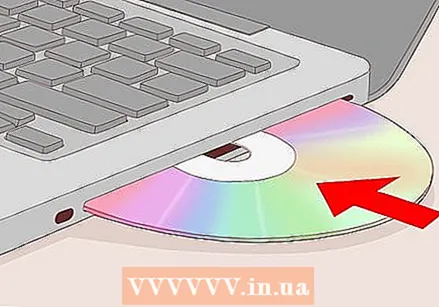 Place the CD in your Mac's disc drive. Make sure the CD is placed with the label side up.
 - Most Mac laptop computers have a "slot" for CDs, but Mac desktops often have a drawer that slides out.
 Click the iTunes button in your Dock if it doesn't open automatically.
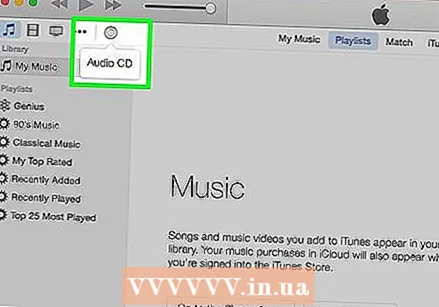 Click on the CD button. You can see this in the main menu of iTunes.
 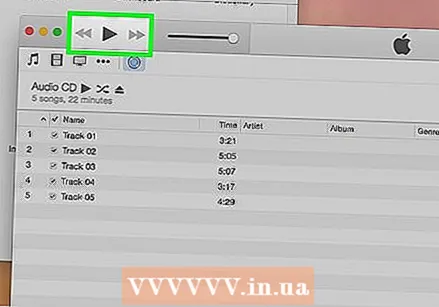 Click the Play button. The CD will start playing.
 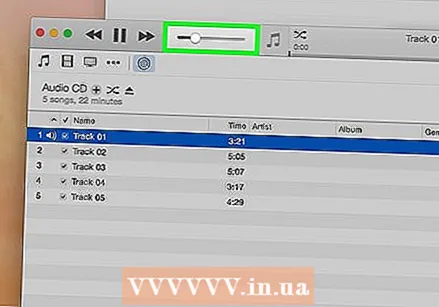 Click drag the Volume button to adjust the volume. The volume button can be found at the top of the window, next to the playback buttons.
 - The iTunes volume knob is independent of the system volume. If the system volume is turned all the way down, adjusting the iTunes volume will not have much effect.
 Eject the CD when you are done. There are several ways to eject a CD on a Mac:
 - Press the Eject button on the keyboard.
- Press ⌘ Command+E.
- Click on your Desktop, then File → Eject.
- Drag the CD icon from your Desktop to the Trash. This only works if the CD icons are visible on the Desktop.
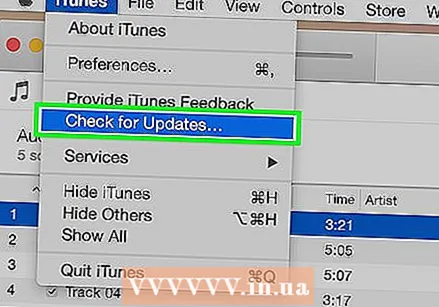 Update iTunes if CDs are automatically ejected. Some users of older versions of iTunes have noticed that audio CDs are automatically ejected even though other discs work. Usually this can be solved by updating to the most recent version of iTunes.
Part 4 of 4: Adjust your Mac's default CD settings
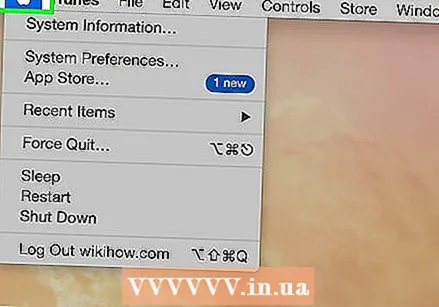 Click on the Apple menu.
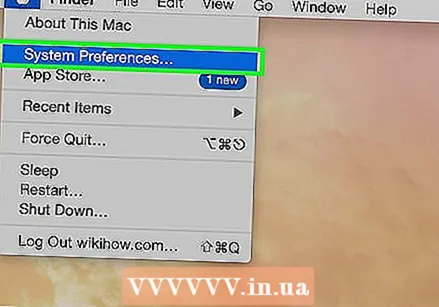 Click on System Preferences. If you don't see all of the System Preferences options, click the Show All button at the top of the window.
 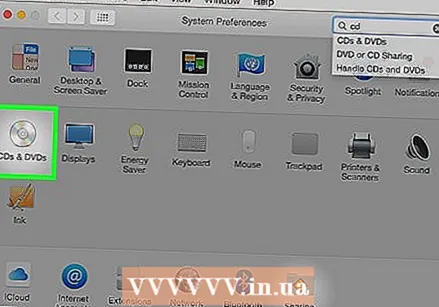 Click on CDs & DVDs. You can see these in the second section of the System Preferences menu.
 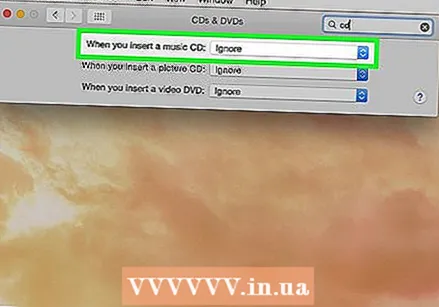 Click When inserting a CD.
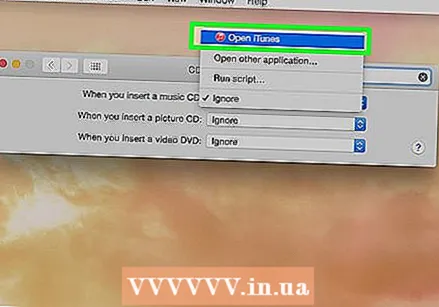 Click on the action to be taken. If you want the CD to immediately start playing in iTunes, select "Open iTunes".
  Open iTunes. If you have set iTunes to open when an audio CD is inserted, you can now specify a more specific action for iTunes.
  Click on the iTunes.
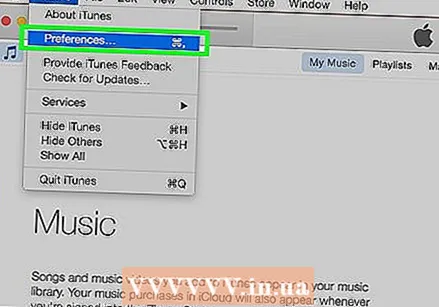 Click on Preferences.
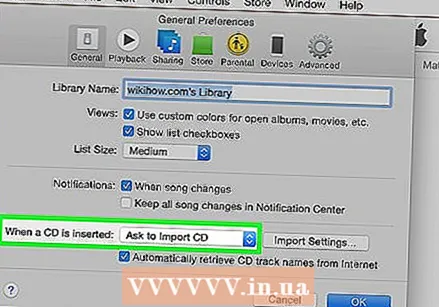 Click on When inserting a CD.
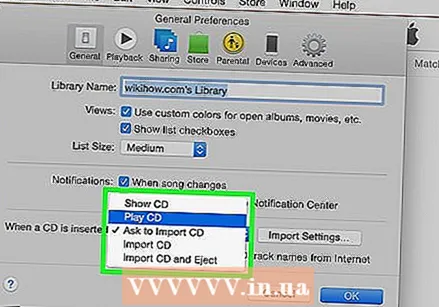 Click on the action to be taken when inserting a CD. You can choose to play music, import music to your library, or show the contents of the CD.
 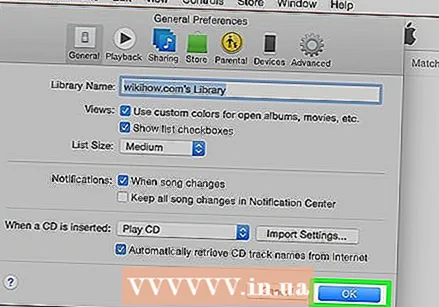 Click OK. Audio CDs will now automatically play in iTunes when inserted.
Tips
- If you want to play a DVD with video, read Play Free DVDs on Your Windows PC.


