Author:
John Pratt
Date Of Creation:
14 April 2021
Update Date:
1 July 2024
Content
- To step
- Method 1 of 3: With cover paper
- Method 2 of 3: With a paper bag
- Method 3 of 3: With duct tape
- Make "paper" from duct tape
- Using the duct tape to cover your book
- Tips
- Warnings
- Necessities
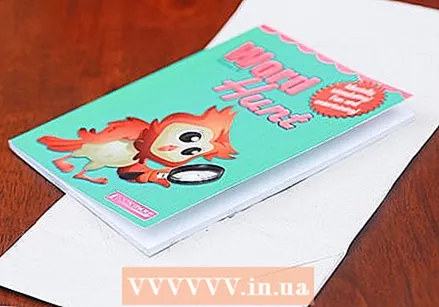
Books can be an expensive part of your school or study period. You better handle your books properly. You can do this by covering your books. This way they will be less likely to damage and you may be able to sell them on to others later. In this article, you'll find three ways to cover your books and save money in the long run.
To step
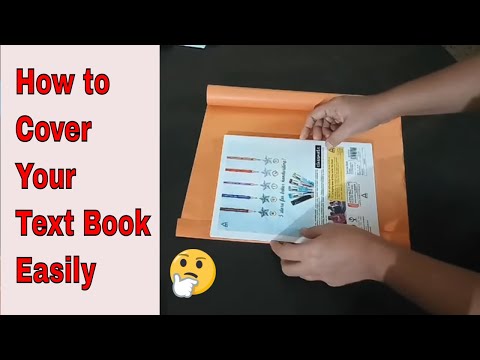
Method 1 of 3: With cover paper
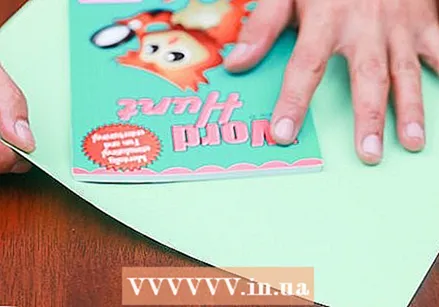 Buy enough paper to cover all your books. Cover paper is ideal for protecting your books easily and cheaply. To start, roll out the paper on a flat surface, such as a floor or table. Open the book you want to cover on the paper. Check that you can fold the paper around the cover of the book so that you have enough to make a nice cover.
 - You can use all kinds of paper to cover books. Cover paper is of course a possibility, although it comes in all shapes and sizes. In general, however, the thicker the paper, the better protected your book is.
- Of course you can also use other types of paper. Consider, for example, wallpaper, wrapping paper and duct tape (see a few paragraphs below).
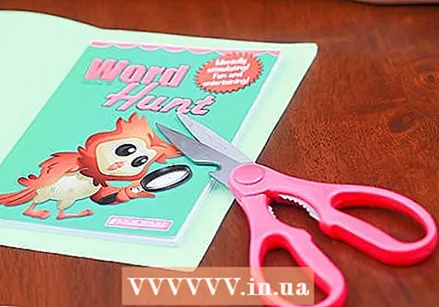 Trim the paper until it is just slightly larger than the cover of the book. Use a ruler to make the paper stick out about two inches on all sides. This way you have enough material to fold around the cover, but not so much that your book can hardly be closed anymore.
 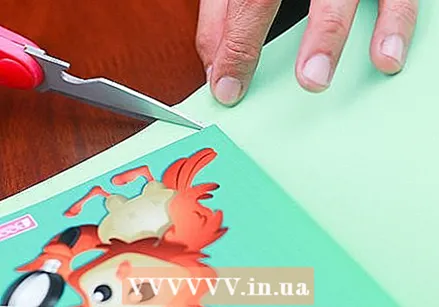 Cut the paper diagonally at the spine of the book. The "spine" is the hard part of the cover in the center of the book. Cut the paper here twice so that the two cuts form a v. Make sure to cut to the spine of the book.
 - If you don't, you will be in trouble in the next step if you fold the paper around the edges of the cover. It is impossible to fold the paper at the top of the book around the pages, which will cause it to crumple when you open and close the book.
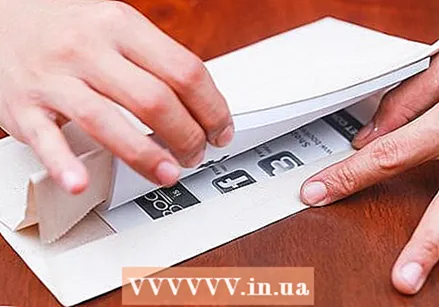
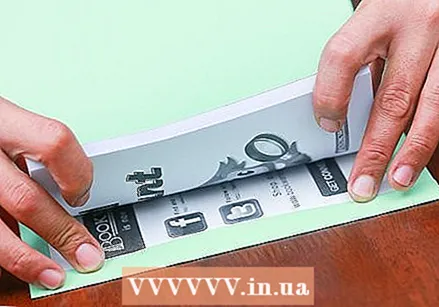 Fold the edges in. It doesn't matter whether you start with the front or back of your book. In any case, fold the long side of the paper over the cover first so that it fits tightly. Then fold the corners of the short edge of the paper inward so that two layers of paper are on top of each other. Then make sure that the short side of the paper also fits nicely with the cover of the book.
 - Use pieces of masking tape to attach the two layers of wrapping paper together. This way, your new paper cover should stay on your book right away.
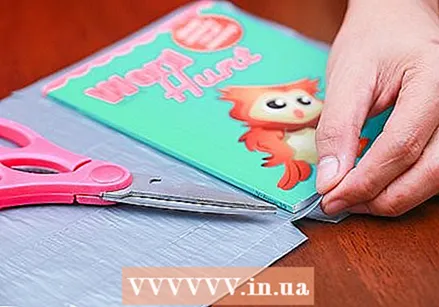
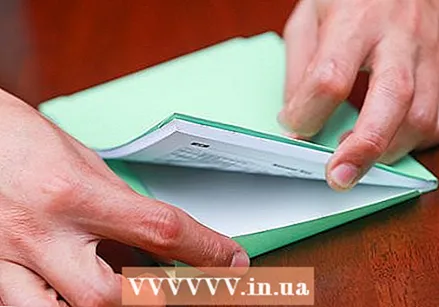 Close the book and do the same on the other side of the book. Once you have attached one side of the book, you can fold the paper around the edges of the other side. Close the book to see if the paper stretches neatly around the book. Then also fix this side with adhesive tape.
 - Congratulations! Your book is now covered. The following steps in this guide are not mandatory, but are intended to make your new cover look a little nicer.
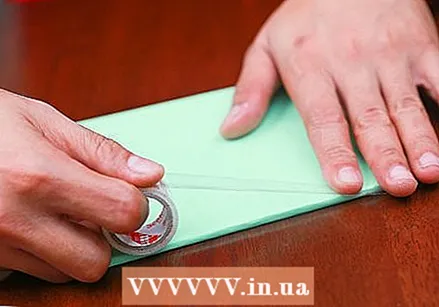
- If necessary, you can reinforce the paper that you fold around the spine of the book with a piece of tape. This part of the paper generally wears out the fastest and by strengthening it with adhesive tape, you prevent the paper from tearing quickly.
- You can also apply a layer of adhesive tape to the paper that is folded around the corners of the book. Just like the backing, the corners also wear out faster and your paper will last longer if you strengthen it with some adhesive tape.
- You can also use sturdier tape such as packing tape instead of masking tape.
- Congratulations! Your book is now covered. The following steps in this guide are not mandatory, but are intended to make your new cover look a little nicer.
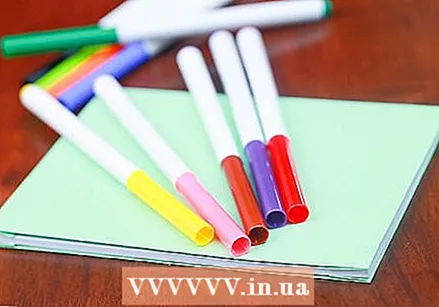 Decorate your cover! Before you take your books to school, you can make their covers look a little better by decorating them. You can do this in many different ways, as long as you make sure that the book itself is not damaged. Below are some ideas for decorating your book. However, don't hesitate to adapt it to your own taste and turn it into a creative masterpiece!
 - Drawings (make sure you don't use pens that push through your cover paper)
- Stickers
- Duct tape designs
- Negative space designs (aka: cutting out parts of the cover paper to create a creative effect)
- Clippings from newspapers, brochures, etc. Just cut and paste.
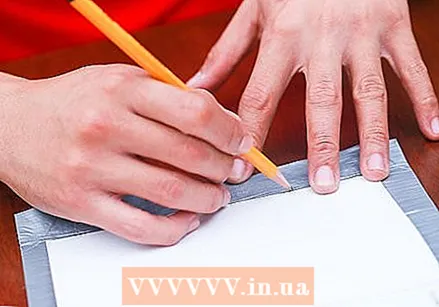
- Label your book. Make sure you can see which book you are dealing with on both the front and spine of the book. Make each book unique by using different colors or decorations, for example. After all, if you are in a hurry, it is so easy that you can quickly find a book in your locker or your bag.
- Also write your name and a phone number or email address on the book. That way, someone who finds the book somewhere can easily reach you and give it back to you.
- Make sure you don't include any confidential information on the book, such as your address or a student number.
Method 2 of 3: With a paper bag
 Collect wrapping paper bags. This is the thick, brown paper that bags from, for example, fashion stores are made of. You can also get paper bags in some supermarkets and these are ideal for book covers. The paper is stronger than normal cover paper, so it protects your books better. You can also buy wraps of cover paper, for example in bookstores and some supermarkets.
 - Before you start, make sure the pouch you want to use is large enough to completely encase your book.
 Cut the bag so that it forms one large piece of paper. You can cut along the bottom of the bag first and then remove any handles. Cut the bag along one corner. You should be left with a long, rectangular sheet of paper.
 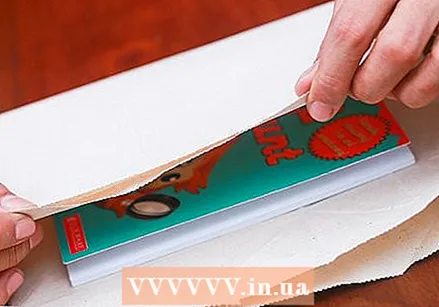 Fold the paper around the book as you would with cover paper. Now that you've turned the paper bag into a piece of paper, you can cover your book. To do this, follow the steps in the above section of this article.
 - Ignore the creases that may still be in your paper. Simply fold and cover your book as described.
- You can iron the paper gently if necessary. This way you remove the folds from the paper and your cover will look nice and smooth.
Method 3 of 3: With duct tape
Make "paper" from duct tape
- Place a piece of tape sticky side up on the table. A cover made entirely of duct tape will be a lot stronger than a cover made of paper alone!
- Since you will ruin your book forever if you stick the tape directly to the cover, however, you will first have to make a piece of "paper" out of duct tape that does not stick to either side. This is not as difficult as it sounds, although you will have to invest some time in it. To start, peel a piece of tape off the roll and place it sticky side up on the table.
- The piece of tape should be about two inches longer than your book is tall. In the following steps you will want to use approximately the same length of tape, although they do not have to be the same length to the millimeter.
- Since you will ruin your book forever if you stick the tape directly to the cover, however, you will first have to make a piece of "paper" out of duct tape that does not stick to either side. This is not as difficult as it sounds, although you will have to invest some time in it. To start, peel a piece of tape off the roll and place it sticky side up on the table.
 Place the next piece of tape sticky side down on top of the first piece. Cut a second piece of tape and place it "gently" on top of the first piece so that about half the width of the tape is covered. Press the tape down well so that there are no bubbles or wrinkles.
 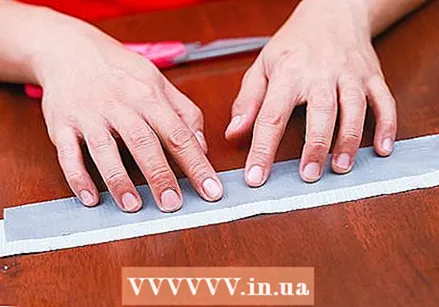 Fold the edge of the first piece of tape around the second piece. Make sure the fold is as neat and straight as possible. The fold will now form the "edge" of your paper. You will now add more pieces of tape to the other, unfolded edge.
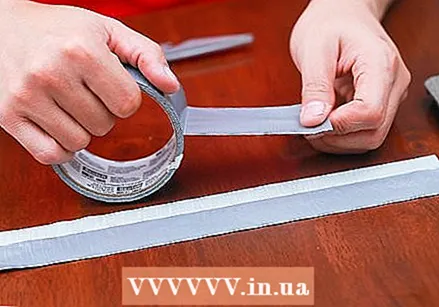
 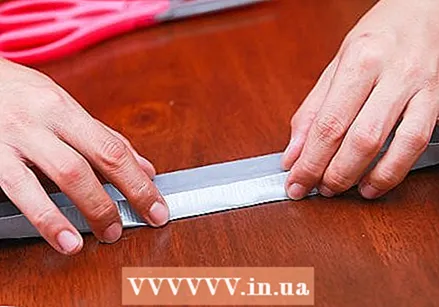 Turn the pieces of tape over and repeat what you just did. Place a third piece of tape on the edge, sticky side up now. Make sure to cover the entire sticky part so that it doesn't stick to your book later.
 - You can also make sure that your tape overlaps slightly so that no sticky parts are visible.
 Continue in this manner until you have made a "paper" that is larger than the book you want to cover. Keep flipping your tape and adding new pieces. Soon a "paper" is formed that is not sticky on either side. Once this paper is large enough to cover your book, you can fold the last edge over to cover the last sticky strip.
 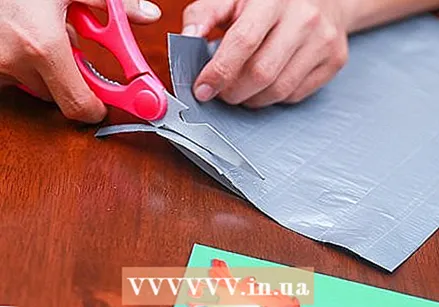 Trim your "paper" into a rectangle. Open your book on top of the paper. Use a ruler to draw straight lines across your paper and trim it. To do this, use scissors or a sharp knife.
 - When you're done, you should have a paper that's perfectly rectangular (and still big enough to cover your book).
Using the duct tape to cover your book
 Trim the paper at the spine of the book. Compared to making your duct tape paper, this part of the cover is a breeze. Start by placing your book open on the paper. Cut the tape diagonally to form a small V-shape towards the spine of the book. When done, both sides of the paper should have a triangular notch.
 - Just like with cover paper, you do this to prevent your book from closing after the cover.
 Mark the fold lines on your duct tape paper. Fold the paper around the cover of the book on both sides and mark the places where you will fold the tape. Repeat this folding and marking process for all six folds needed.
 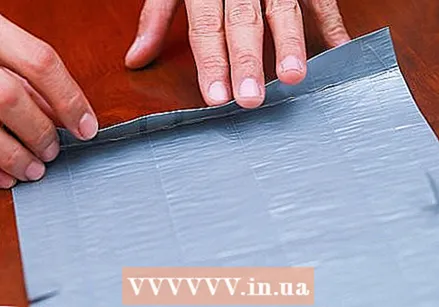 Make firm folds. Remove the book from the paper and firmly fold the duct tape paper in the marked areas. Press the folds well and place a heavy object (such as your book) on each fold. Leave this for a few minutes to make sure the folds are set properly.
  Tape the "paper" around your book. Once you have created nice folds, you can put the book back on the paper. The duct tape paper should now fit snugly around your book. You can now also attach the paper with thin strips of duct tape so that it automatically sticks around the book.
 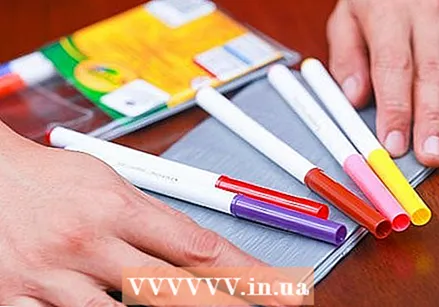 You can now decorate your cover if necessary. Congratulations, your cover is ready and you can now decorate it to your heart's content. Although you won't get much done with pens and markers, you can get creative with different colors of tape or stickers.
 - As advised above, it is best to label your books. This way, someone can easily return a found book to you.
- You can also put a piece of masking tape on the front and spine of your book and write the name of the course or book on it.
Tips
- A nice way to decorate your covered book is to come up with a "theme" for each book. For example, stick a world map on your geography book, a photo of a beautiful fountain pen on your literature book, and so on.
- Nowadays there are also stretchable fabrics or rubber covers, which of course makes the cover work a lot easier. You can find these covers at Hema or at Scholierenshop.nl, for example.
- If you want to make sure your cover paper won't wear off, you can also laminate your book after it has been covered. You can do this by applying a layer of clear laminating foil or wrapping tape over your wrapping paper.
Warnings
- Don't use more than one piece of paper to cover your book. Cover paper glued together is less sturdy and will wear out faster than one-piece paper.
Necessities
- A book to cover
- Paper or fabric (see tips)
- Tape
- Duct or packing tape
- Markers and other decorations (optional)


