Author:
Eugene Taylor
Date Of Creation:
10 August 2021
Update Date:
1 July 2024

Content
- To step
- Method 1 of 3: Create a poll
- Method 2 of 3: Vote for a poll
- Method 3 of 3: View the results of the polls
This wikiHow teaches you how to add voting buttons to an outgoing email message using Microsoft Outlook for PC.
To step
Method 1 of 3: Create a poll
 Open Outlook. Click the Start menu, click All apps, select Microsoft Office then click Microsoft Outlook.
 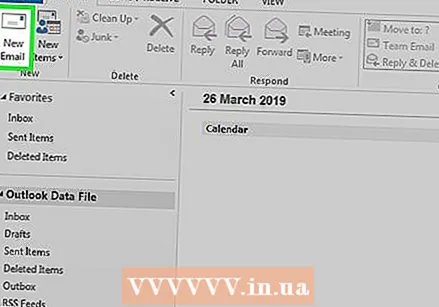 click on new e-mail. It's in the top left corner of Outlook. You can also add a button to a message that you are forwarding.
 - To forward a message, click on the message and then click Forward.
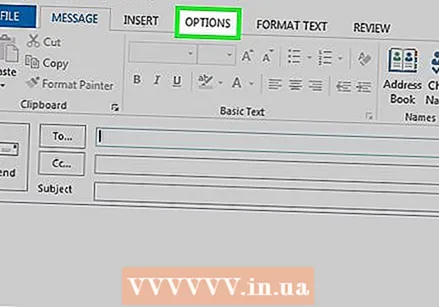 Click on the menu Options. It's at the top left of the window.
 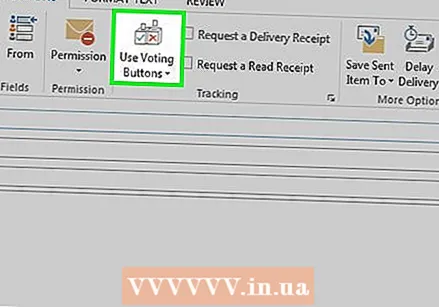 click on Use voting buttons. A drop-down menu will appear.
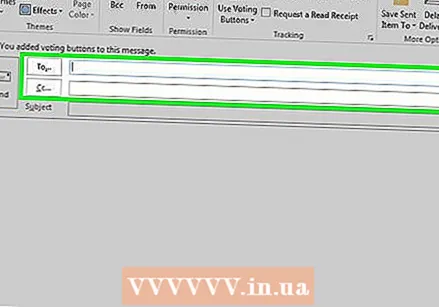
 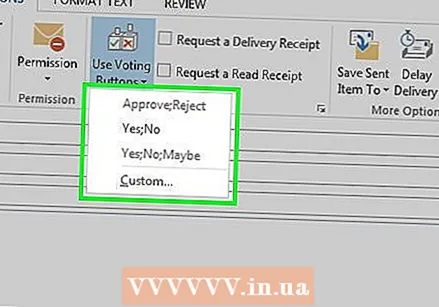 Select a voting button style. Once you have made your selection, a message will appear saying "You added voting buttons to this message". Following are the different options:
 - Approved / Rejected: Use this when you need permission for something.
- Yes No: This is useful for a quick poll.
- Yes No Maybe: Adds an additional answer to the poll for Yes and No.
- Adjusted: Allows you to choose your own polling options, such as date and time options. If you choose this option, check the box next to "Use voting buttons" under "Voting and checking options", create text for the button, and click Close.
 Specify the recipients. Enter the email address (s) in the To: and CC: fields, if necessary.
 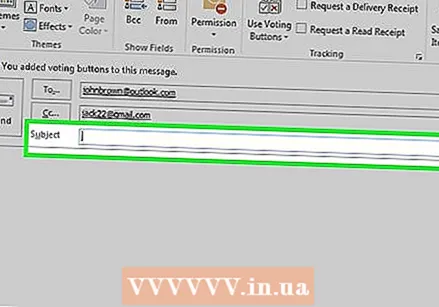 Add a subject and message. Use the message and / or subject fields to describe the details of the poll.
 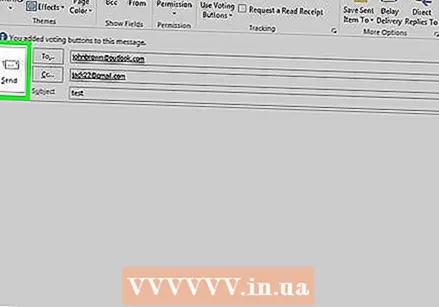 click on To send. It's at the top left of the message.
 - When the message has been delivered to the recipients, they can click This post contains voting buttons. Click here to vote to access the buttons, and then cast their vote. The answers will be delivered to your inbox.
- You can view all responses in a table. To do this, open one of the reply messages, click The sender responded as follows in the header of the message, then click View voice responses.
Method 2 of 3: Vote for a poll
 Open Outlook. Click the Start menu, click All apps, select Microsoft Office then click Microsoft Outlook.
 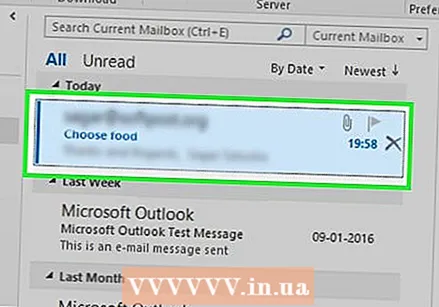 Double-click the message containing the poll. This will open the message in its own window.
 - When viewing the message in the reading pane, click Click here to vote in the header of the message, then go to the last step.
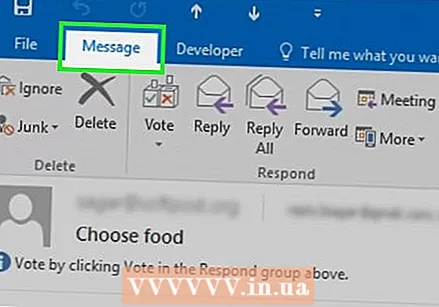 Click on the tab Message. It's at the top of the window.
 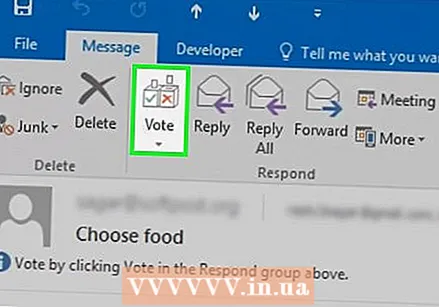 click on To vote. It's under the heading "Respond".
 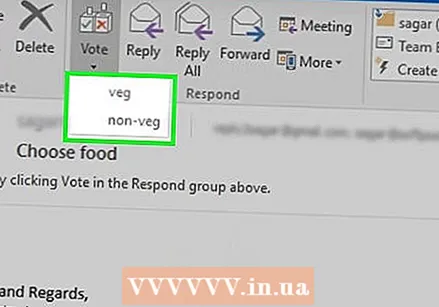 Click on the option you want. This will add your vote to the poll results.
Method 3 of 3: View the results of the polls
 Open Outlook. Click the Start menu, click All apps, select Microsoft Office then click Microsoft Outlook.
 - Use this method after you've created a poll and want to view the results.
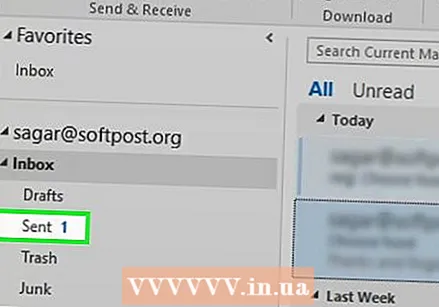 Click on the folder Sent items. It's in the left panel.
 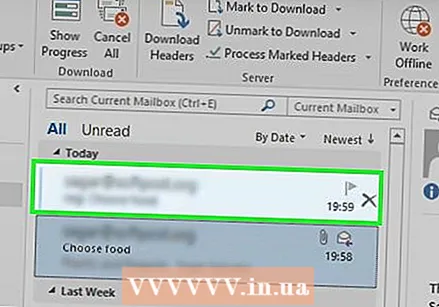 Click the message containing the poll. This opens the message in the reading pane.
 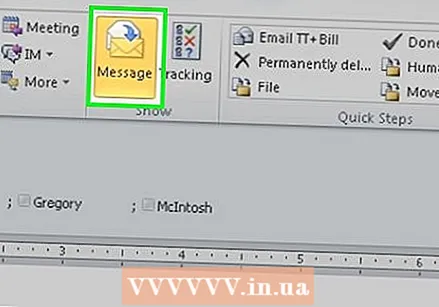 Click on the tab Message. It's at the top of the window.
 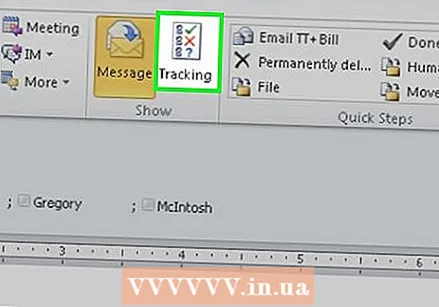 click on To check. It's under the heading "View". The poll results now appear in a table in the window.
 - You see the To checkbutton until at least one of the recipients has cast a vote.


