Author:
Judy Howell
Date Of Creation:
27 July 2021
Update Date:
1 July 2024

Content
Many people think they can improve their photography by buying a brand new camera. The reality is that in photography, the technique is much more important than the equipment. And taking good photos is something anyone can do with any camera, if you practice enough and avoid common mistakes.
To step
 Read the camera manual and learn what each controller, switch, button and menu item does. At the very least, you need to know how to turn on, turn off and set the flash automatically, how to zoom in and out, and how to use the shutter button. Some cameras have a small beginner's manual in a booklet, but also offer a larger manual for free on the manufacturer's site.
  Set the camera resolution to take high-quality photos at the highest possible resolution. Low-resolution images are much more difficult to adjust digitally later on; it also means that you can't crop as enthusiastically as with a higher-resolution version (so you can still print the result). If you have a small memory card, get a bigger one; if you don't want that or you can't buy a new one, use the "fine" quality setting, if your camera has one, at a smaller resolution.
 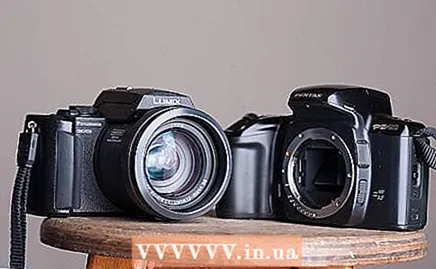 Start by setting your camera to one of its automatic modes, if you have a choice. Most useful is "Program" or "P" mode on DSLRs. Ignore the advice that you should use your camera completely manually; the progress in the last fifty years in automatic focusing and light metering has taken place for a reason. If your photos are poorly focused or poorly lit, go than use certain functions manually.
 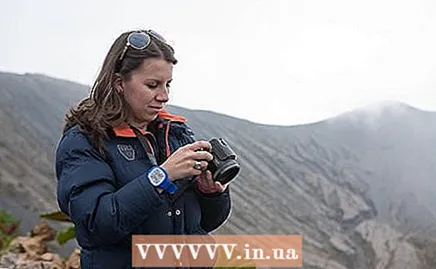 Take your camera everywhere along. If you always have your camera with you, you will start to see the world differently; you seek and find opportunities to take great photos. And of course you will take more pictures; and the more you take, the better you become as a photographer. In addition, if you take pictures of your friends and family, they will get used to the idea that you always have your camera with you. This will make them feel less uncomfortable or intimidated when you take out your camera; this leads to more natural, less "posed" photos. Don't forget spare batteries, or charge it if you have a digital camera.
  Go outside. Motivate yourself to take pictures outdoors in natural light. Just take a few pictures to get a feel for the light at different times of the day and night. Go outside at different times, especially when normal people are sleeping, eating or watching TV; the light at these times is often dramatic and unusual for many people, right because they never see it for themselves!
 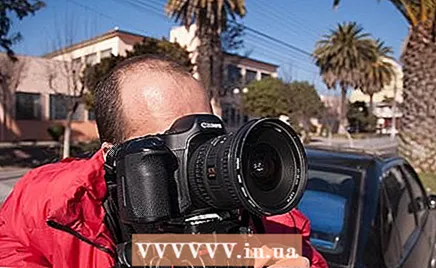 Keep the lens clear of caps, thumbs, straps and other obstructions. Yes, it is obvious, but it can completely ruin a photo. This is not such a problem with modern digital cameras where you see what the lens sees, and even less so with an SLR camera. But people still make mistakes like this sometimes.
  Set your white balance. Simply put, the human eye automatically compensates for different types of light; white looks like white to us in almost any light. A digital camera compensates for this by shifting the colors in certain ways. For example, in incandescent light it will shift the colors to blue to compensate for the redness of this type of light. White balance is one of the most important, and underused, settings on modern cameras. Learn how to set it and what the different settings mean. If you are not working in artificial lighting, the "Shade" (or "Cloudy") setting is usually a good choice; you get very warm colors. If it's there to looks red, it is very easy to correct later with software. "Auto", the default setting for most cameras, sometimes works well, but sometimes results in colors that are too cool.
 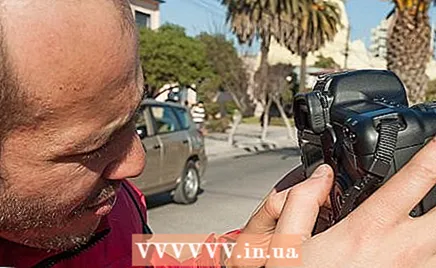 Set a slower ISO speed, if circumstances permit. This is less of an issue with DSLRs, but is especially important with compact digital cameras (which usually have small sensors that are more sensitive to noise). A slower ISO speed (lower number) ensures less noise in photos; but you also have to use slower shutter speeds, which means that you can photograph less well moving subjects, for example. For stationary subjects in good light (or low light, if you're using a tripod and remote), use the slowest ISO speed you have.
  Think carefully about your composition. Frame the picture in your head before doing that with the camera. Remember the following rules, but especially the last one:
 - Use the rule of thirds, where the main points in your scene are on the "third" lines. Don't try to let the horizon or other lines "split the picture in half."
- Avoid distracting backgrounds and clutter. If this means that you and your girlfriend need to move around a bit so that it doesn't look like a tree is growing out of her head, then do so. If there is a glare from the windows of the house across the street, change your angle a bit to avoid it. When taking vacation photos, have your family put down all the items they are carrying and take off backpacks and fanny packs. Keep that clutter out of the frame of the photo, and you will get much nicer and less cluttered photos. If you can blur the background in a portrait, do that. And so on.
 Ignore the advice above. See the above as laws, which usually work but are always subject to legal interpretation - and not as absolute rules. If you stick to it too much, it will lead to boring photos. For example, clutter and sharp backgrounds can add context, contrast and color; perfect symmetry in a shot can be dramatic, and so on. Any line can and must sometimes be broken for an artistic effect. This is how many beautiful pictures are taken.
  Fill the box with your subject. Don't be afraid to get closer to your subject. On the other hand, if you're using a digital camera and have enough megapixels to spare, you can crop later with software.
 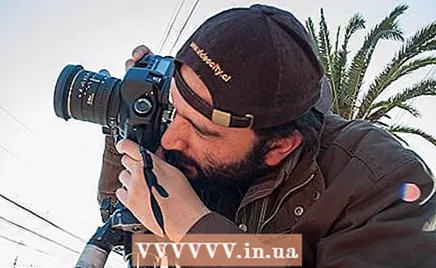 Try an interesting angle. Instead of shooting the object straight from the front, you can look down on it, or bend over and look up. Choose an angle that shows maximum color and minimum shadow. To make things look taller or higher, a low angle can help. If you want a striking photo, it is best to be flush with the object. Or you may want to make the object appear smaller, or as if you are floating above it; to get that effect, hold the camera over the object. An unusual angle makes for a more interesting photo.
  Focus. Poor focusing is one of the most common ways photos are ruined. Use your camera's auto focus, if you have one; usually this is done by pressing the shutter button halfway.Use your camera's "macro" mode for very close shots. Do not focus manually unless your autofocus is malfunctioning; just like with light metering, auto focus usually does much better than you.
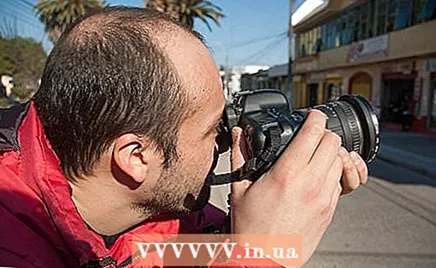
 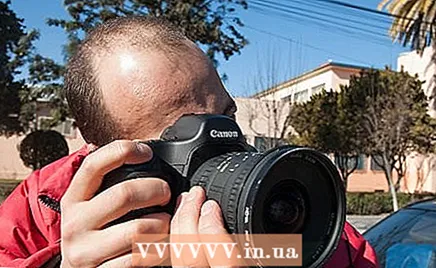 Keep still. Many people are surprised by how blurry their photos are when close-up or when shooting from a distance. To minimize blurring: If you are using a large camera with a zoom lens, hold the camera (with your finger on the shutter button) with one hand, and support the lens by placing your other hand underneath. Keep your elbows close to your body and use this position to hold yourself in tight. If your camera or lens has stabilization capabilities, use them (this is called IS on Canon equipment, and VR, for Vibration Reduction, on Nikon equipment).
 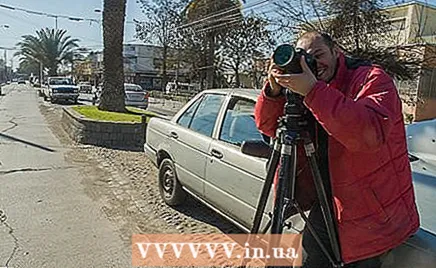 Consider using a tripod. If your hands are shaky, or you use very large (and slow) telephoto lenses, or you are trying to take pictures in low light, or you need to take a number of identical pictures one after the other (as in HDR photography), or you are taking panoramic pictures, then you'd better use a tripod. For very slow shutter speeds (more than a second), you can use a cable release (for older cameras with film) or a remote control; you can use your camera's self timer if you don't have this stuff.
 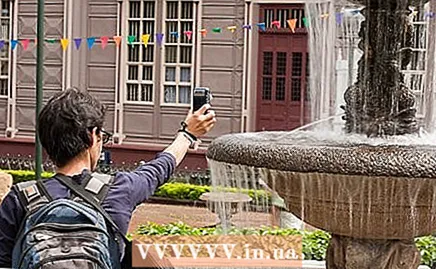 Consider no tripod, especially if you don't already have one. A tripod limits your freedom of movement and the ability to quickly change your framing. It's also extra weight to lug around, which is discouraging to even go out to take pictures. As a rule of thumb, you only need a tripod if your shutter speed is equal to or slower than the reciprocal of your focal length. If you can avoid using a tripod by using faster ISO speeds (and therefore faster shutter speeds), or by using your camera's image stabilization capabilities, or simply by going somewhere with better light, do so.
 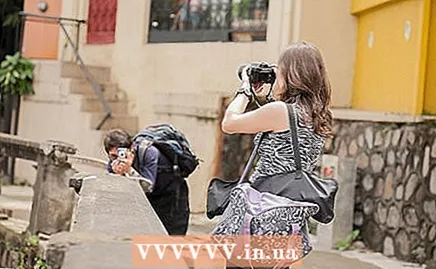 If you're in a situation where you'd actually like to have a tripod, but you don't have it on hand, try one or more of the following suggestions to reduce movement:
- Turn on image stabilization on your camera (not all digital cameras have this) or lens (only some expensive lenses have this).
- Zoom out (or use a wider lens) and get closer. This will reduce the effect in a smaller change in the direction of the camera, and increase your maximum aperture for a shorter exposure.
- Hold the camera at two points off-center, such as the handle by the shutter button and the opposite corner, or by the end of the lens. (Do not hold a sensitive retractable lens on a compact camera, do not hold anything in front of the camera that will move it on its own, such as a focus ring, and do not hold anything in front of the front of the lens.) This will narrow the angle the camera moves when your hands move around. and go again.
- Press the shutter button slowly, gradually, and gently, and do not stop until after the picture is taken. Try to keep your index finger over the camera and press the shutter button with the second joint of the finger for a smoother motion (you keep pressing the top of the camera all the time).
- Hold the camera against something (or do so with your hand if you are worried about scratches), and / or hold your arms against your body or sit and hold your arms against your knees.
- Place the camera on something (a bag or a strap) and use the self-timer to avoid the movement of pressing the button when the camera is resting on something soft. There is a small chance that the camera will tip over, so be careful not to drop it too far, and avoid this with a very expensive camera or one with accessories such as a flash that can break or break pieces of the camera. If you plan to do this more often, you can bring a beanbag, which works well for this. There are also beanbags available especially for this purpose, bags of dried beans are cheap and the contents can be consumed if the bag deteriorates or you buy a new one.
 Release when pressing the shutter button. Also try not to hold the camera up for too long; this will make your hands and arms shaky. Practice bringing your camera to your eye, focusing and metering, and taking the picture in one quick, smooth operation.
  Avoid red eyes. Red eyes are caused when your eyes dilate in low light. When your pupils are large, the flash will illuminate the blood vessels in the back of your eyeball, which is why it appears red. If you must use a flash in low light, try to keep the person from looking directly at the camera or use an indirect flash. Aim your flash above the heads of your models, especially if the walls are bright all around, to avoid red eyes. If you don't have a separate flash cannon that you can adjust like this, use the feature on your camera to reduce red-eye, if you have one - it will fire a few times before the shutter opens, causing your models' pupils to contract, causing red-eye. eyes. Even better, don't take photos that require a flash; find a location with better light.
 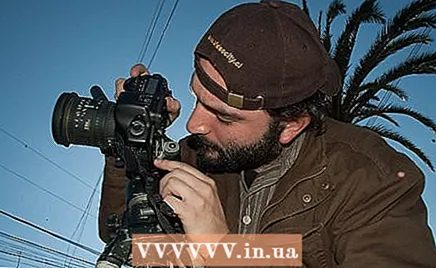 Use your flash wisely, and not when you don't have to. A flash can often cause unsightly reflections in poor light, or make the subject of your photo look pale; the latter is especially the case with photographs of people. On the other hand, a flash is very useful for filling in shadows; for example to avoid the "raccoon eye" effect in bright daylight (if you have a flash sync speed that is fast enough). If you can avoid using a flash by going outside or holding the camera still (which allows you to use a slower shutter speed without moving), or set a slower ISO speed (for faster shutter speeds), do so .
 - If you don't want the flash to be the primary light source in the photo, set it to give the correct exposure at an aperture about one stop wider than the one that would otherwise be correct and that you would actually use for the exposure (which depends on the ambient light intensity and shutter speed, which cannot be above the flash sync speed). This can be done by choosing a specific stop with a manual or electronic flash, or by using "flash exposure compensation" on a modern camera.
 Browse through your photos and pick the best one. See what makes them best and continue to use the methods that produced the best photos. Also, don't be afraid to throw photos away. Be ruthless; if you don't like the picture, throw it away. If, like most people, you use a digital camera, it takes nothing more than your time. Remember that before you delete them, you can learn a lot from your worst photos; find out why they don't look good, and don't do that.
 - Practice, practice, practice. Take lots of pictures - try to fill your memory card (or use as much film as you can have it developed, but don't use film until you can take lots of good pictures with a simple digital camera: until then, you still have to make many mistakes to and it's nice to make them free and see it right away, when you can find out right away what you did and why it was wrong under those circumstances). The more pictures you take, the better you get, and the more you (and everyone) will love your pictures. Use new or different angles and find new subjects to shoot and keep busy; you can make even the most boring, everyday thing look great if you shoot it creatively enough. Also get to know the limits of your camera; how well it performs in different types of light, how well autofocus performs at different distances, how well it handles moving subjects, and so on.
Tips
- To find an interesting corner in a tourist spot, look where everyone is taking their picture, and then you go to a completely different place. You don't want to have the same photo as everyone else.
- Get your photos from your memory card as soon as possible. Make backups; make several backups if possible. Every photographer has experienced, or will experience, the loss of a beautiful photo or photos unless he or she develops this habit. So make backups!
- If you take pictures of children, do it at their level! Photos where you look down at the top of a child's head are usually pretty dull. Don't be lazy and get on your knees.
- Install photo software and learn how to use it. You can correct color balance, adjust exposure, crop your photos and much more. Most cameras come with software to make these simple adjustments. For more complicated operation, you can buy Photoshop, download and install the free GIMP program, or use Paint.NET, a free lightweight photo editing program for Windows users.
- If the camera has a strap, use it! Hold the camera so that the strap is stretched as far as possible, which will help keep the camera stable. It also prevents you from dropping the camera.
- Buy a National Geographic newspaper or magazine and watch professional photojournalists tell stories with images. You can also check out photo sites like Flickr or deviantART for inspiration. Try Flickr's camera finder to see what people are doing with the cheapest compact cameras. Look at the Camera Data on deviantART. But don't spend so much time finding inspiration that you stop going out on your own.
- Have a notebook ready and write down what works well and what doesn't. Review your notes regularly as you practice.
- Upload to Flickr or Wikimedia Commons and you might see your photos on wikiHow one day!
- Your camera doesn't matter. Almost any camera can take good photos under the right conditions. Even a modern camera phone is good enough for many types of photos. Get to know the limits of your camera and bypass them; don't buy new equipment until you know exactly what these limits are and are sure they are bothering you.
- If you take digital photos, it is better to leave the photo underexposed, as this can be corrected later with software. Detail in shade can be retrieved; blown highlights (the white areas in an overexposed photo) can never be retrieved because there is nothing to retrieve. In film it is the other way round; shadow detail is usually poor compared to digital cameras, but blown highlights are rare, even in massive overexposure.
Warnings
- If you take photos of people, their pets, or even their homes, get permission. The only exception is if you are recording a crime. It is always polite to ask.
- Be careful when taking pictures of statues, art, and even architecture; even if in public places, in many jurisdictions it could amount to a copyright infringement in these works.
- Beware of taking photographs of statues, artwork, and even architecture; even if it is located in public places, in many jurisdictions this can often constitute a violation of the copyright in these works.
Necessities
- A camera. Whichever one you have, or can borrow, will be good enough.
- The largest memory card you can get when you go digital, or else have as much film as you can get developed.


