Author:
Bobbie Johnson
Date Of Creation:
10 April 2021
Update Date:
1 July 2024

Content
If you have a lot of old documents and they take up a lot of space, we have a good solution to your problem! Create an archive so the files take up less space. On Mac OS X, you can archive files without installing any third-party software. We will tell you how this is done.
Steps
Method 1 of 2: Use the Finder
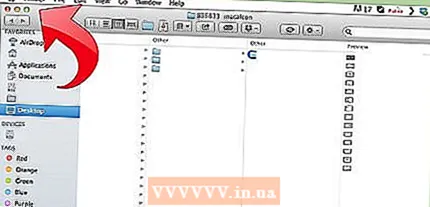 1 Open Finder. You can open Finder by clicking on the program icon in the taskbar. This is a blue square face icon. Find the files you want to compress.
 - To compress multiple files at once, create a new folder and move all files there.
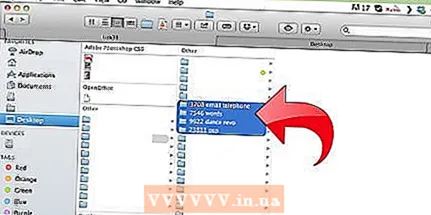 2 Select files or folder. Right-click on the name of a file or folder.
 - If your mouse does not have a right-click, hold down Ctrl and click on a file or folder.
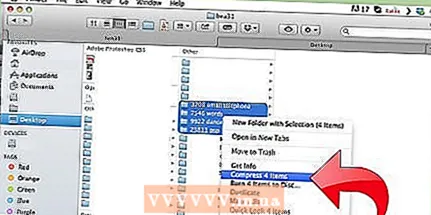 3 Click Compress or Create Archive or Archive. Wait for the process to complete. The archive name will be the same as the folder / file name.
 - If you select and archive multiple files at once, the archive will be named Archive.zip.
- The archive will be 10% smaller than uncompressed files.
Method 2 of 2: Using a different program
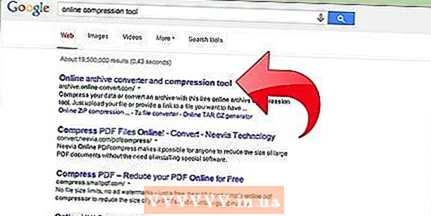 1 Find an archiver program on the Internet. There are several free programs, enter a Google search query.
 - Other programs can compress files better than the archiver on Mac OS X.
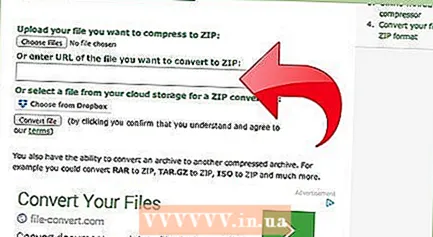 2 Add files to the program. Click on the create archive button. Select the folder where you want to save the archive.
 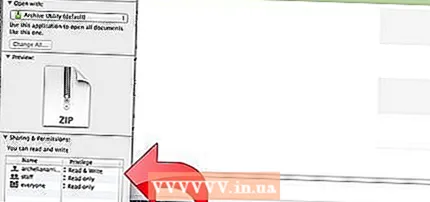 3 Put a password on the archive if you like.


