Author:
Marcus Baldwin
Date Of Creation:
20 June 2021
Update Date:
24 June 2024

Content
Ever wondered how to make your own cabinets for your kitchen, bathroom, or study? Knowing how to make wardrobes can save you a fortune. Good wardrobes in the house are great, but most furniture stores are pricing a square meter too expensive (for example, in the US, they ask for $ 120-400 per square foot).Get started with step one to learn how to make your own wardrobes for half the price.
Steps
 1 Design your wardrobes. The standard rack depth is 63.5 cm, and the cabinets themselves are 60.96 cm, allowing for a table top protrusion of 2.54 cm.The standard rack height is 91.44 cm, with cabinets usually somewhere 87.63 cm high, allowing free space for the material of the table top. For wall-mounted cabinets, add 45.75-50.8 cm to the rack height. Any remaining space between the ceiling and the adjusted rack height is suitable for installing wall cabinets. The width of the cabinets can be in the region of 30.48-152.4 cm, however, you must always observe a step of 7.62 cm.The most common sizes include 38.1 cm, 45.72 cm, 53.34 cm, 60.96 cm. Always consider the size of the doors you want to buy and supply when calculating the width of your cabinets.
 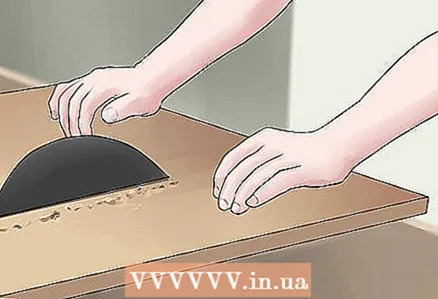 2 Sawing the walls. Saw the sheet into pieces for 1.9 cm thick MDF, plywood, or a suitable type of laminate. Since the sides will not be visible, the appearance of the material does not matter, only strength and durability. These panels will be 87.63 cm long and 60.96 cm wide. Squeeze the two sides together and then use a hacksaw to cut a 7.62x19.97 cm footwell in one corner of the panels. This will be your front bottom corner ..
 - When assembling wall cabinets, the dimensions should be selected at your discretion. The standard height is around 30.48-35.56 cm. The height depends on how high you want to hang the cabinets and how high your ceiling is. The indentation for the legs is obviously not needed in this case.
 3 Saw off the bottom. The bottom will be 60.96 cm deep, but the width will depend on the size of your kitchen. Make sure the width of the bottom section allows for the additional width of the sidewalls on both sides.
 - Again, for wall cabinets, the length will be somewhere between 30.48-35.56 cm, not 60.96 cm. You will need to cut two of these panels per cabinet for wall cabinets.
 4 Saw off the front and back base panels. Use 2.5x15 wood and cut two boards as wide as the bottom panel you cut off. Skip this step if making wall cabinets.
  5 Cut off the head rails. Saw off two more pieces of the same width to hold the top edges together. Skip this step if making wall cabinets.
 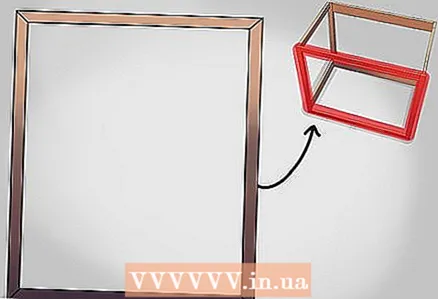 6 Saw off the facade panels. Facade panels will be assembled as a frame for a picture and will be the main display part of the cabinets. Since this is the case, you will want to use the standard lumber of wood you like to make these panels. Suitable sizes for use depend on the look and style desired, including sizes such as 2.54x5.08, 2.54x7.62 and 2.54x10.16.
  7 Connect the base panels to the base. Align and glue the base panels so that one flat edge is flush with the back edge of the panel and the other 7.62 cm behind the front. Then, using the butt joints, screw the bottom of the cabinet to the edges of the panels. The pilot holes will be in place here.
  8 Connect the sides to the base. Glue and then secure (again using butt joints) the side panels to the base and bottom structure, adjusting the footwell to fit the gap you made. Make sure all borders are aligned. A vise and a protractor will come in handy.
 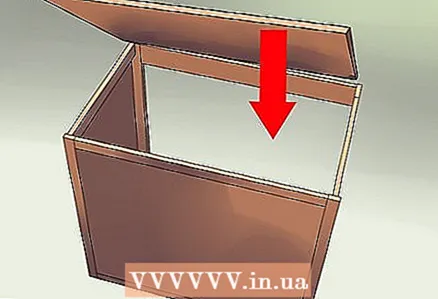 9 Fasten the top rails together. Next, glue and fasten (as many butt joints) the back rail so that it is flat against the wall. The front joining panel must be positioned so that it sits flush with the table top when the table top is installed.
  10 Nail the back panel with nails. Measure and then screw on the 1.27 cm plywood back panel. A thicker back panel may be needed for wall cabinets, for example, 1.9 cm MDF.
 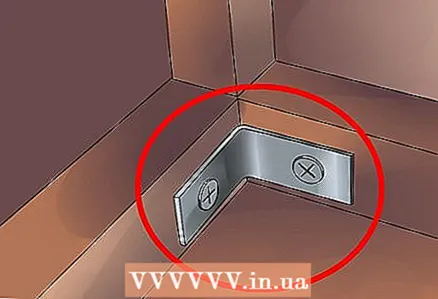 11 Strengthen your connections. Now, secure all connections with brackets and screws.
  12 Install the shelves. Measure, mark and distribute positions for at least four brackets (two per side), then slide the shelves. Hold off adding shelves for wall cabinets.
  13 Add facade panels. Assemble the façade panels as if you were assembling a frame. You can use flat seams or a 45-degree joint. Use oblique screw holes, studs, or female or tenon joints to hold parts together, depending on your skill. Hammer in and screw in nails to finish off your closet.
 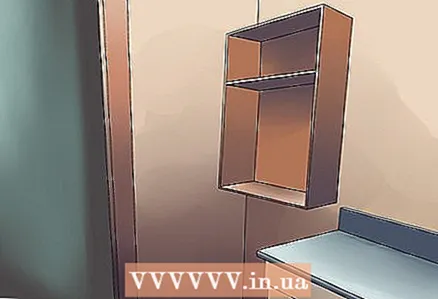 14 Arrange your wardrobes. Place cabinets in the designated area. Screw the cabinet to the wall frame post through the back wall, securing the cabinet in place. Hanging cabinets may need to be additionally reinforced with L-brackets (which can then be hidden by the washbasin apron) if you intend to store heavy items such as crockery in the cabinet.
  15 Install the doors. Install the doors on the front panels according to the manufacturer's recommendation. You can also install drawers, but this can be very difficult and not recommended for beginners.
Tips
- Make sure all blades on your equipment are sharp and tight.


