Author:
Florence Bailey
Date Of Creation:
23 March 2021
Update Date:
23 June 2024

Content
There is no logical explanation for using a safety pin to pierce your ear, other than making you look like a punk. If you can make the hole and are responsible for disinfecting and maintaining the pin, you can introduce more infections with this method than using a lancing device.
Steps
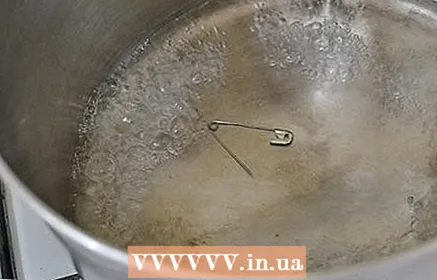 1 Disinfect the pin by placing it in boiling water for a few minutes. Remember that you will be placing or taking it out of the water with your fingers, so be careful.
  2 Use ice cubes to rub the part of the ear you intend to pierce. This will be the most painful procedure. Keep ice near your ear for as long as possible, about 3-5 minutes.
 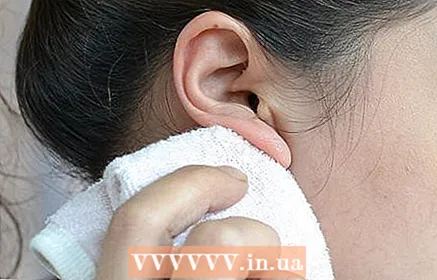 3 Roll up the towel several times and "cover" the part of the ear that you will be piercing with it, so as not to injure yourself.
 4 Pat your ear and wet it with disinfectant or salt water.
 5 Pass the pin through your ear and close it. The hardest part here is keeping the pin straight to make a straight hole. It's easier to pierce at an angle - so be careful. If you are piercing the top of your ear or cartilage, prepare for a strange crunch when piercing. Wobbly piercings are one of the main concerns for DIYers - be careful! If you don't have the guts, go to a professional. You don't want to make yourself big holes in your ears. The picture shows that the holes of the model are slightly inclined upwards. You will also want to close the pin directly in front of your ear, as this is the easiest place for bacteria to penetrate, and you also want your piercing to be conspicuous for everyone.
 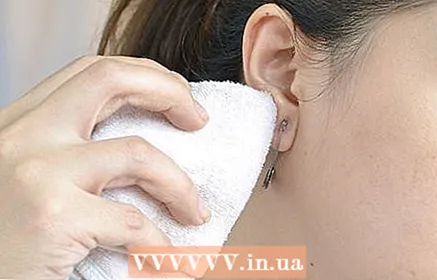 6 Blot again with disinfectant or salt water. Remember not to wet 2 times if using a container!
  7 Leave it on for a week to heal if you want to pierce more. Leave alone, only twitching the pin 2 times a day and disinfecting it. Do not touch it with dirty fingers.
 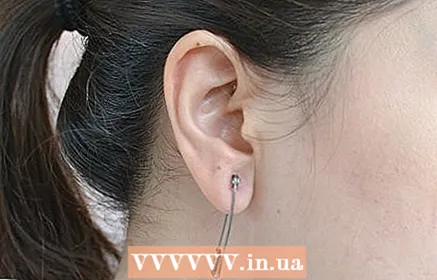 8 When you remove the pin, the hole will look like an earring hole, as the pin is thicker than the needle. This means that if you want to place the nail-shaped earring straight, or after the wound has healed, it will not be as painful as piercing your ear with a needle.
Tips
- You can put the earring on after piercing and it won't hurt as much as you would piercing your ear with a needle - but it will damage your ear and increase the chances of getting an infection. Safety pins are great as earrings and have clear advantages over nails in that they are easy to put on due to their round shape and thinness - unless you need representative earrings to work with, wear these.
Warnings
- Do not practice this method on other parts of the body, as you do not know where the nerves or veins pass.
- If you haven't done everything as expected, you may have an infection.
What do you need
- Safety pin
- Ice cubes
- Clean kitchen towel / hand towel
- Boiling water
- Boiled water with salt or a disinfectant such as Dettol. Do not use cream.


