Author:
Helen Garcia
Date Of Creation:
22 April 2021
Update Date:
26 June 2024
Content
- Steps
- Method 1 of 3: Whitening Toothpastes
- Method 2 of 3: Whitening teeth at home
- Method 3 of 3: Teeth Whitening in the Dental Office
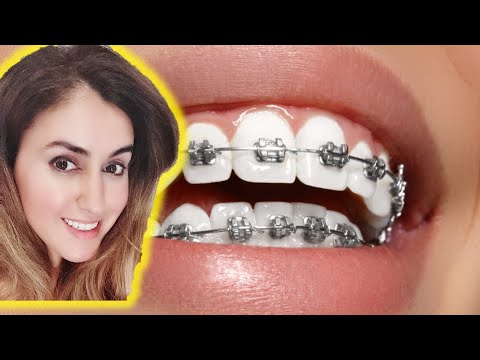
Many people face such cosmetic problems as yellowed and stained teeth. There are many teeth whitening options available, even if you are wearing braces. Some worry that most whitening methods do not brighten teeth under braces, but certain whitening agents can help. For people who wear braces, dentists recommend three main methods of teeth whitening: using whitening toothpastes, whitening at home, or whitening in the doctor's office.
Steps
Method 1 of 3: Whitening Toothpastes
 1 Consider using whitening pastes. They are approved by the American Dental Association because they contain fluoride, a mineral essential for dental health.
 - Whitening toothpastes contain special abrasive particles to remove plaque from the surface of teeth, such as baking soda and peroxides.
- However, these substances will only be able to remove surface plaque. They will not completely change the color of the enamel.
- Whitening toothpastes will not pose any problem for people who wear braces. The abrasives in the toothpaste will not break the cement or wear out the wire.
 2 Brush your teeth thoroughly. First, squeeze a small amount of whitening paste (about the size of a pea) onto your toothbrush. You don't need a lot of toothpaste to brush your teeth!
 - Dentists recommend using a toothbrush with a rounded tip and soft bristles.
- It is preferable to use electric toothbrushes, as they do the job more thoroughly.
- Place the toothbrush on your gums at a 45-degree angle.
- Brush your teeth gently from side to side.
- Remember to brush the front, back, and biting surfaces of all teeth.
- Brushing your teeth should last at least 2-3 minutes.
- If areas around the staples and wires are difficult to reach, you can use a cone-shaped toothbrush. Most orthodontists and dentists will be able to offer these to you. These small brushes are designed to penetrate under the wire of the braces.
- If your braces are shiny and all parts are visible, then you are up to the task.
- Brush your teeth this way at least twice a day.
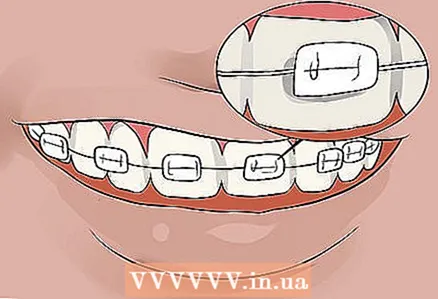
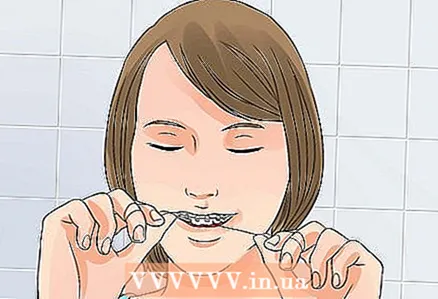 3 Floss your teeth once a day. If you have braces, this can be a difficult task.
 - Thread the floss under the dental bracket wire. Then floss as usual, trying to penetrate deeper into the spaces between your teeth.
- In order to have white teeth, it is imperative to use dental floss. Food and plaque trapped between teeth can lead to decay and discoloration.
- If you have difficulty threading under the wire, you can use the floss holder. It is inexpensive and available at most pharmacies.
 4 Rinse your mouth with water after eating. Although whitening toothpastes can remove plaque, they will not prevent plaque from reappearing.
 - Products such as coffee, tea, wine and even blueberries can color your teeth.
- Smoking can also cause yellow teeth.
- Instead of avoiding healthy foods that can stain your teeth, it's best to rinse your mouth after eating.
- Floss regularly to remove food particles from between your teeth and under braces.
Method 2 of 3: Whitening teeth at home
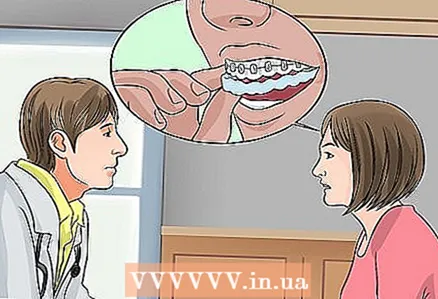 1 You can use a whitening tray at home. They are usually ordered from your dentist. The American Dental Association has approved it as a home teeth whitening remedy.
 - Make an appointment with your dentist or orthodontist to discuss this procedure.
- Your dentist will provide you with a custom-made mouthguard that fits over your teeth and braces.
- A 10% solution of carbamide peroxide is placed in the mouthpiece.
- Some treatment programs involve using the mouthguard twice a day, while others use it at night for 1-2 weeks.
- The average cost of such treatment is $ 400. This is a very effective and more affordable method than whitening in the doctor's office. In addition, you do not need to leave your home for this.
- Simply slide the whitening solution onto your teeth and leave it on.
- If you have Invisalign dental braces, it will be easy to do. Simply remove the Invisalign mouthguard using the whitening mouthguard.
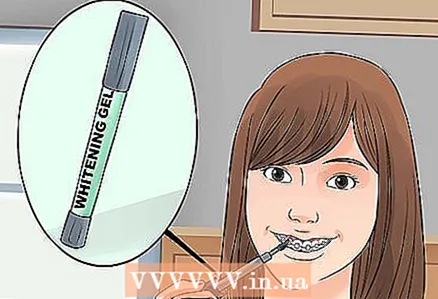 2 Try teeth whitening gel paint. These products are available over the counter in pharmacies. These paint gels have not been approved by the American Dental Association as effective whitening agents.
 - Using these products, you need to apply the whitening gel paint to your teeth so that it then hardens within 30 minutes.
- In order to remove the gel, you just need to brush your teeth.
- If you have braces around them and the wire, it will be difficult to apply the product.
- These gels contain a lower concentration of hydrogen peroxide than products made to order from your dentist or dentist's office.
- Paint on whitening gels is not as effective as treatment with trays. Different people may have different results.
 3 Be aware that there may be minor side effects when whitening teeth at home. From gum irritation to tooth sensitivity.
 - The whitening ingredients in teeth whitening kits are chemicals that can irritate the soft tissues in your mouth.
- As a result of these procedures, ulcers or gums can become inflamed.
- Another side effect of whitening procedures is increased tooth sensitivity.
- Hypersensitivity can be annoying for patients with dental braces, especially when they are tightened.
- You should refrain from using these products for several days before and after braces.
- If you find it difficult to cope with the side effects that appear, contact your dentist or orthodontist for advice. They can give you a new mouthguard or help protect your gums from bleaching.
Method 3 of 3: Teeth Whitening in the Dental Office
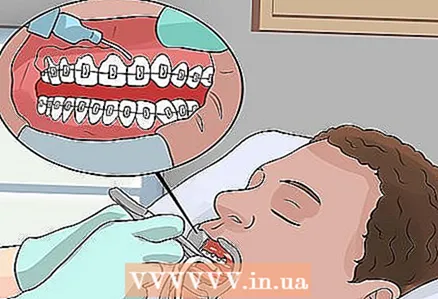 1 Consider professional dental whitening in your dentist's office. This is the fastest and most effective way to whiten your teeth.
 - During these procedures, the dentist applies a protective gel to the gums and applies a mouth guard to protect the gums and cheeks.
- The doctor then applies the teeth whitening solution around the braces. As a rule, it is made from undiluted hydrogen peroxide of various concentrations.
- In most cases, the dentist uses a special light to activate the whitening solution, although other procedures using whitening trays are also available.
 2 Prepare to spend at least an hour and a half on each treatment. Typically, the bleaching solution should be kept under special lighting for at least one hour.
 - Sometimes these procedures cause short-term discomfort.
- Whitening gels can irritate the gums and lead to increased tooth sensitivity.
- You may need more than one treatment to achieve the desired result.
- These gels can be expensive and teeth whitening is not always covered by dental insurance.
 3 Be aware that this method may leave darker areas underneath the braces. Since these treatments are performed only once or twice, the whitening solution may not be absorbed into the enamel under the braces.
 - For best results, use this method only after removing the braces.
- However, if the braces are on the back teeth, then the gel whitening method is ideal for the front teeth.
- If your teeth have darkened after wearing braces, then this method may be a good option.
 4 Consider the disadvantages of this procedure. Since this procedure cannot whiten the areas under the braces, it may be worth trying other options first. Dental whitening can be very expensive.
 - The average cost of such a whitening procedure is $ 650.
- Compared to other very effective home procedures, this procedure is much more expensive.
- In order to undergo this procedure, you will need to visit a dental office. Not all dentists offer this service.
- The gel can taste very unpleasant and the mouthguards can be unpleasant.
- It may take more than one session to whiten your teeth completely.


