Author:
Helen Garcia
Date Of Creation:
18 April 2021
Update Date:
26 June 2024
Content
- Steps
- Method 1 of 3: Online
- Method 2 of 3: On a mobile device
- Method 3 of 3: On the computer
- Tips
- Warnings
This article will show you how to create a signature in your Microsoft Outlook mailbox. You can do this on the website, in the mobile app, and in the desktop version of Outlook. Once you've created a basic version of your signature, you can edit it to make it more attractive.
Steps
Method 1 of 3: Online
 1 Open the Outlook site. Go to the page https://www.outlook.com/ in a web browser. Your Outlook mailbox will open if you are already logged in.
 - If you're not already signed in to your Outlook account, enter your email address (or phone number) and password.
 2 Click "Options"
  . This gear-shaped icon is in the upper-right corner of the page. A menu will open.
  3 Click on Parameters. It's near the bottom of the menu.
  4 Scroll down and tap Email Signature. It's in the "Posting" section on the left side of the page.
 - You may need to click Compose Messages first to expand this section to display the Email Signature option.
 5 Enter your signature. Enter your signature text in the box on the right side of the page.
 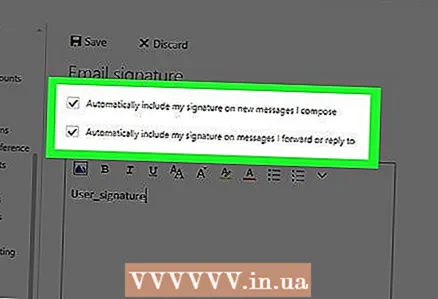 6 Activate your signature. To do this, check the box next to "Automatically add my signature to generated messages". From now on, any new email you send will contain a signature.
 - You can also check the box next to "Automatically add my signature to forwarded messages and replies" to add a signature to every email you send.
 7 Click on Save. It's a button in the upper left corner of the page. The changes made will be saved, and a signature will be added to your letters.
Method 2 of 3: On a mobile device
 1 Start the Outlook app. Click on the white envelope and white O on a blue background.
 - If you're not already signed in to your Outlook account, enter your email address (or phone number) and password.
 2 Tap ☰. It's in the upper-left corner of your screen.
  3 Tap Options . It's in the lower-left corner of your screen. A menu will open.
  4 Click on Signature. It's in the middle of the settings page.
  5 Enter a new signature. Click on the current signature, delete it and enter a new one.
  6 Tap (iPhone) or
  (Android). It's a button in the upper left corner of the screen. Your changes will be saved and you will be returned to the settings page. From now on, letters sent from the device via Outlook will contain a signature.
Method 3 of 3: On the computer
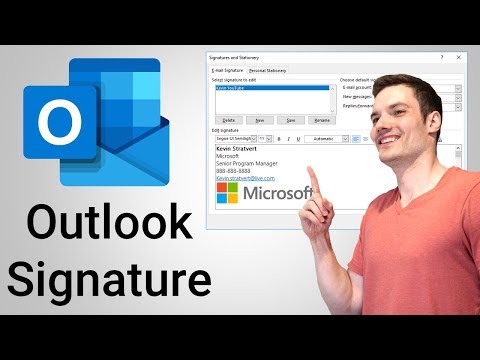
 1 Start Outlook 2016. Click on the blue and white envelope icon with a white O.
  2 Click on Write a message. It's on the left side of the Home toolbar.
  3 Click on Signature. This menu is under the Inclusions section of the Message toolbar.
  4 Click on Signatures. It's in the Signature menu.
  5 Click on Create. This button is located below the Select Signature for Editing text box in the upper-left corner of the Signatures and Stationery window.
  6 Enter a name for the signature and click OK.
 7 Enter your signature text. Do this in the Edit Signature field at the bottom of the page.
  8 Activate signature on new emails. Open the New Messages: menu in the upper right corner of the Signatures and Stationery window, and then click the signature name. From now on, any new letter you send will contain a signature.
 - If necessary, repeat this process for the Replies / Forwards: menu to add a signature to each forwarded or reply email.
 9 Click on OK. It's a button at the bottom of the window. The changes made will be saved; from now on, letters sent from a computer via Outlook will contain a signature.
Tips
- As a rule, you do not need a signature in reply and forwarded emails.
Warnings
- The signature will not sync between your devices.


