Author:
Randy Alexander
Date Of Creation:
24 April 2021
Update Date:
1 July 2024
Content
Nothing is more frustrating than the computer does not boot. Solving a computer's startup error is not easy because there are many intervention factors, both hardware and software. Locating quick diagnostics will save you a lot of time solving this problem.
Steps
Diagnose the Problem
- Try to turn on the computer. The first step in determining what to do is to turn on the computer.
- Click on one of the following links depending on the device's status:
- No reply - Click here if you do not hear the fan running or the screen is on, or the computer has just turned on, or the computer is suspended or turned off.
- Beep sound or POST error message - Click here if the computer fails POST (Power On Self Test). The indication of this is a beep or an error message, or a series of beeps that form the error code.
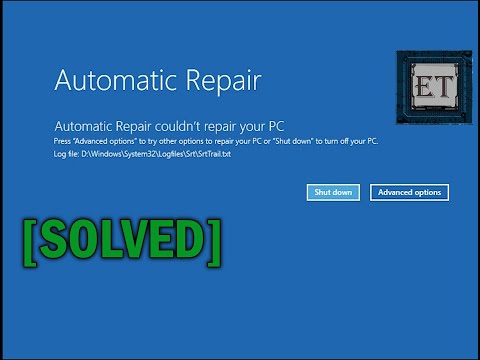
- OS not found or Missing BOOTMGR Click here if your computer completes the boot sequence but can't load Windows.
Method 1 of 3: Fix the Computer Not Starting
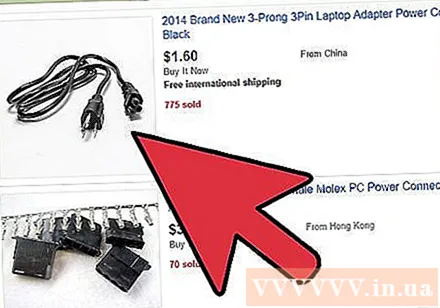
Check the power cable. It sounds simple but you try to check the power cable is plugged in securely, the socket is working.- Plug the computer directly into the wall source to see if the surge protector or power plug is the cause of the problem.
- If you use a laptop, make sure the charger is securely connected.
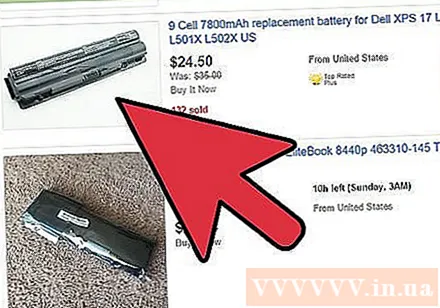
Remove the computer battery and connect the charger. You can use the laptop without batteries as long as you plug in the power source. If the computer runs normally while removing the battery, there is a problem with the battery. Please contact the manufacturer to have the battery replaced.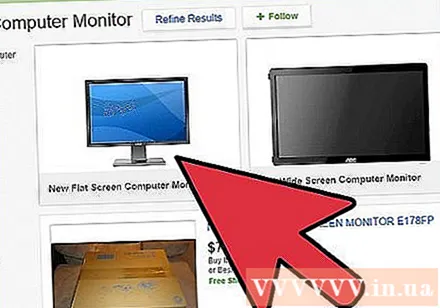
Replace the screen. If the computer boots up but you see nothing, the monitor is probably damaged. Check the monitor connection again, and try plugging the computer into another monitor if possible.
Open Computer. To check the internal connection and power supply, you need to remove the computer cover. You can refer to the articles on the net to know how to remove the cover.
- Don't forget to ground yourself with an anti-static ring or touch metal objects before coming into contact with internal components.
Check the power cable. Make sure that the power cable (power cable junction box) to the motherboard is securely connected.
Check the power supply. Old power supplies are easily damaged, and it's not difficult to check. Power supply is a common cause of computer failure to boot. You can see more how to check from the articles on the internet.
Replace the power supply. If the power supply is damaged, you should replace it with a new one for the computer to function properly. You can refer to the following articles on how to replace the power supply.
Check for loose screws. If the screw on the case is loose, it can damage the motherboard. Shake the case slightly to hear metal impact. Use tweezers or hands to remove the loose screw from the case.
- Check if any cable loses its protection, exposing the exposed wire can also short the circuit. Replace cables that have deteriorated too much.
Method 2 of 3: Fix POST Error
Listen to the beep code. If "lucky", your computer will emit a series of beeps when it fails to boot. Find your motherboard manufacturer to translate the beep code. Knowing the meaning of the code will help you detect the error of the machine.
- The Beep code of each manufacturer is different, so you have to look it up yourself.
- You can refer to how to identify motherboard brand on the network.
Try opening the BIOS. If possible go to the BIOS setup menu as soon as the computer boots. Usually press the key F2, F10, F11 and Del to enter the BIOS.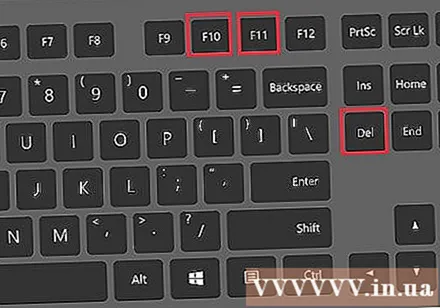
Check to see if all hardware is detected. The BIOS will show all the software connections in the MONITOR (monitor), HARDWARE (hardware) or SYSTEM (system) section. Please check if the displayed hard drive is correct or not.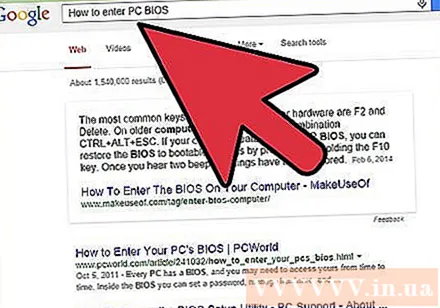
- If you don't see the hard drive, try replacing the cable inside the computer.
Open Computer. To check the components in your computer, you need to remove the cover. Unplug the wires on the back of the camera body and remove the side shield to see inside components.
- Don't forget to ground yourself by wearing an electrostatic ring or by touching metal materials before touching internal components.
Reassemble all internal components. Open the computer and reinsert the graphics card, RAM module, and all connectors of the cable. If something is loose then it could be the cause of the POST error.
- You can reinsert the processor, but this is an arduous task and is less likely to be the cause of the problem. If you take it out again, there is a risk of damaging the processor and making your computer inoperable.
Check RAM module. There is a possibility that the memory module is poor causing the computer to fail to boot. Try removing the memory module and then starting the computer to isolate the poor memory stick.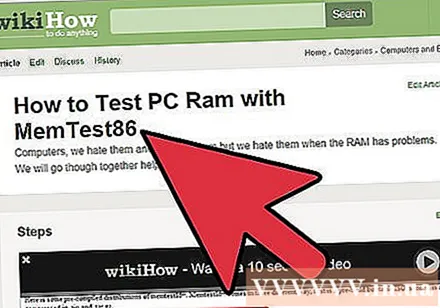
- You can use the Memtest86 utility to determine which memory modules are damaged.
Try removing the graphics card. If you use a dedicated graphics card, try removing and then plugging the monitor into the motherboard. Damaged graphics card can prevent your computer from booting.
- This article will guide in detail how to remove and insert the graphics card.
Remove unnecessary hardware. Try starting up your computer with the most essential hardware. Ie disconnect graphics card, additional drivers, PCI expansion card, additional RAM. Try turning on the computer after removing everything.
- If the computer works with the essential hardware, install the remaining parts one by one, check which software conflict lies in the software.
- If you are unable to pass the POST stage with essential hardware, you will need to replace the hardware, have the machine repaired or have a new one.
Method 3 of 3: Fix Windows Not Starting Error
Open the Advanced Startup menu (Windows 7 or later). If you cannot get Windows, you can try to fix the problem by using Startup Repair. You can access this from the Advanced Startup menu on Windows 7 or later. If you are using Windows Vista or XP, you will need to boot from the installation disc in order to access the Startup Repair tool.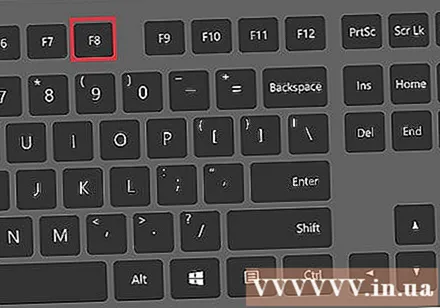
- You can open the Advanced Startup menu by pressing the key F8 when the machine starts up.
- If you can't get to the Advanced Startup menu, you may have a hardware error. Please refer to the method above to fix the problem.
Select "Repair Your Computer" or "Launch Startup Repair". It may take a while for the machine to load the necessary files.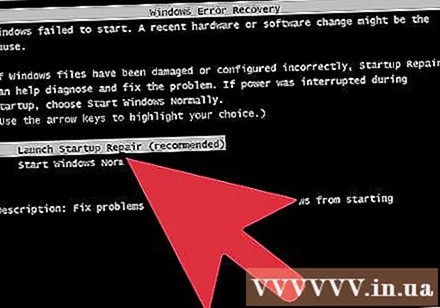
Login to the administrator account. You are prompted to log in before proceeding with the repair process.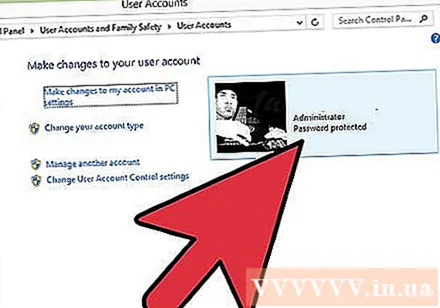
Select "Startup Repair". Windows will scan for errors related to operating system boot and try to fix the error automatically. The computer will reboot several times during this process.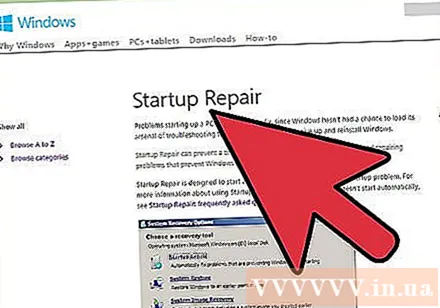
- If Startup Repair fixes something, you are advised to run the tool two more times before starting as usual. Maybe the tool will fix other errors when running 2, 3 times.
Proceed "System Restore" if Startup Repair fails. Startup Repair may suggest you perform a System Restore, or you can select this from the main Repair menu. System Restore gives you a few timelines that you can return to.
- Try the nearest time first, then go back to the previous time until the error is gone.
Reinstall Windows. If none of the methods above are working, the only way is to reinstall Windows. All data, drivers will be deleted, this is the last option.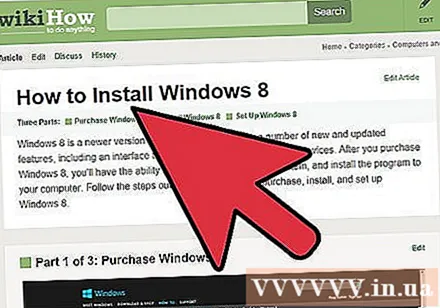
- Refer to how to reinstall Windows 7 on the network.
- Refer to how to reinstall Windows 8 on the network.
- Click here for detailed instructions on how to reinstall Windows Vista.
Warning
- Since many appliances are plugged directly into the wall power, if during the test you smell ozone or burnt plastic, or hear a click, unplug immediately. Unless you know how to safely repair your electrical equipment, turn it to a specialist.
- Always turn off the machine and unplug it before touching the computer, installing or removing any part of it.
- Wear an anti-static ring or self-ground it by touching the case before checking the contents.


