Author:
John Pratt
Date Of Creation:
11 April 2021
Update Date:
22 June 2024
Content
Every now and then a horizontal line appears in Microsoft Word, which will remain no matter what you try. You can't select it, you can't delete it - nothing seems to work. Don't worry, it's not a virus, it's an application - it's basically an auto-generated border! We will show you how to get rid of this line in your document and how to prevent it from appearing automatically in the future. This works with all recent versions of Word, both on the PC and on the Macintosh. Read more!
To step
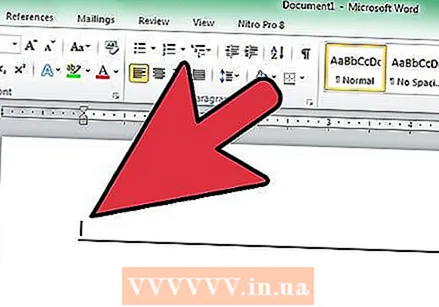 Place your cursor directly above the line. You cannot select the line itself, because it is "not really there". It is a border that is automatically created when you type three minus signs (-), underscores (_), equal signs (=) or asterisks ( *), and then press Enter.
 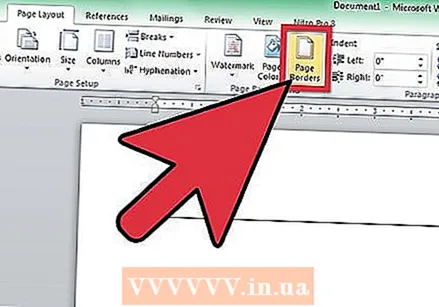 On the Formatting menu.(Note: in Word 2007 you have to use the tab Page layout select and then search for the part Page background from the ribbon, and then click Page borders. Go to the tab Page border and then choose No. Do the same for the tab Edges.) Select Borders and shading ...
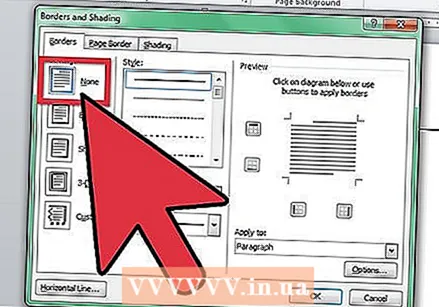 Plot the border. Click in the screen Borders and shading the "None" button. If you do, the line will disappear.
 - If the border doesn't disappear yet, try these steps:
- Select any text immediately before or after the line.
- Select as before Borders and shading in the menu Formatting.
- At the bottom right, in the "Apply to:" menu, "This Section" is selected, then choose "Whole Document," or if "Whole Document" is selected, then choose "This Section."
- Click OK and then the line should disappear.
- If the line just goes up one section, repeat this process until it disappears completely, or select the entire document and then repeat the process.
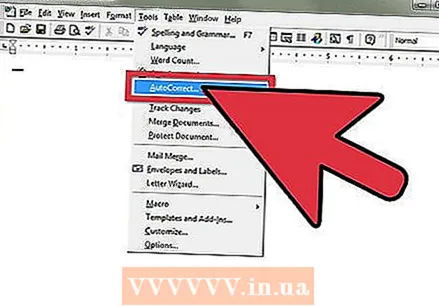 Pay attention: in Word 97 the menu becomes Autocorrect and becomes the box Edges mentioned.
Tips
- You can adjust your "AutoCorrect" settings to avoid changing three minus signs (-), underscores (_), equal signs (=) or asterisks ( *) and an enter into this hard to remove line. Go to "Word Options", select "Check", and activate the "AutoCorrect Options" button. Uncheck "Border lines" under "AutoFormat as you type".
- To be in a Word 2007 document unwanted lines, some PAGE edges to be:
- Ctrl-A to select the whole document
- Click on it Page layout menu
- click on Page borders (in the Page background part of the ribbon)
- Click on the Page border tab; click No
- Click on the Edges tab; click No; click OK
- To be in a Word 2007 document unwanted lines, some SECTION EDGES to be:
- Select the problem sections (or Ctrl-A to select all sections in the document)
- Click on it Start menu
- Click in it Paragraph section of the ribbon on it Edges icon in the lower right corner of the section (square, divided into four windows)
- You can adjust your "AutoCorrect" settings to avoid changing three minus signs (-), underscores (_), equal signs (=) or asterisks ( *) and an enter into this hard to remove line.
- Click on the Office button (4-colored MS Office logo in the top left corner)
- Press the button Word options (All the way at the bottom)
- click on Check
- Press the button AutoCorrect Options ...
- Click on the tab AutoFormat as you type
- Uncheck the box Edge lines in the part Apply while typing
- Click twice OK


