Author:
John Pratt
Date Of Creation:
12 April 2021
Update Date:
26 June 2024

Content
- To step
- Method 1 of 3: Cutting the large parts
- Method 2 of 3: Remove background noise
- Method 3 of 3: Remove vocals
There are many different types of unnecessary audio clips that you may want to remove from a file, and a corresponding number of different methods you can use to get this done. It is important to remember that even with the best equipment, some portion of the audio cannot be removed and the rest cannot be removed without affecting the quality of the rest of the recording. However, with Audacity, you can get some pretty impressive results safely and at no cost.
To step
Method 1 of 3: Cutting the large parts
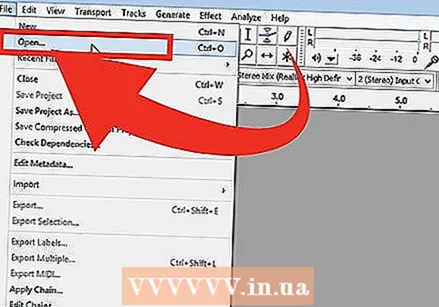
 Open the file. Open the file in Audacity (File> Import> Audio and select the file), and listen to the beginning and end.
  Choose the part of the audio track you want to cut. Determine which parts, if any, you want to cut.
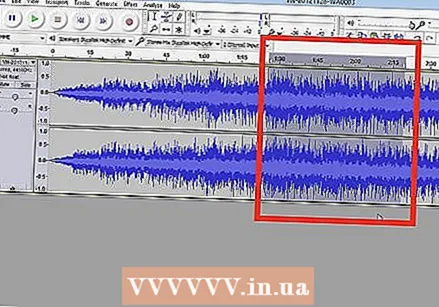
  Delete the section. Click and drag to select the unwanted audio and press Ctrl-X (cut) to delete the portion.
 - The file should not play when you are going to cut the tracks, so press STOP first (that's the button with the orange square).
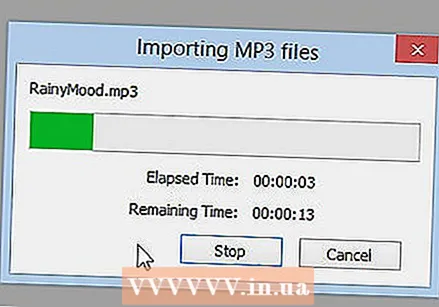
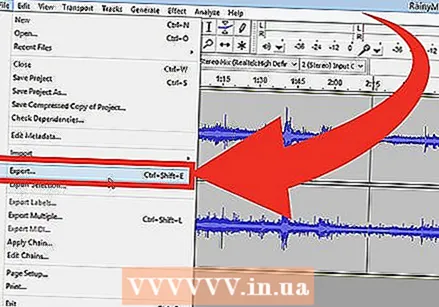 Save the file. When you have finished cutting your audio file, save the file by exporting it.
 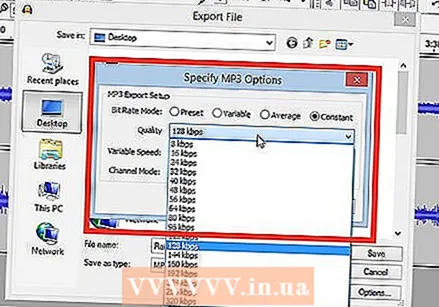 Choose your save settings. A new window will appear for saving your sound file. You can change the name and indicate where you want to save it. You can also choose which file type you want for the sound file: MP3, WAV or any other audio format.
Method 2 of 3: Remove background noise
 Open the file. Open the song in Audacity you want to edit.
 - Make sure you have saved a copy of the original file somewhere, in case you accidentally edit the file too much.
 Select a section with a few seconds of background noise. Find a section with a few seconds of the background noise you are trying to remove. This could be audience talk or standard noise caused by a low-quality microphone. Select this noise with the selection tool, which is activated by default.
  Profile the sound. Open "Effects" from the main menu and then select "Noise Reduction". This will open a new menu. Click on "Get Noise Profile" and then close the menu.
  Select the section you want to remove the noise from. With the Selection tool, select the area you want to remove the sound from, as before.
  Click on "Repeat Noise Reduction". Open the "Effects" menu again in the main menu. Now you will see a new option in the main menu that says "Repeat Noise Canceling". Click on that.
 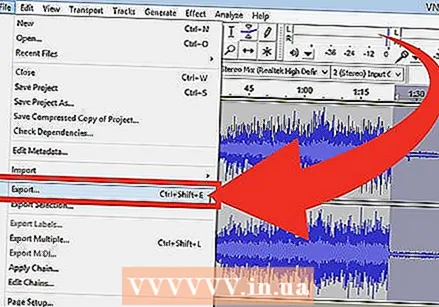 Save the new file. You now have a noise-free file. Save the file as usual and enjoy your work!
Method 3 of 3: Remove vocals
 Open the file. Open the song in Audacity you want to edit.
 - Make sure you've saved a copy of the original file somewhere, in case you accidentally edit it too much.
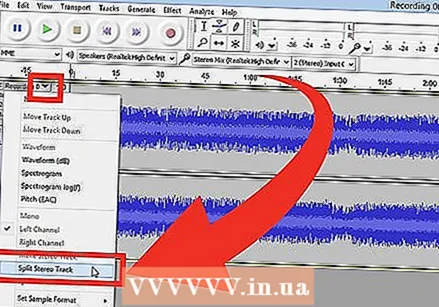 Split the tracks. Split the stereo tracks, leaving you with separate right and left channels.
 - You should see a program with a fairly standard layout, with the buttons and menus at the top and a gray window with your file below. In the window for your file, you will see that it has been split further, with a few buttons to the left of your audio track visualization.
- You will see an X in the top left corner. Next to it you will see the words "Audio track" with an arrow next to it. Click to open a drop-down menu.
- Click on "Split stereo track".
 Make your selection. Select the portion of the track you want to remove vocals from on the lower of the two channels, using the cursor.
 - Make sure the cursor tool is selected. It looks like an "I" and is located on the right side of the record button (the red circle).
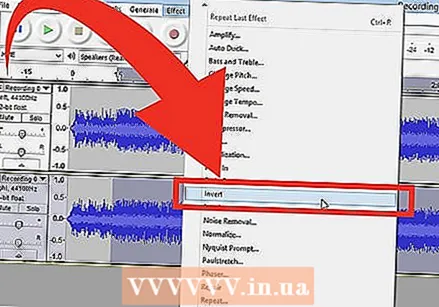 Invert the lower channel. Open "Effects" from the main menu and then select "Invert."
 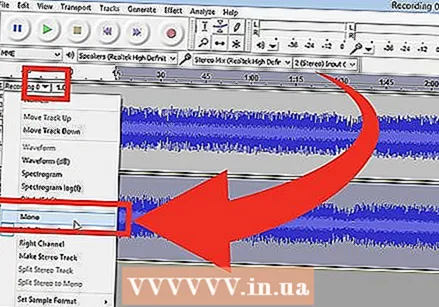 Make the channels mono again. Open the same "Audio Track" menu again as you did before, and set the track back to "Mono". Do this for both audio channels.
 - Note that you will lose certain instruments with this method along with the vocals. An example are the drums.
 Save your work. Save the file as usual.


