Author:
Eugene Taylor
Date Of Creation:
12 August 2021
Update Date:
1 July 2024
Content
A CR2 file is a RAW image file taken by a Canon camera. These files have .CR2 as file extension. Two different Canon cameras will both produce CR2 files, but the CR2 file will be different for each. To edit a CR2 file, make sure you have the latest version of the Adobe Camera Raw plug-in installed, as each camera model must be added to the plug-in. If you have an older version of Photoshop, the files may need to be converted to a DNG format first.
To step
Part 1 of 2: Updating Photoshop
 Open Photoshop. You are going to search for available updates for the Adobe Camera Raw plug-in. This plug-in supports CR2 files and will be updated when newer camera models are released.
 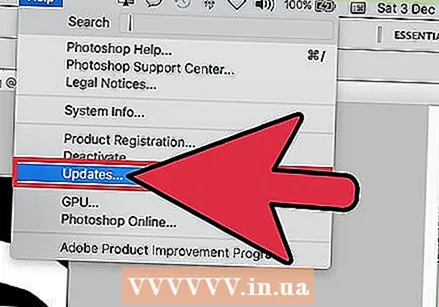 Click on the "Help" menu and select "Check for updates ". If you are using Photoshop CC, select "Updates ..." instead. It will then check for online updates for Photoshop and associated plug-ins, including the Camera Raw plug. The Camera Raw plug-in adds support for various RAW files, including the CR2 format.
 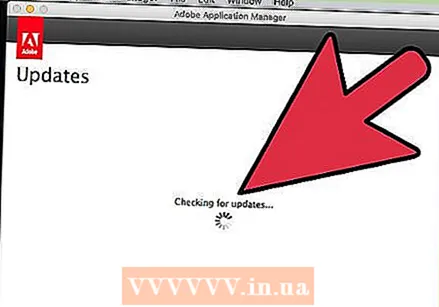 Install any available Camera Raw update. If the Camera Raw plug has an update available, it will be displayed in the Adobe Application Manager list. Select the plugin and click the "Update" button.
 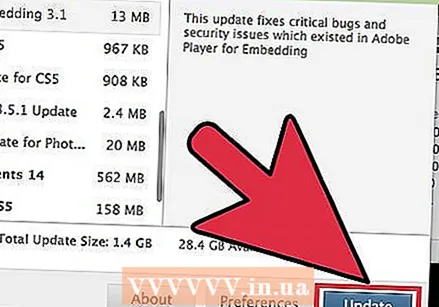 If the update fails, manually install the latest Camera Raw update. If the automatic update fails, you can also download the latest Adobe Camera Raw (ACR) update available for your version of Photoshop. You can see your version of Photoshop in the title bar of the program. Earlier versions do not support later releases of the ACR. Follow the links below and run the installer to install the plugin:
 - Adobe CS4 - ACR 5.7 (https://www.adobe.com/support/downloads/thankyou.jsp?ftpID=4683&fileID=4375)
- Adobe CS5 - ACR 6.7 (https://www.adobe.com/support/downloads/thankyou.jsp?ftpID=5603&fileID=5613)
- Adobe CS6 - ACR 9.1.1 (https://helpx.adobe.com/camera-raw/kb/camera-raw-plug-in-installer.html)
- Adobe CC 2014/15 - 9.7 (https://helpx.adobe.com/camera-raw/kb/camera-raw-plug-in-installer.html)
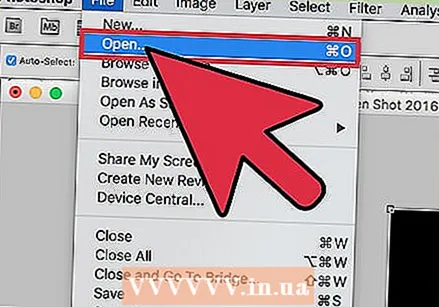 Try opening the CR2 file in Photoshop again. After installing the latest version of ACR for Photoshop, try opening the CR2 file again. If the ACR update supports your camera, the CR2 file will open in a Camera Raw window.
 - If you are using an older version of Photoshop with an older version of ACR, you may not be able to open photos taken with the cameras released after that ACR version. For example, if you have a Canon EOS 5D Mark III, you must be ACR 7.1 or higher, which is not available in CS4 or CS5. If so, see the next section for conversion instructions.
Part 2 of 2: Converting to the DNG format
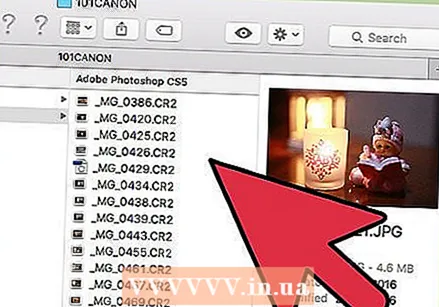 Place all CR2 files in their own folder. The utility only allows you to select folders and not individual files. Make sure that CR2 files are properly sorted into folders for easy conversion. You can also convert files in subfolders.
 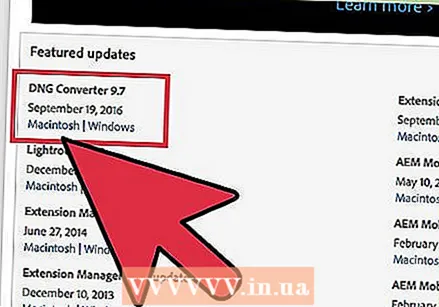 Download the Adobe DNG Converter program. This tool will convert your CR2 files to a compatible DNG format. DNG is an open RAW format that still gives you access to all RAW colors. This converter is necessary if you have a version of Photoshop that is too old to support your camera model.
 - You can download the latest version of "DNG Converter" from the Adobe Updates website (http://www.adobe.com/downloads/updates.html). Click the link for the operating system you have to download the correct installer.
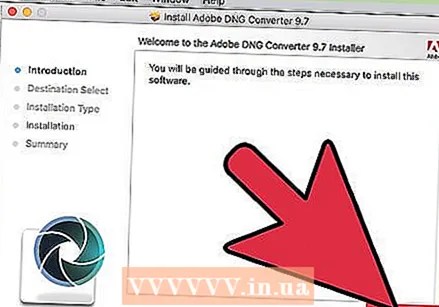 Install DNG Converter. Double-click the downloaded EXE file (Windows) or DMG file (Mac). Follow the prompts to install the converter.
 - In Windows, this means that you have to click through some installation screens. For Mac users, drag the DNG Converter program to your applications folder.
 Start Adobe DNG Converter. After installing, launch Adobe DNG Converter from the Start menu (Windows) or the Applications folder (Mac).
 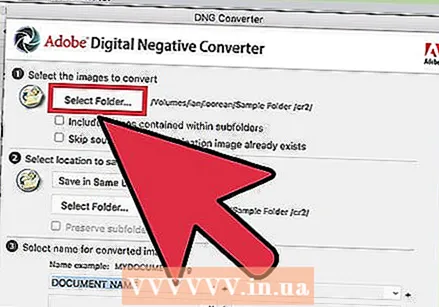 Select the folder containing the CR2 files you want to convert. Click the "Select Folder" button to browse to the correct folder. If the folder contains other folders with more CR2 files, check the "Include images in subfolders" box.
 - When you run the converter again to convert added files, you can check the box "Skip the source image if the target image already exists". This prevents old files from being converted again.
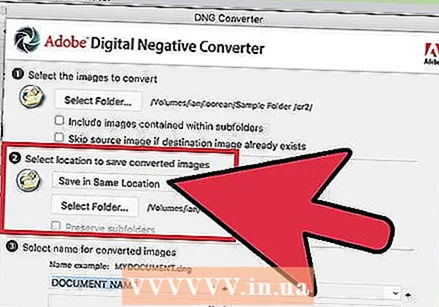 Select a location to save the converted files. By default, the converted files will be placed in the same location as the originals. If you prefer to save the converted files elsewhere, please choose a different folder.
  Specify a format for converted files. You can apply automatic formatting for converted files by filling in the text fields.
 - Click the first drop-down menu to select a file name format. You can then add the extra text using the extra fields. For example, you can use the first field to identify each file with a four-digit serial number, and the second field to add the date.
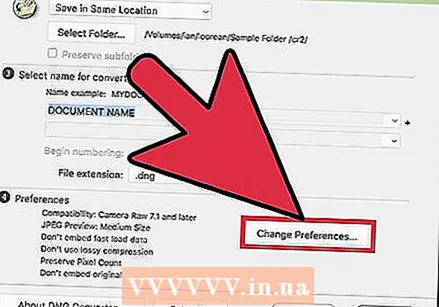 Click "Change Preferences" to set the ACR version that the files should be compatible with. If you're using older versions of Photoshop, you may need to change the ACR compatibility to match your version.
 - In the "Change Preferences" menu, select the correct version from "Compatibility" from the drop-down menu.See step 3 in the first section for a list of the version you want to convert.
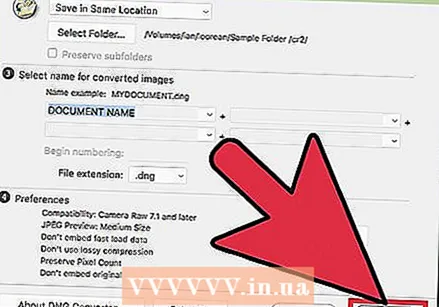 Click "Convert" to start converting your CR2 files. This can take a long time if you want to convert hundreds of photos.
 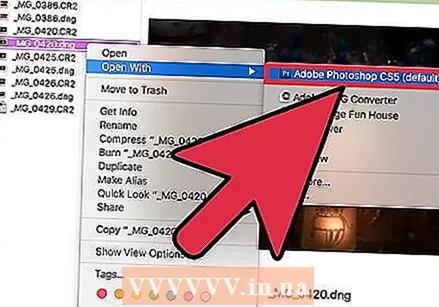 Open the DNG files in Camera Raw. Once the files are converted, double-click them to open them in the Camera Raw plug-in in Adobe Photoshop.


