Author:
Joan Hall
Date Of Creation:
1 July 2021
Update Date:
1 July 2024

Content
- Steps
- Method 1 of 2: Getting Started: Making a backup, and installing all the necessary programs
- Method 2 of 2: Installing Modloader
- Tips
- Warnings
Have you ever tried installing Risugami's Modloader and you got a black error screen? Modloader will help you manage different mods that are installed on your hard drive at the same time, making it necessary for Minecraft players. The only problem is that if you don't know what you are doing, the installation can be tricky. Fortunately, the process itself is not particularly difficult, so just follow the steps below to learn how to install Modloader for Minecraft.
Steps
Method 1 of 2: Getting Started: Making a backup, and installing all the necessary programs
 1 It is important to make a backup of the minecraft jar file before installing new mods or modloader. Find your minecraft jar file in / [your username] / AppData / Roaming. Next, just right click on the minecraft jar file. Create a new folder (you should call it Minecraft Backup) anywhere on your hard drive, and copy the minecraft.jar file into this new folder. Finally, rename the minecraft.jar file to something like "Minecraft Backup".
  2 Download a program like "WinRAR" if you don't already have one. Since Modloader is zipped when downloaded, you will need a program to unzip the file as soon as it is downloaded. WinRAR or 7-Zip is free to download and use (WinRar may ask you to pay to use it, but you can still use the program without spending a dime).
  3 Download Modloader if you haven't downloaded it yet. Modloader Risugami is a program that eliminates conflicts between mods, which may be necessary if you have several mods installed at the same time. You can download Modloader here.
 - Don't forget to download the Modloader version that matches your Minecraft version. For example, if you have Minecraft 1.5 installed, you should download Modloader 1.5.
Method 2 of 2: Installing Modloader
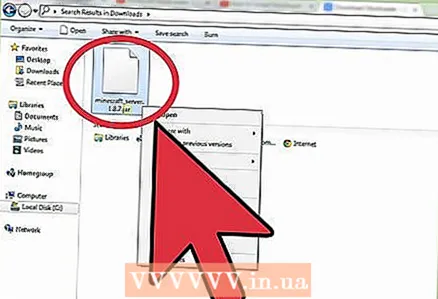
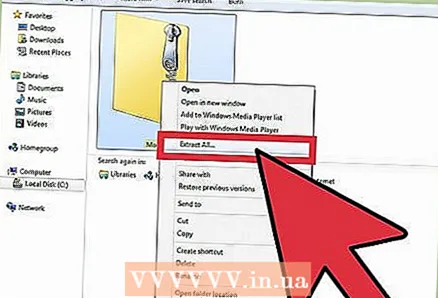 1 Unzip Modloader using a zip program. Right click on Modloader, and then select Open with → WinRar (or another archiving program). These are your .class files. Keep this window open.
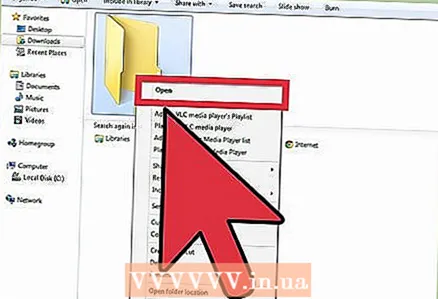
  2 Open the Minecraft folder by following the next three steps, depending on your operating system.
- In Windows XP: Click on the Start menu, then click on "Run". Enter "% appdata%" and click on "Roaming". Minecraft must be in the first folder. Open it.
- Windows Vista / 7: Click on the "Start" button, enter "% appdata%" in the search bar, and click on "Roaming".
- On Linux Ubuntu (the process should be the same on other versions of Linux): Open your Home folder. Look for the Minecraft file. Note: if you do not see this folder, activate the option "Show Hidden Files". When you find the folder, open Minecraft.
 3 Open the Bin folder by double-clicking on it.
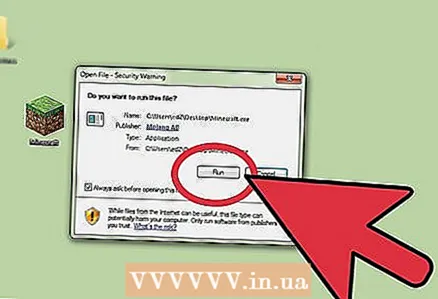 4 Open the minecraft.jar file with WinRar or a similar archiving program. Do a right click on minecraft -> Open With -> WinRar.
 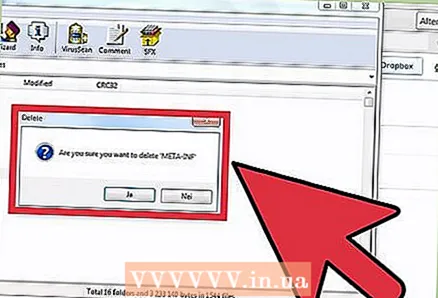 5 Delete the META-INF. This step is very important. If you do not delete the META-INF file correctly, the computer will display a black screen every time you try to start Minecraft.
 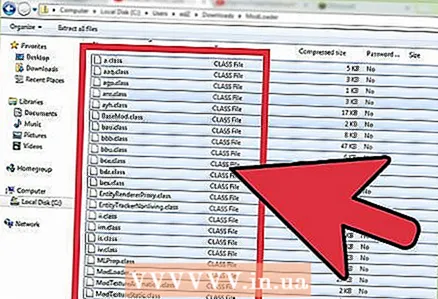 6 Drag the .class files, including folders, from the Modloader folder into the minecraft.jar window.
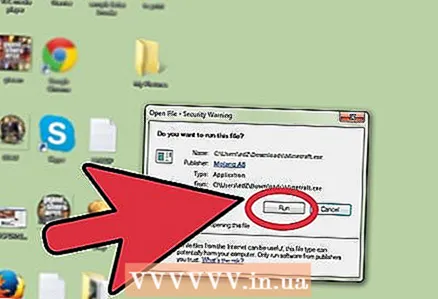 7 Close the .jar window and run Minecraft.exe.
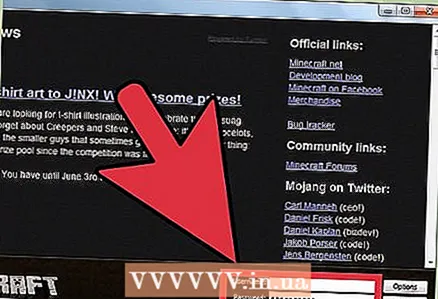 8 Go in and start the game for a short period of time. As soon as half a minute has passed, exit Minecraft, and check the minecraft.jar window again. If you see a new folder called Mods, the Modloader installation worked. Download mods and keep enjoying Minecraft.
Tips
- To install (most) mods follow this same method. Modloader is required for some mods.
Warnings
- If you delete something else instead of the META-INF folder, just delete the "Bin" folder and go back to Minecraft. Unfortunately, you will need to reinstall the mods.


