Author:
Mark Sanchez
Date Of Creation:
4 January 2021
Update Date:
27 June 2024
Content
- Steps
- Method 1 of 2: How to share a USB printer with a computer
- Method 2 of 2: How to Share a USB Printer Using a USB Server
- Warnings
For small home or office networks with only a few computers and "light" use of printing, a USB printer is a good choice, which can be shared by all computers. There are some advantages to general printing with a USB printer instead of using a network printer. USB printers tend to be cheaper than network printers and more compact. A USB printer can be used either through a Windows computer or a USB server, which is inexpensive and generally easy to set up, although it requires its own network connector.
Steps
Method 1 of 2: How to share a USB printer with a computer
 1 Click the Start button in Windows and go to Settings ==> Control panel ==> Printers. Right click on the shared printer.
 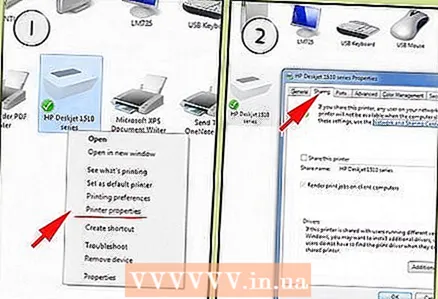 2 Select the "Change sharing options" option if network and sharing is not already enabled. Follow the instructions to enable device sharing.
 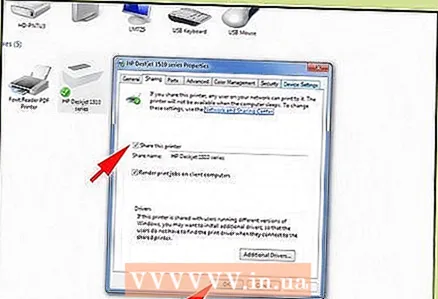 3 Check the button next to the "Share this printer" option. Enter a name for the folder for the printer. This is the name that others on the network will see when they search for printers. Limit the name to 8 letters without symbols or spaces.
 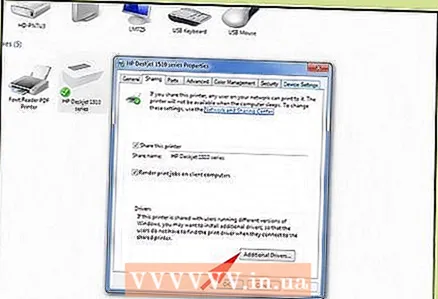 4 Select "Additional drivers" if there are other computers on the network with older Windows operating systems. Follow the instructions to install the drivers for these computers. This will save time as drivers do not have to be downloaded and installed separately on other computers.
  5 Follow the same steps to get to printers installed on another computer. Right click on the "Add printer" option and select "Network printer". Let Windows search the network for printers. If the printer is not found automatically, select "the printer I want is not listed". Select the "Browse for printers" option and locate the computer that is connected to the USB printer. Click the + sign to expand it, and then select your printer.
Method 2 of 2: How to Share a USB Printer Using a USB Server
 1 Check the system requirements for your USB server before purchasing. Make sure it is compatible with the operating systems of all computers on the network and with a USB printer.
 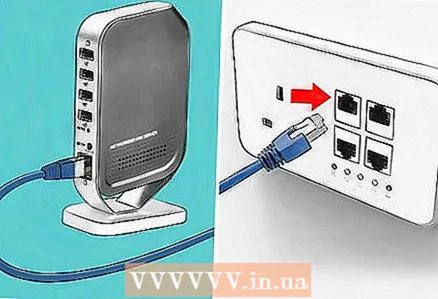 2 Place the server near a wall outlet. Connect an RJ45 Ethernet cable to the server at one end and to a wall outlet at the other.
 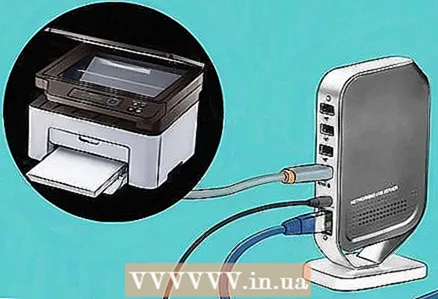 3 Read the instructions for the USB server. Follow the order given for power, network, and USB connections.
 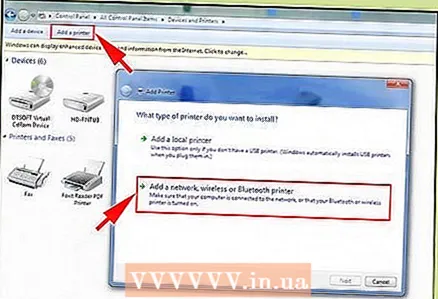 4 Go to each computer to add a printer. Go to the printers folder. Right click on the "Add printer" option and select the "Network printer" command.
  5 Let Windows search the network for printers. If the printer is not found, select "the printer I want is not listed". Select the "Browse for printers" option and locate the USB server that is connected to the USB printer. Click the + sign to expand it, and then select your printer. Follow the instructions to set up your printer.
Warnings
- Windows Firewall or other installed firewalls may be blocking access to the printer from other computers. Be sure to configure your firewall to allow traffic to the printer. Follow the instructions of the firewall.
- The instructions here show you how to share a USB printer using Windows Vista. Older versions of Windows use similar steps to set up USB printer sharing; sharing and adding is done through the "Printers" section of the control panel.


