Author:
William Ramirez
Date Of Creation:
18 September 2021
Update Date:
17 June 2024
Content
- Steps
- Part 1 of 4: Selecting Wallpaper
- Part 2 of 4: Preparing Walls and Tools
- Part 3 of 4: Spreading the Wallpaper
- Part 4 of 4: Hanging Wallpaper
- What is needed
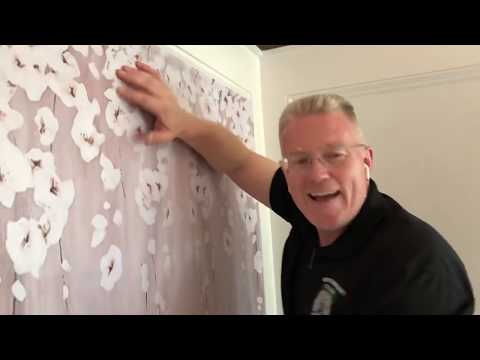
Wallpaper brings color and texture to the room. Luckily, most wallpapers come pre-processed, so you don't have to deal with glue. Wallpapering on walls can take a weekend and requires a lot of attention to detail. You can rent wallpapering tools from where you bought them, or purchase them from a hardware store or hardware store.
Steps
Part 1 of 4: Selecting Wallpaper
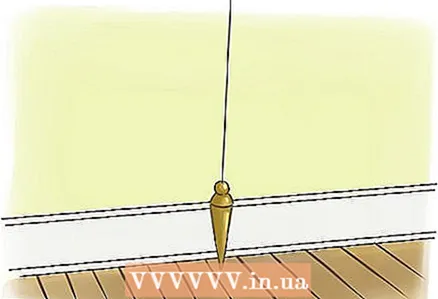 1 Buy a plumb line and hang it from the ceiling. Draw a vertical line on the wall in several places. If walls or windows seem curved compared to these lines, consider wallpaper that won't show the edges and corners.
 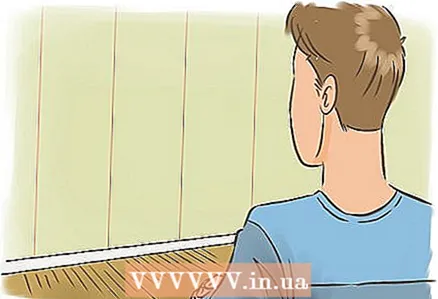 2 Make sure you have enough space for your wallpaper to look. Large prints usually don't work in small rooms because the rooms start to look even smaller.
 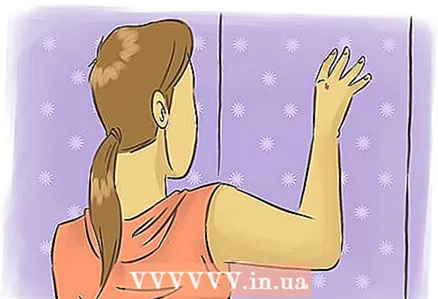 3 Choose small prints and light colors to make the room appear larger. Small prints exaggerate the size of the room, while light colors reflect light, adding a sense of spaciousness.
  4 One of the walls can be glued in some special way to make a support wall. It is better to use a wall without windows and other features for this.
  5 If possible, purchase wallpaper from a specialty store that sells wallpaper and coverings. This will allow you to get advice on the best methods and get tips for applying the wallpaper. You can contact the store if you have any questions along the way.
  6 Save the trims and batch numbers that are written on the wallpaper. If you need more, you can match the colors and prints that you used earlier.
  7 Read the instructions that come with the wallpaper very carefully. Each paper is slightly different. When in doubt, use specific guidelines, not general considerations about wallpapering.
Part 2 of 4: Preparing Walls and Tools
 1 Buy or rent a complete set of tools as listed below.
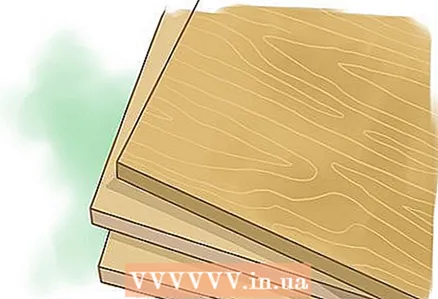 2 Ask if you can rent a table from a wallpaper store. To make your own, take a 0.9m x 1.5m plywood with a thickness of 1.9cm and place it on top of two trestles. Sand the corners of the plywood to avoid tearing.
 - Linden and plywood are like a self-healing mat that allows you to cut with a knife across the surface of the paper without destroying it.
 3 Ask someone to help you hang the wallpaper for the best results. Large rolls can be quite cumbersome.
 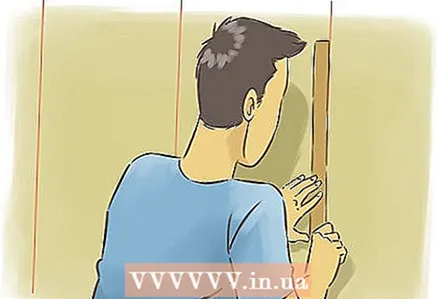 4 Mark the level before you start hanging the wallpaper. You must mark every 15 cm to ensure that all wallpaper is hung on the same level. Don't trust ceilings, floors, or windows as many are not on the same level.
 - Start hanging wallpaper in the least visible part of the room.
 5 Remove all furniture from the room, or as much furniture as you can. Cover the floor with a rag. Water may drip from the table onto the floor.
 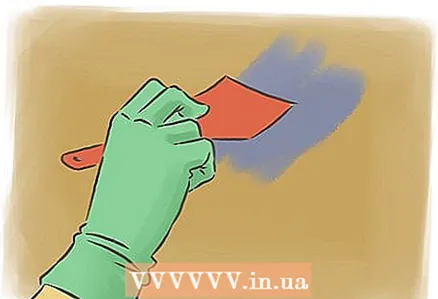 6 Prepare your walls ahead of time. You will need to apply a leveling mortar and sand if there are holes. Flush the wall with trisodium phosphate (TSP) or TSP substitute.
 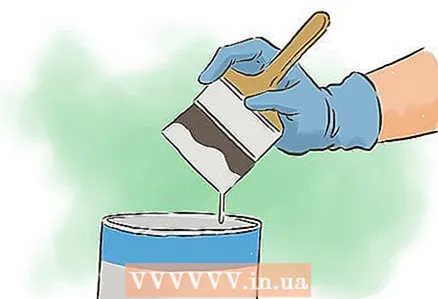 7 Improve wall-to-wall contact by applying an acrylic undercoat (also called sizing) to the wall.
- For exceptionally uneven walls, you can apply special leveling paper before applying the wallpaper.
Part 3 of 4: Spreading the Wallpaper
 1 Take a strip of wallpaper. Cut it to the length of the wall, adding 10 cm extra, or 5 cm each for the top and bottom.
 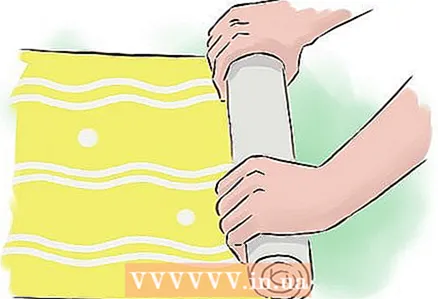 2 Twist the line from the bottom to the top, inside out. This means that the pre-treated side, usually white, must be on the outside.
 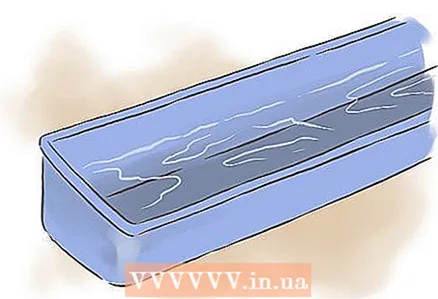 3 Fill the tray with room temperature water. Place it on the table.
 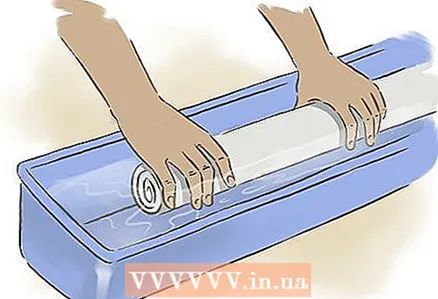 4 Submerge the roll of wallpaper in the water tray. Saturate it for about 30 seconds, or the time recommended by the manufacturer.
 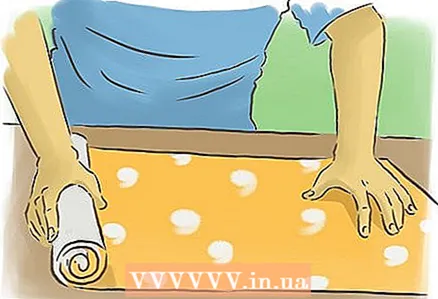 5 Unroll the paper onto your desk. The front / colored side must be on top.
 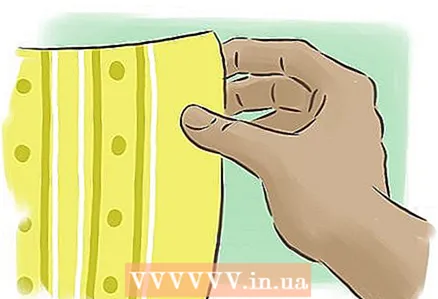 6 Fold the ends slightly inward towards the back. They should not be wrinkled, just pressed a little against the back. This is called a "book".
  7 Let the wallpaper sit for two to five minutes. At this time, the wallpaper expands. Applying the wallpaper too early will subsequently cause the wallpaper to expand and tear on the wall.
Part 4 of 4: Hanging Wallpaper
 1 Take wallpaper from your desktop. Make sure to hold them correctly.
 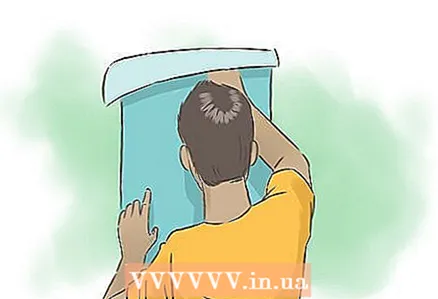 2 Line up and apply the top of the paper sheet to the wall. Use your vertical marks on the wall to line up the wallpaper correctly. Then allow about 5cm of extra paper above the cut to remove later.
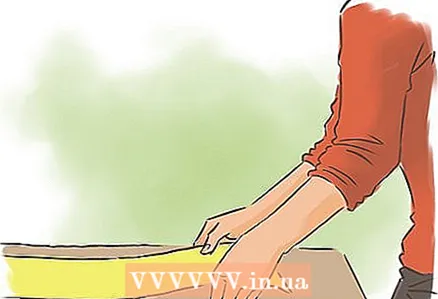
 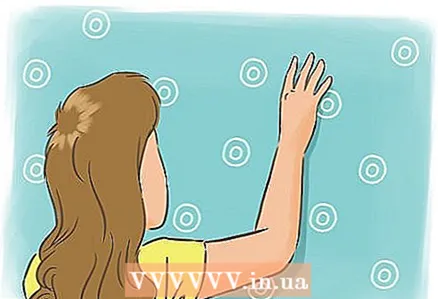 3 Move the paper into position as needed. The size of the wallpaper should allow you to move it to the exact position.
 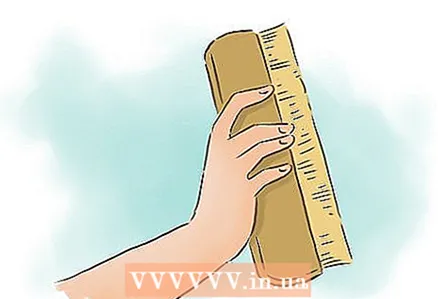 4 Use a wallpaper smoothing spatula or other tool to remove the bubbles. Remove bubbles carefully (from center to sides). Repeat until the wallpaper is smooth on the wall.
 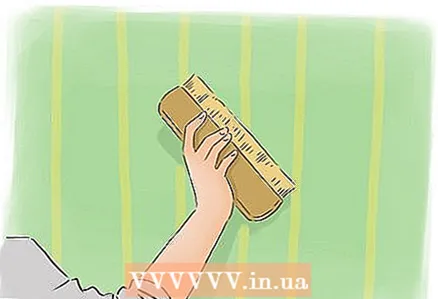 5 Repeat with the bottom half of the strip. Always smooth from top to bottom and from center to sides.
 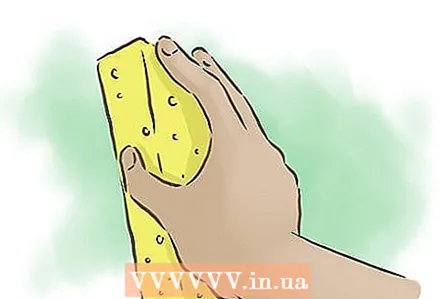 6 Wet a sponge and wash off excess adhesive from the face of the wallpaper, if necessary.
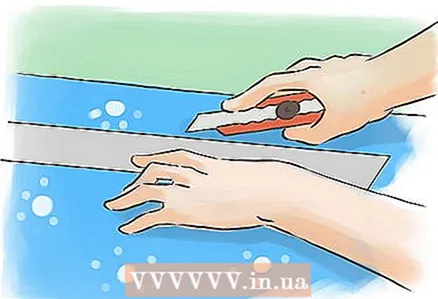
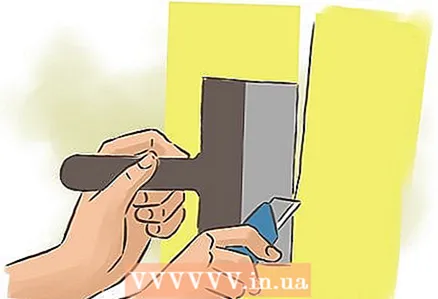 7 Cut the wallpaper using a knife and trowel. Cut in one stroke along the top edge of the trowel using a utility knife. Keep the blade as horizontal as possible as you cut.
 - Replace the blade after cutting two strips of wallpaper. Sharp blades are essential to avoid tearing.
 8 Line up the rest of the wallpaper in a similar manner. Be sure to align them with the plumb line and level. Pay attention to the directions of the wallpaper applied by the manufacturer.
 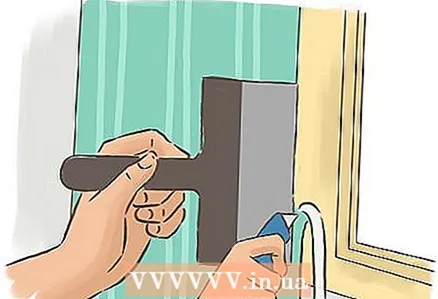 9 Apply wallpaper over switches and other fixtures. Then cut from the center of the fixture to the corners. Cut the paper with a knife and spatula.
What is needed
- Rolls of wallpaper
- Tray
- Water
- Sharp blade
- Level / plumb
- Sponge
- Plastic spatula for smoothing
- Measuring tape
- Putty knife
- Pencil
- Table
- Ladder
- Rags
- TSP
- Sizing / acrylic undercoat
- Paint brush / roller
- Alignment paper (optional)


