Author:
Monica Porter
Date Of Creation:
20 March 2021
Update Date:
1 July 2024
Content
- Before reusing the old pot, scrub it thoroughly with soap and water. Dip the basin in a solution of one part household bleach and nine parts hot water, then dry. This step kills microorganisms that can harm the seeds.
- Some plants such as lettuce, cucumbers, watermelon and sunflowers can be damaged when they are planted if the roots are cut.Instead, you can sow the seeds outdoors after the last spring frost, or plant each seed in a separate box in a hole-hole sowing tray and lay the ground down as you plant it.
- If you are using store-bought soil, check to see if the soil contains compost. If so, you do not need to fertilize the seedlings. (Don't try to add compost to your home compost the first time you plant it - this is more problematic than good.)
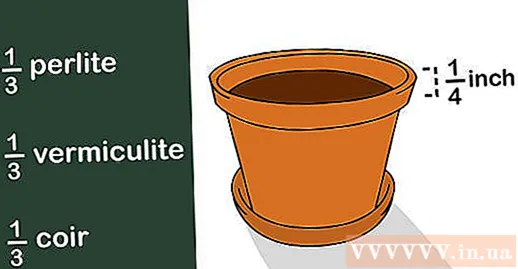
- If using peat moss instead of coir, add a little hot water to make it easier to mix. Because peat moss is acidic, you can add lime (calcium carbonate) to your garden to rebalance. Try mixing ¼ teaspoon of lime for every 4 liters of soil mixture.
Drills. If the sowing soil is dry, you need to wet it before sowing. Read the instructions on the seed package for exact spacing and depth when sowing, or follow the instructions below:
- Common tray, single grain: Spread the seeds loose and evenly over the tray.
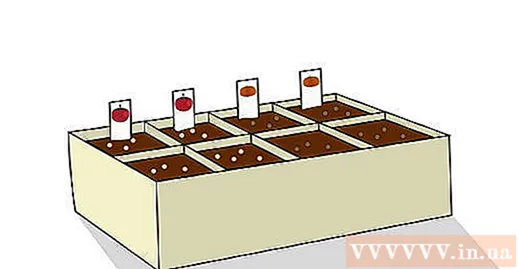
- Common tray, many types of seeds: Use a clean ruler to draw shallow rows of 2.5–5 cm apart. Drop the seeds of each type into separate rows. Label each row.
- Separate pots or sowing trays with holes: Plant a large seed (like a cucumber or a watermelon) or two small seeds (like most sunflower seeds) in each pot.
- Dry vermiculite or crushed sphagnum moss (not peat moss) is ideal for covering seeds, but you can use a mix of sowing soil instead.
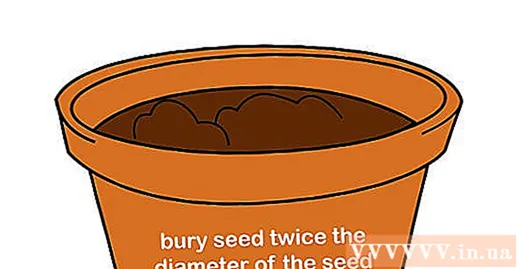
- Gently cover the seeds with a layer of soil. If you squeeze too tightly, the shoots can be difficult to penetrate the compressed soil.

Lock the moisture with plastic wrap. Seeds are very susceptible to damage because the moisture is too high or too low. A plastic wrap or plastic bag will help keep the moisture in the soil until the seeds germinate.
- Most seeding trays purchased from a garden center come with a wrap to keep the moisture inside. If not, you can make a tiny greenhouse to replace or plant seedlings in the old aquarium and cover.
- Some seeds sprout well in complete darkness, including tomato seeds, non-swiftlet flowers, calendula chamomile, and cilantro. Block the light with black nylon or cardboard.
- If you want to maximize your chances of success, you can find out the specific temperature of the cultivar you want to grow. However, usually you will lose some seeds because of the inappropriate temperature, or the seeds take longer to sprout.
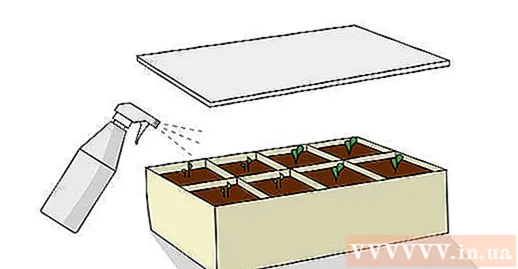
Check the humidity every day or every other day. If the soil mix appears dry, place the seeding tray in another tray of water. The soil will absorb water from the bottom of the sowing tray. This is less risky than watering from above, as then the seeds may be washed away or too much water.
- As noted above, plastic wrap is sufficient to retain moisture during seed germination. This step is for support only.
Part 2 of 3: Taking care of seedlings
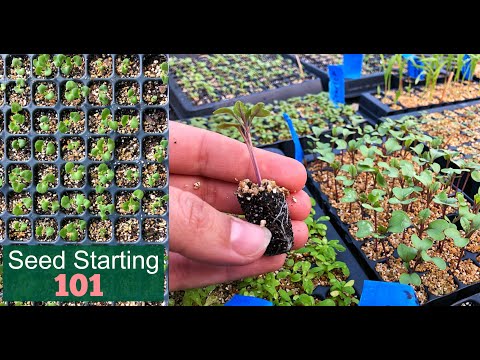
Remove the plastic wrap after the seeds germinate. Most seeds germinate in about 2 weeks. Once the germ has emerged from the ground, remove the mulch (if any).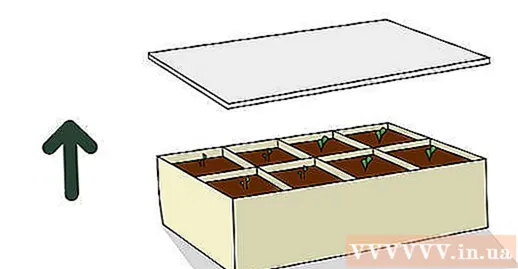
- If you plant multiple rows of seeds in a common tray, cut nylon or fabric strips to cover the rows that have not yet sprouted.
Exposure to strong light after germinating. Move the tray to a window to the south (north if in the southern hemisphere), where there is light. If the lighting and temperature conditions of the window sill are too different from where they were, you need to move in stages, gradually increasing the light intensity. A sudden change can kill the plant.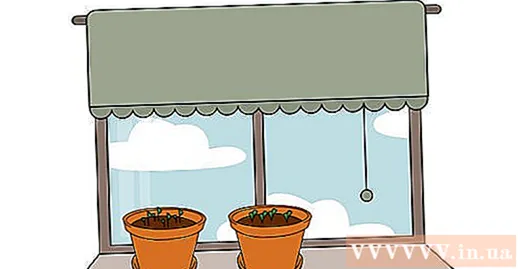
- If it is quite cold outside, you may need to place a heating pad between the sowing tray and the window. Otherwise, cold outside temperatures can seep through the windows and slow down seedling growth.
- At latitudes far north or south of the hemisphere that do not receive much sunlight, you need to hang a lamp about 15 cm above the seedlings, and leave the light on for 14-16 hours daily. Move the light away as the seedling grows to avoid burning the plant.
Rotate plants every day. Plants usually grow towards sunlight. If the light was only shining through the window, the seedlings would lean in that direction and produce long, weak branches. Every day, you should rotate the planting tray quarterly to let the plant grow evenly.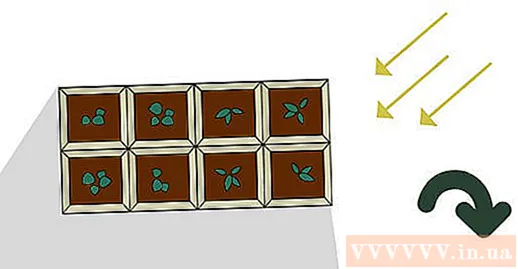
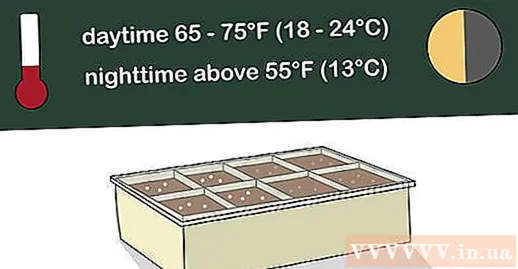
Maintain a stable temperature. Unless otherwise stated on the seed packaging, you should continue to maintain a daytime temperature between 18–24ºC, and at night no less than 13ºC. Temperatures that are too cold or too hot during this stage can cause the plant to grow unhealthy, such as spindly branches.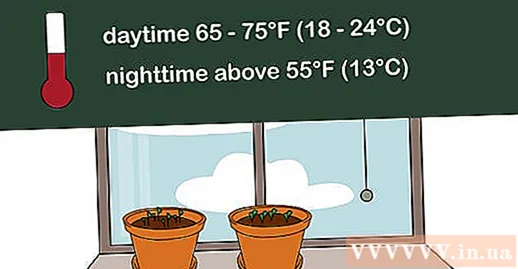
Water regularly. Planting soil should be kept moist but not soaked; otherwise, fragile roots will rot or suffocate (unable to absorb oxygen). It is ideal to use a water tray placed under the pot to allow water to soak up from the bottom, as watering from above can break or facilitate disease development.
- Seeds will die quickly if they dry out in the middle of germination. You should test at least once a day.
Fertilize when the first real leaves come out. The first pair of leaves that appear are called cotyledons. The second pair of leaves are the first "real leaves", also a sign that the tree has reached the "maturity" level and is ready for real development. Dilute fertilizer proportionally with a concentration equal to of the recommended concentration on the label. Pour into a wide tray and place the planting tray in the fertilizer solution so that the soil absorbs fertilizer from the bottom up. Follow once a week or as directed on the package.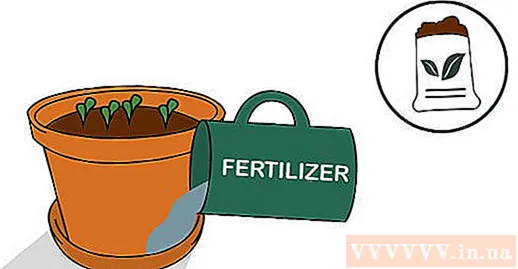
- If you plant seeds in soil that already has compost, you do not need to add fertilizer. Too much nutrients can "burn" the plant or cause other problems.
- You can fertilize at of the recommended amount once the seedling has been moved into larger pots and fertilize at full amounts as the plant matures.
Transfer the seedlings to separate pots. If there are multiple seedlings in a tray, they may need to switch to a new, larger pot to prevent them from overgrowing. However, not all seeds need to be moved. This depends on the type of tree. If you need to separate the tree, wait until the seedlings appear sturdy enough to withstand the movement. Usually, gardeners only transfer the largest and strongest seedlings. You can remove the remaining plants or use them as compost. Here's how to do it: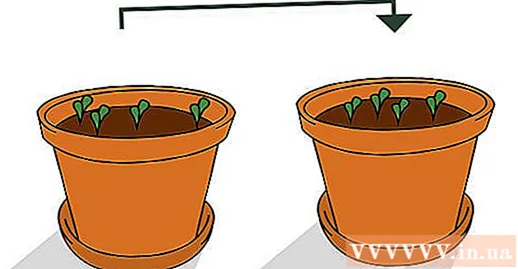
- Rinse the new basin with soapy water and rinse.
- Place moist soil at room temperature in a new pot. Dig a hole just enough for the seedling's root system.
- Use a popsicle stick or thin object to brush the soil around the seedling roots.
- Gather the top leaves and lift the tree. Don't grab the trunk.
- Place the plant in the hole. You can use a pencil to spread the roots a bit wider, but don't worry if it doesn't work as well.
- Sprinkle moist soil over the roots until the seedlings are buried at the same depth as before. Gently press the ground down.
- Avoid sudden changes in temperature and light for at least the first few days while the seedling is recovering.
Train for strong plants. This is the process of gradually exposing your plant to fluctuating temperatures and outdoor weather conditions so that it will not be shocked when it moves. Start this process before the date of moving the tree outdoors: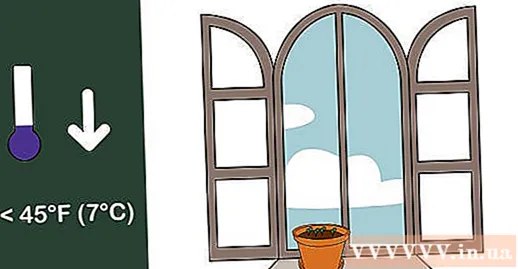
- Lower indoor temperatures a little.
- Water less, but don't let the plant dry out.
- Leave the plant outside for an hour or two a day, in a sheltered, shaded area. Avoid temperatures below 7ºC.
- Increase the amount of time the plants spend outdoors to about an hour per day. Gradually place the plant out of sunlight. (Exposure to sunlight depends on the type of tree and where the tree is moved.)
Move the seedlings outdoors. When the weather is warm and the seedlings have tolerated being outdoors all day, you can repot the plant for a permanent planting or to the ground in the garden. Follow the instructions specific to each plant, as each plant has different needs for temperature and light. The following tips are just the basics: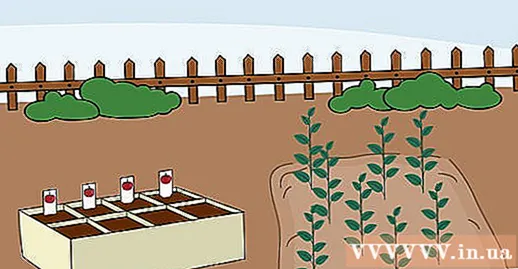
- If possible, switch plants in a morning with little sun and no wind.
- Moisten the soil in both the pot and the new hole.
- Carefully move the roots into the new hole. Spread the roots as wide as possible, being careful not to break the roots.
- Add more soil to allow the tree to be buried underground to the same depth as before.
- "Water more" so the soil comes in contact with the roots.
Plant maintenance. Relocation is difficult for the plant and it can take several weeks for the plant to take root. After the first watering, keep the plant moist enough, but don't let the plant get waterlogged. Protect the tree from heavy rain and strong winds until it can withstand itself to thrive. advertisement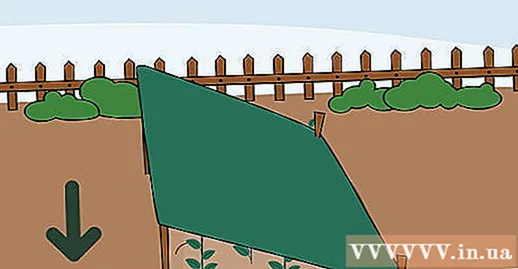
Part 3 of 3: Troubleshooting
Prevent fungal infection in young plants. Newly sprouted seedlings are so often fungal death that the phenomenon is called "seedling death disease." Try re-seeding and taking precautions to prevent fungal spores from falling in and growing: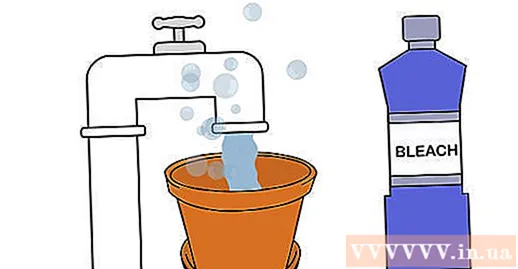
- Disinfect the soil and wash all pots and planting tools with a mixture of one part household bleach and one part water.
- Sprinkle vermiculite or perlite on the surface of the pot after planting.
- Avoid wet and cool conditions. When you hold a handful of soil and see water dripping, it is too wet.
- For best results, treat the soil with an antifungal, ensuring that the instructions on the package are followed.
Find out what causes the seed not to sprout. Many tree nuts, including oranges and apples, need to be treated to stimulate germination. For best results, you need to follow the instructions for each plant species. Most of these plants require one or two of the following treatments: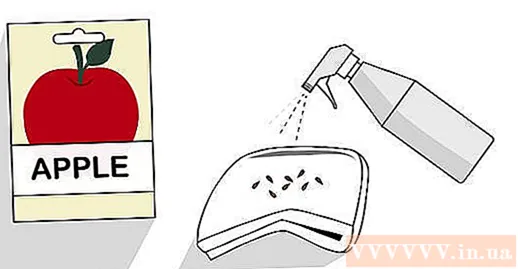
- Peeling: Seeds with hard shells may have to be peeled or thinned. You can try using a nail file to sharpen it or use a knife to cut the seeds. You can even boil some hard nuts to soften the skin.
- Stratification (wet-cold process): In nature, many plant seeds lie on the ground during winter and germinate in spring. A few weeks in a cold, humid environment, simulating this condition will help the seed "know" that it needs to germinate. Try placing the seeds in two damp paper towels, place them in a plastic bag, and keep in the refrigerator.
Advice
- Choose a spot in the garden long before planting; you may need to adjust the soil or prepare the soil in time for the seeds to germinate.
- Some gardeners "caress" the tops of seedlings every day. This movement seems to stimulate the stem to grow stronger, shorter. Slightly blowing winds have the opposite effect of stimulating plants to grow taller but weaker. On the contrary, a high wind speed will help the tree trunk to be strong. Try placing a fan near the seedlings for high wind speed.
What you need
- Seeds
- Plant land, you can buy it in the store or mix it yourself
- Variety of potted plants
- Fertilizer
- Country
- Sunlight
- Heating pad (optional)


