Author:
Louise Ward
Date Of Creation:
12 February 2021
Update Date:
1 July 2024

Content
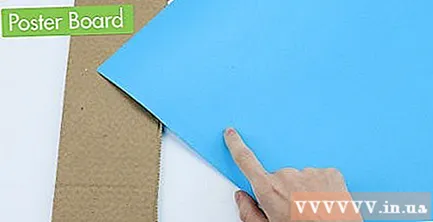
- Stick the photo with paper tape or tape. Be sure to stick the tape close to the edges, but sticking extra tape in the center of the back of the image to keep the balance will make the operation easier.
- Or, you can paste the photo with spray glue. Just spray the glue onto the mold material and stick the photo onto the surface.
- You can also convert the image to the carbon paper mold material. This method works best when your mold is made from cardboard or cardboard.
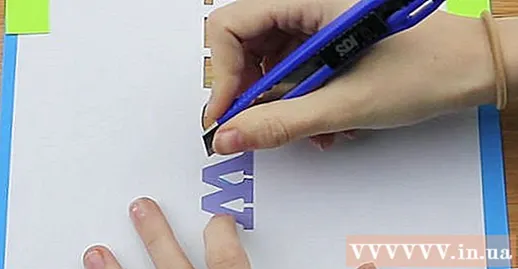
Cut away the parts of the picture that you want to paint on the decorative surface. Use a sharp-pointed paper knife to deftly cut unnecessary areas on the mold. If your design requires more than one color, you will have to create different molds for each color. advertisement
Part 3 of 3: Mold Use
Stick the mold on the surface to be decorated. It is important that the mold stays flat on the surface when you spray the paint. If any part of the mold protrudes, the paint will spill over the surface below and cause the design to lose clarity. You can do this in several ways: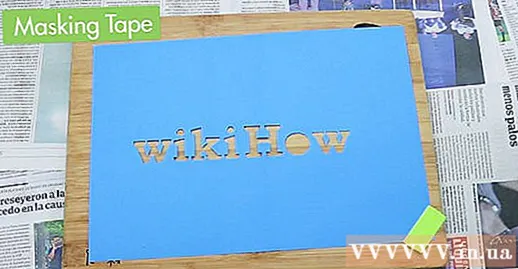
- Adhesive tape is suitable for applying simple molds. However, you cannot bond highly detailed samples with tape.
- Temporary sprays are also available in craft stores. This product is suitable for molds with many details because it can adhere all details on the surface to be decorated.
- If the mold is made from transparent decals, simply peel off the underlying paper layer and stick it on the surface to be painted.
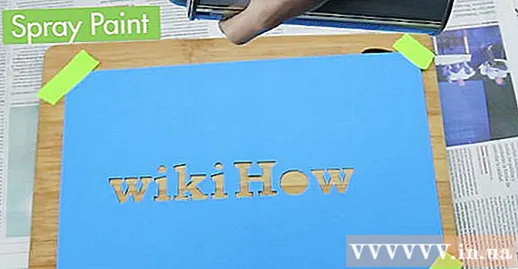
Spray paint. However, you should not spray too much to allow the paint to settle or form puddles. Excess paint may drip down the mold. Instead, act quickly when spraying and don't leave the spray in place for too long.
Remove the mold and check the results. Usually, paint can still flow out of the mold's edge (no matter how smart you are with your hand) and you have to check how your design looks. You may need more tweaking to fix the unsightly things.
- Better yet, you should test the mold on a certain surface before using it on the decorative surface. This way, you can know how the actual image will look, know if the paint will flow to the edges of the mold or not, and know how to properly hold the mold in use.
Advice
- If you are using photos or images online, you can edit them to create a perfectly decorated frame. Sometimes, you have to create extra edges or have to remove some of the shadows in order for the trim to accurately represent the original image.
- Be sure to use a paper knife only on a suitable surface, such as a cutting board.
What you need
- Drawings or pictures used to make molds
- Graphic designing software
- Printer
- Printing paper
- Cardboard or foam paper
- Hardcover
- Plain or transparent plastic covers
- Transparent decals
- Paper or duct tape used in art
- Carbon paper
- Paper knives
- Spray glue
- Spray paint (if using decorative molds)
- Some other paints (if not available)


")
