Author:
Lewis Jackson
Date Of Creation:
7 May 2021
Update Date:
20 June 2024
Content
Ombre is a hair dyeing effect that makes the lower part of the hair look lighter than the upper part. For this effect, you need to bleach the lower part of the hair. If you want to avoid your hair from being copper or orange, you can dye the lower part of your hair after bleaching. This step is optional, but it helps to make the hair even color when dyeing ombre. This article will show you how to dye ombre hair.
Steps
Part 1 of 3: Prepare
Choose a color. You should choose a color that suits your natural hair. Popular choices are light brown, red / golden brown, or golden tones.
- There are two types of ombre: traditional and reverse. Traditional ombre has a light color at the ends compared to the roots, while the reverse ombre has a dark color at the ends and lightens the roots.
- Choose a color that is no more than 2 tones lighter than your real hair color.
- The more subtle the color changes, the more natural it will look and the more attractive the hair will be in the sun.
- If you can, choose a lighter or natural color that won't damage your hair.
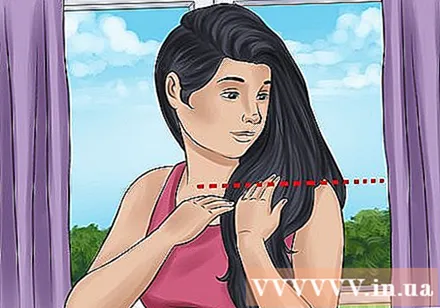
Consider where you want your hair to start glowing. Choosing the transition point between the natural hair color and the dye color is just as important as when choosing the color. The lower the point of meeting between two colors, the safer it will be. If the meeting point between the two colors is too high, your hair will look like an elongated hairline that you have not re-colored instead of a beautiful ombre effect.- Ombre is suitable for dyeing long hair because when colored will not look like unbleached hair roots. The longer your hair, the easier it will be to dye the ombre underneath the hair to create a clear contrast.
- In general, the jawline will be the best location for the two colors to meet.

To comb. Make sure your hair is free of tangles. This step will make it easier to remove the hair and the hair to be dyed evenly.
Put on a cloak or old t-shirt. This will help prevent the bleach or dye from sticking to the garment during the process. An artist or hairdresser's gown will help you avoid this. If you don't have a cape, you can replace it with an old t-shirt that you don't mind getting dirty.
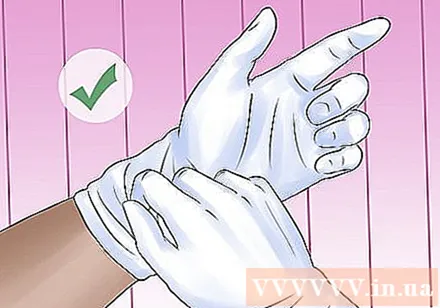
Wear gloves. Gloves are usually included in the dye kit but if you don't, you can use regular rubber, vinyl or latex gloves. Note that it is important to wear gloves when dyeing or bleaching hair.- If you don't wear gloves, you can dye or remove both the hair and the skin of your hands. Hair bleaching chemicals can irritate the skin and cause a burning sensation.
Part 2 of 3: Hair Removal
Make a hair bleach. You will need to bleach your hair to bring out the color in your hair unless you want to dye the ombre in reverse. As an alternative, you can also use a yellow dye - which is safer for hair, but it doesn't bring out the color so the hair is only light.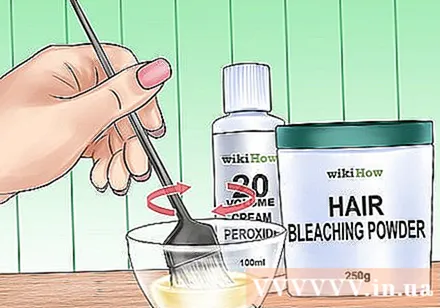
- Developer comes in 10, 20, 30, and 40 doses. However, you don't need 30 or 40 to create an ombre effect.
- The simplest and most economical way to bleach your hair at home is to use equal amounts of 20 peroxide and bleach in equal amounts of dye aid. Mix about 60g of a 20 peroxide ratio dye and bleach powder until it has a thick creamy texture.
- Always mix the bleach in a well-ventilated area to avoid inhaling too much of the odor.
Divide hair into sections. Divide the hair from the center of the head into two equal sections, then divide each section into smaller sections. Or at least divide each side into four sections.
- If your hair is long and / or thick, you can divide it into more sections.
- Clip or tie to separate each section of hair. If you are using a clip, don't choose a metal clip because it reacts with the chemicals you use in your hair.
- Confuse the part of the hair for which you want to create an ombre effect. Fluffing your hair in this section will help you avoid unnatural color lines or clear the bleach application line.
Choose an applicator. If you are using a dye or bleach kit, you may already have a small brush in place to apply the bleach. If not, the best option is to use a dedicated applicator brush. You can buy this brush at a hair product store.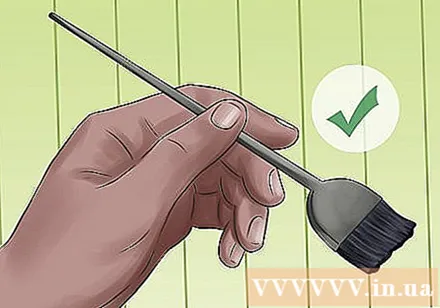
- Or you can use a small soft brush to apply the medicine. Be sure to use a disposable brush when you're done.
Start bleaching hair. Apply bleach from the ends and work your way up to where you want to lighten your hair. You do not have to work very quickly or work on large sections of hair; just apply hair bleach evenly all over hair.
- Apply the bleach evenly to the sides of your hair. Check in the mirror to make sure the bleach is applied in the same place on both sides.
- Make sure to evenly apply the medication to the part of the hair you want to bleach. Inspect each section for hair to see if there are any missing hair - the most important thing is that the medication is absorbed evenly into the hair.
- To avoid unnatural hair color or clear boundaries, you should apply hair bleach with a dedicated brush vertically of your hair instead of horizontally.
Let the bleach soak in. Depending on how bright you want to dye your hair, you will need to let the bleach soak in for about 10-45 minutes. To test, you can remove bleach from a small section of hair after 10-20 minutes. If you like that hair color, you can rinse it off completely. If you want lighter hair, wait for more and check in 5-10 minutes.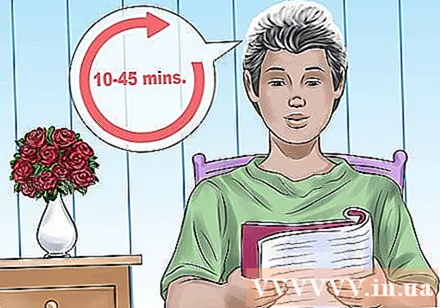
- If you only want a slight change in color, you can leave the bleach on for 10-20 minutes.
- If you want your hair to be darker, you need to bleach it for about 40-45 minutes. The bleach that stays on your hair for a long time will help prevent you from having copper or orange tones.
Rinse off the bleach. Keep wearing gloves and rinse hair bleach with warm water, then wash hair with non-sulfate shampoo. Make sure to rinse the bleach completely, or your hair will continue to glow. Don't use conditioner for your hair at this step. advertisement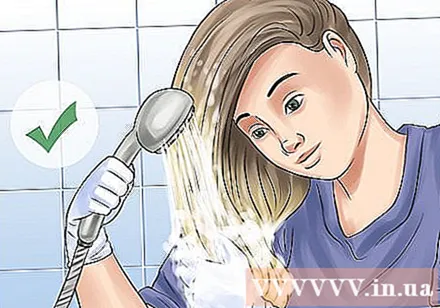
Part 3 of 3: Coloring your hair
Make sure your hair is dry. Use a towel to dry your hair before dyeing. It may take an hour or two for your hair to dry.
Divide hair one more time. Divide hair into sections like in the bleaching step. Hold the ends in place with an elastic band or clip for easy dyeing. Divide your hair into at least 2-3 sections or more, depending on your needs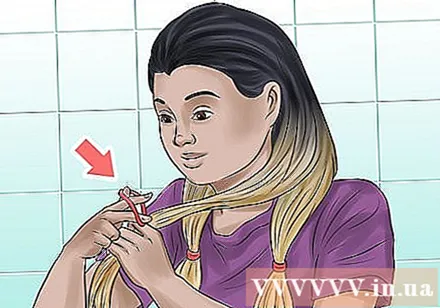
- Do not use metal clips to avoid reaction with the dye.
Wear gloves. Gloves are usually included in the dye kit, but if you don't, you can use regular rubber, vinyl or latex gloves. Note that it is important to wear gloves when dyeing or bleaching hair. If you don't wear gloves, you can also dye or remove the skin of your hands.
Prepare the dye. Most dyes require measuring and blending, so follow the directions for mixing your hair dye. You should mix the dye in a well-ventilated place.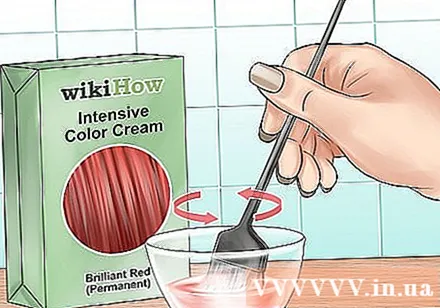
Apply the dye to your hair. Follow the directions on the dye container to apply it properly.
- If you want to dye the traditional ombre (the ends will be light), apply the dye to the entire bleached area and a little directly above the hair.
- If you dye the ombre in reverse, apply the dye to the point where the two colors meet, then apply a thick layer underneath the hair (similar to bleach).
- Apply the dye evenly to the part of the hair you want to dye. Check to make sure no part of the hair is missing. Similar to bleaching, it is important to let the dye evenly penetrate the hair.
Let the dye get into your hair. See instructions to determine how long to stay in your hair. Keep the dye in your hair for the length of time listed in the instructions to help your hair color.However, since your hair has been bleached, you don't need to leave the dye on for longer than 10 minutes.
Rinse off the dye. Still wear gloves and rinse the dye off with warm water, then wash your hair with a sulfate-free shampoo. Bleaching / coloring your hair will damage your hair, so you will need to use a deep moisturizing conditioner to hydrate your hair.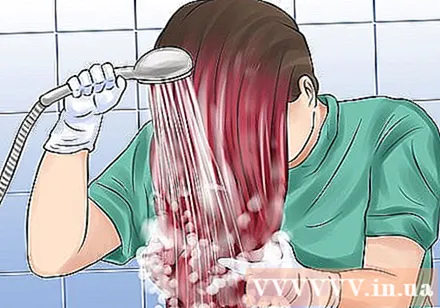
Dry your hair and style it as usual. For hair that becomes dry due to the use of dyes, it's best to air-dry your hair naturally and avoid adding heat. However, if you want, you can still blow-dry your hair right away to get your hair in a normal state. This helps you see if your hair is the desired color and if you need to adjust it after dyeing. advertisement
Advice
- Print a few reference photos once you've chosen the style of ombre you want. Reference photos will help you figure out where the color should be dyed and how dark or light the tone should be.
- Keep dye on hair for 25-45 minutes. The longer you leave it, the darker your hair will be.
- If your hair is still dark, try bleaching with oil.
Warning
- Do not use household bleach. You must use a hair bleach that says "Hair Bleach" on the package.
- If your hair is badly damaged, you should consider dyeing it. Hair will be damaged even more when bleached or dyed.
What you need
- Hair elastic band
- Hair dye or bleach set
- Old coat or t-shirt
- Disposable plastic gloves
- Comb
- Rub
- Shampoo
- Conditioner


