Author:
Randy Alexander
Date Of Creation:
3 April 2021
Update Date:
1 July 2024

Content
If you have an email account added to your Android device, you can use it to send photos you just took with your Android camera. If you have not yet added an email account to your device, you can proceed in the Settings (Settings). Once you've added your account, you can share photos from the Photos app or Gallery, or attach files directly to the email body.
Steps
Part 1 of 3: Add email account to Android device
Open your device's Settings app. Before emailing a photo from your Android device, you need to make sure you're signed in to your email account. Do this on the Settings app.
- If you have already added an email account to your device, see the next section.
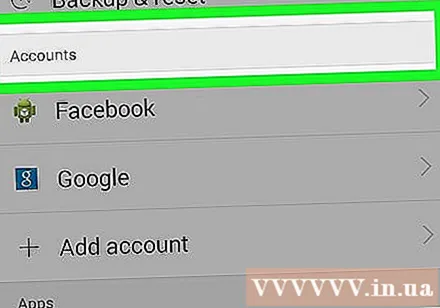
Click "Accounts". This option is in the "Personal" section.
Click "Add Account". Tasks usually show up at the bottom of the screen.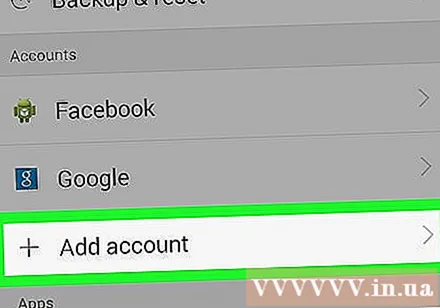
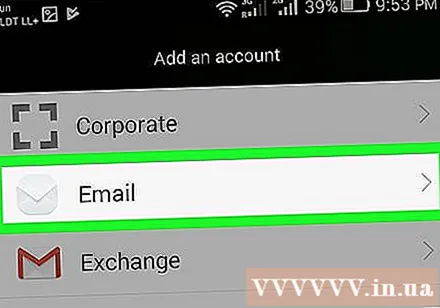
Select "Email", "Mail" or "Google". If the email account you are adding is not Gmail, select "Email". If you are adding a Gmail account, select "Google".
Enter account details. After clicking "Email", you will be prompted to choose an email provider. Select from the list, or click "Other" if the provider is not listed. If you have a Hotmail account, select "Outlook.com". After choosing your account type, enter your username and password when prompted. Follow the on-screen instructions to complete configuring your email account. advertisement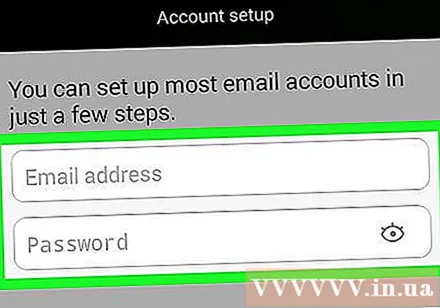
Part 2 of 3: Sending photos from Gallery or Photos app
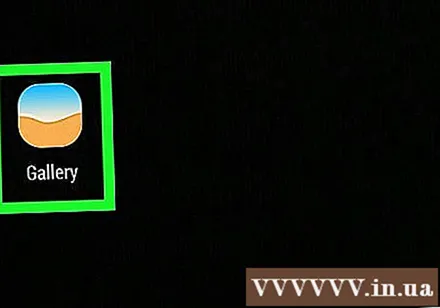
Open the Gallery or Photos app. This application contains all the photos you are storing on your device.
Hold down on the first photo you want to send. This will select and put the image into Selection mode.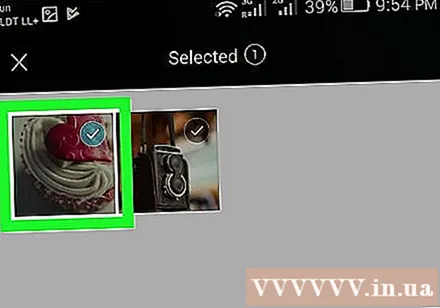
- If this does not allow you to select multiple photos, you may need to press the "Share" button before selecting the images. This action will vary from device to device.
Tap another photo you want to send. Once Selection mode is on, click on each photo you want to select to add and send.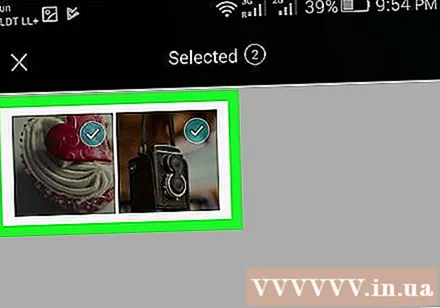
- Try to send no more than five pictures in each email. Many email services do not allow users to receive emails that are too large. Limiting you to just five images per email will help ensure that anyone can receive it.
Click the "Share" button after selecting the photo. After you have selected your photos, click on the "Share" button. This button is usually at the top of the screen and has an "<" symbol with a dot at each point.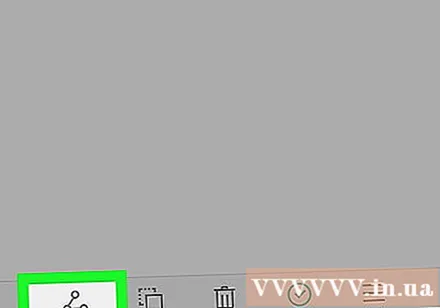
Select an email app from the list of apps to share up. When you click the Share button, the application list will appear in a new window. Scroll down on this list to find the "Email" button. After you tap, the email application will open with new mail.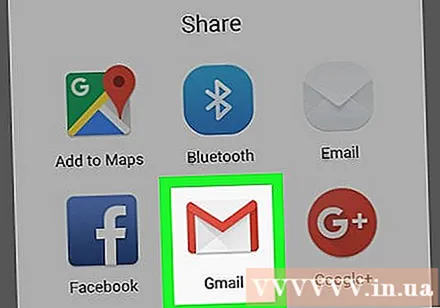
- If you use the Gmail app instead of Email, choose "Gmail" from the list.
Select a picture size if prompted. Depending on the device and the email client you are using to share, you may need to resize the photos. Choose a word from the given options. Smaller photos will work for recipients with poor connectivity, but image quality will drop when viewed on a widescreen.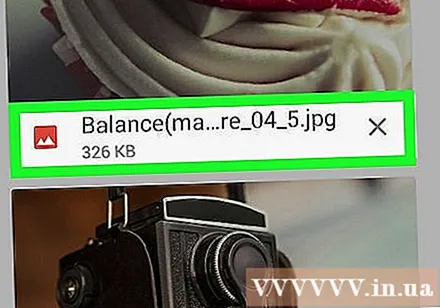
- If you're sharing from the Google Photos app, you'll be prompted to email the photo in its full size, or create a link that the recipient can open. Linking is fine if you want to send more photos than the email allows.
- Photo resizing options vary greatly depending on your device and your Gallery or Photos apps.
Compose messages and add addresses. After selecting the Email app, you will be taken to the Compose Message window. The photo you choose will be added as an email attachment. Enter the email text and recipient information at the top.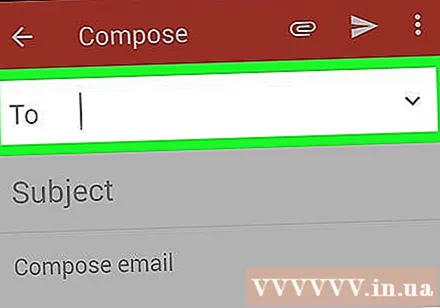
Send photos. After composing your email and adding a sender, click the "Send" button to send the email. You must be connected to Wi-Fi or a mobile network for the email to be sent.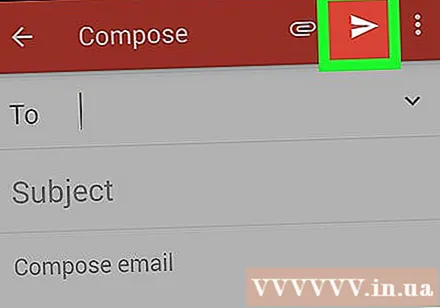
- It may take a few minutes for the email to be sent as images usually take a while to upload.
Part 3 of 3: Attaching photos using Gmail app or email
Open your email client. You can attach photos to email content right on the app. To proceed, open the Email or Gmail app.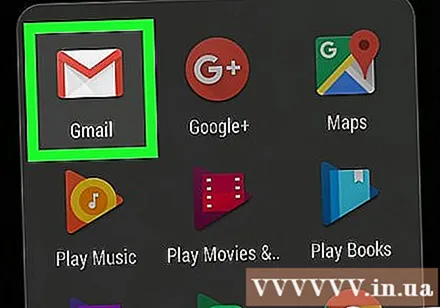
Compose a new message. Start a new email in the app by pressing the New button. This option usually has a pencil icon or a "+" sign.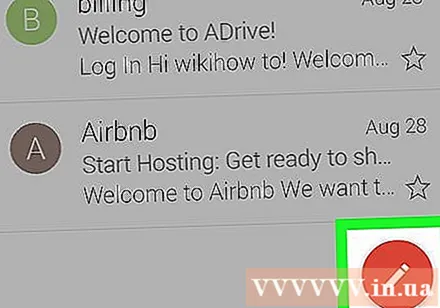
Click the Attach button. After the Compose Message screen opens, press the Attach button. Options have a paperclip icon and are usually at the top of the screen. You may also need to press the ⋮ to open the menu first, depending on the email application you are using.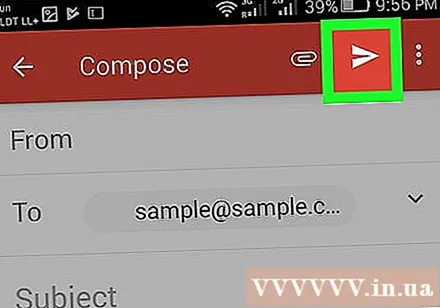
Find the photo you want to attach. When you press the Attach button, a new menu will usually appear at the bottom of the screen. You need to tap on "Picture" or "Photo" to view the pictures saved on your device.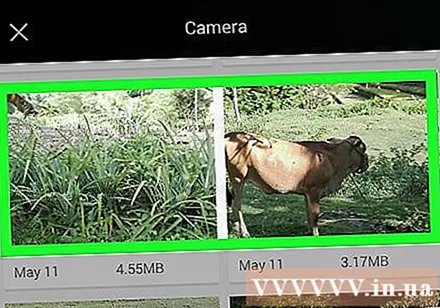
- Click the "Camera" button to take a new photo with the camera and attach directly.
Select the photo you want to attach. After the gallery appears, you can click on the photo to select it. Some email programs let you select only one photo at a time, while others let you tap multiple photos to select them at once.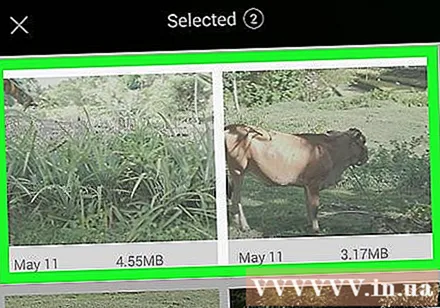
- Click "OK" or "✓" after you have selected your photo.
Finish composing email. After attaching the photo, compose the email as you normally would. Don't forget to enter the name of the recipient you want to send the photo to.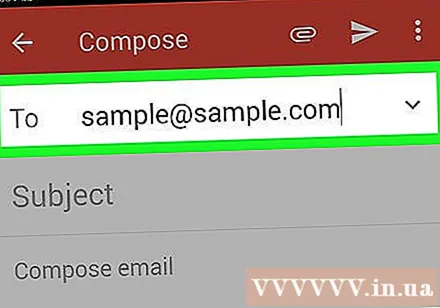
Send email. After the email is ready, you can click the Send button image envelope. You must be connected to Wi-Fi or a mobile network to send the email. Emails with many pictures may take a few minutes to send. advertisement
Advice
- You should only send up to five photos in each email. This helps ensure that the email is sent correctly and that the other person will receive the photo.
- Depending on the email service of both sides, it may take a long time for the email to reach the recipient.


