Author:
Charles Brown
Date Of Creation:
8 February 2021
Update Date:
1 July 2024
Content
- To step
- Part 1 of 3: Bleeding, scaling and evisceration of the fish
- Part 2 of 3: Precise fillet cutting
- Part 3 of 3: Remove bones, skin and fat
- Tips
- Warnings
- Necessities
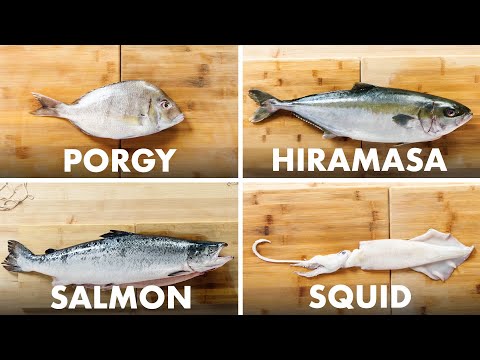
While catching a fish can be as simple as casting a line of bait and being patient, filleting a fish takes a little more dexterity. Knowing how to properly fillet a fish can make that difference between barely having enough meat left for a side dish and having enough for a complete fish feast. In addition, freshly cut fish fillets taste much better than pre-cut fillets.
To step
Part 1 of 3: Bleeding, scaling and evisceration of the fish
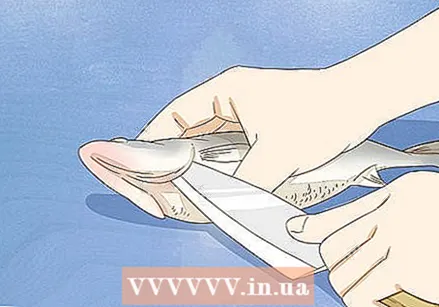 When it comes to a fresh catch, let the fish bleed out so that the meat can be preserved. Make a shallow cut with a knife or scissors under the gills of the fish and snap the head back to break the spinal cord. Thread a rope through the fish's mouth and out by the gills, and let it bleed into the water for a few minutes.
 - It is imperative to bleed the freshly caught fish so that the flavor and texture can be preserved. A fish caught but not bled will make a lot more mess on the cutting board, and the stress and struggles of death in its last moments can turn the flesh sour.
- After you have thoroughly bled it, put the fresh catch on ice to preserve freshness longer. You should leave it on ice until you are ready to scale and clean the fish.
 Scaly the fish with the back of a knife. You can scrape the scales off an entire fish by using a knife to make long strokes from the tail to the head of the fish. Alternatively, the scales can also be removed by skinning the fish, and this can be done after you have successfully filleted it.
 - You can also ask the fishmonger to descale the fish for you when you buy it.
- Scaling the fish is recommended but not absolutely necessary - if you like fish fillets with scales, let them sit nicely!
 Cut open the fish's stomach to clear its guts. Start at the tail and run the knife all the way along the body of the fish to the head and open the fish. Remove the intestines with your hands, wearing gloves, and use cold water to rinse out any intestinal residue. You should now have a completely clean fish, except for the skin.
 - You can also do this in the same water from which you caught the fresh fish, making it easier to handle its intestines and stomach contents. However, the gut scent can attract bears, eagles and other animals that like fish, so be aware of the wildlife in the area (if you are in a country where these animals live) and take necessary precautions such as bring your gun and have a place to hide.
- Gutting the guts can be a nasty process, so make sure you have a rubbish bin nearby to throw them in if there isn't one along the riverbank. Make sure to wipe your countertop afterward, as the risk of cross-contamination is high with evisceration.
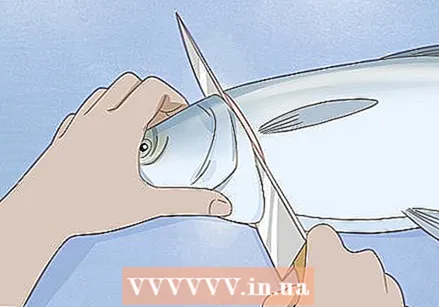 Chop off the head at the gills. Place the fish on one side and cut the head off with a chef's knife right where the gills start. Cut through the backbone of the fish, which may require a little extra pressure, and continue to separate the head from the body. You can discard the cup or keep it on ice to make fish stock.
Part 2 of 3: Precise fillet cutting
 Cut the fins with scissors along the sides, top and bottom. This should be done before taking a closer look at removing the parts of the fish that may be in the way.
 - This can be done at the same time as scaling, but before you start filleting the fish.
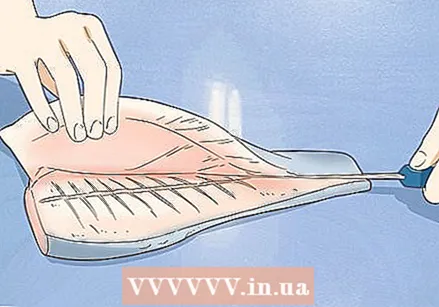
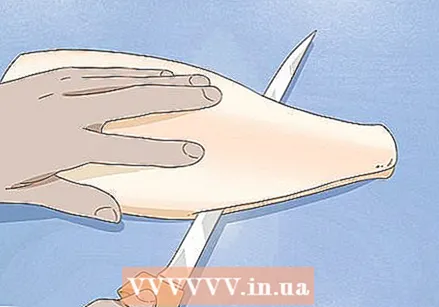 Run the filleting knife from tail to head along the spine of the fish. Start by cutting at the base of the tail, using the fish's spine as a guide for the cut. Do not roughly cut or saw it out just like that; instead, use a smooth and gentle cutting motion.
 - As you fillet the fish, lift the meat to make sure the cut is still running in a straight line down the spine.
 Run the filleting knife over the rib cage instead of through it. Carefully work with the shape of the rib cage instead of cutting through the bones. You can remove these bones later with tweezers.
 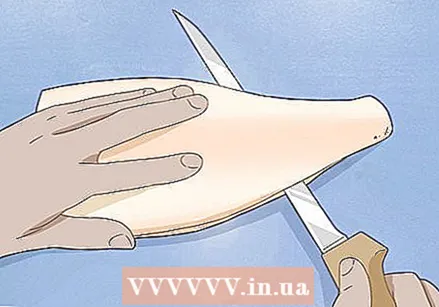 Repeat the cut on the other side of the fish. Flip the fish over so that the back touches the cutting board and run the knife again from the tail and down the spine to the head. Since the fish is lighter and doesn't have much left to handle, the second side can be much more difficult than the first. You should have two large fillets at this point.
 - Be careful not to let the fish slip off the cutting board as it can be a lot smoother after cutting away the first fillet.
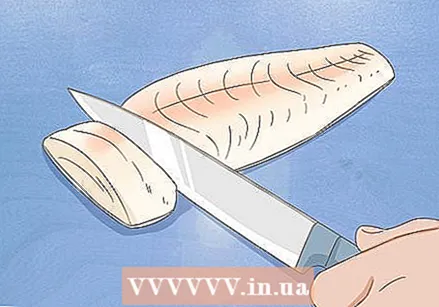 Consider cutting the fillets into "steaks" for grilling. If you plan on grilling or barbecuing the fish, it will be much easier to work with if you cut it into steak form. Measure slices about 4 cm thick on the fillets and cut them with your chef's knife. Leave the leftover meat for smaller steaks for the kids or to use in fish stock. This works especially well with large fish such as salmon.
 - If you decide to turn the fillets into steaks, do not remove the bones and skin, as they will preserve the texture of the meat on the grill or barbecue.
Part 3 of 3: Remove bones, skin and fat
 Remove the bones from the fillets with large tweezers or a boning knife. There is no way to not get any bones in your fillet at all, but you can remove them once the meat has been cut from the back. Check for bones along the center of the fillet from head to tail and use tweezers to gently remove them.
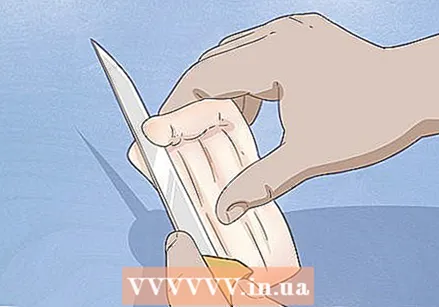
 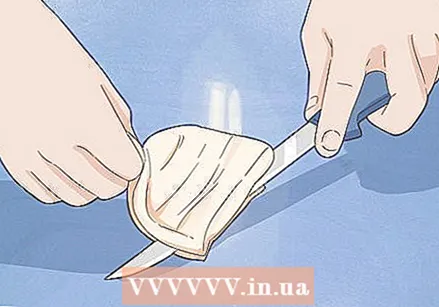 Remove the skin from the fillet with a filleting knife. Place the fillet skin side down and cut where the skin touches the meat. Slowly move the blade to the other end, making sure to grip the sheet firmly and pull it away as you cut.
 - As with de-scaling the fish, it is recommended to remove the skin before preparing a fillet for eating, but if you like the skin of the fish then go ahead and let it sit. The tough skin can be unattractive to some, but it does contain extra nutrients and vitamins.
 Remove excess belly fat and other fat. Depending on the type of fish you have, it may contain a lot or hardly any belly fat. Salmon, lake trout and mackerel are known for their high fat content. Using a fillet knife, carefully cut this away as you would a steak - after all, these fillets are essentially fish steaks!
 - If you like greasy food then definitely let it sit, but generally fish fillets are served as lean as possible.
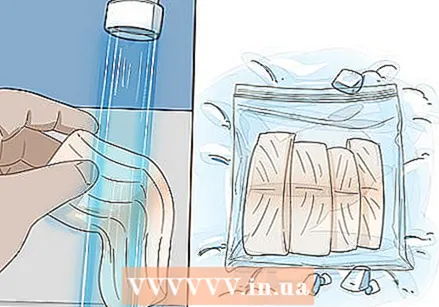 Rinse the fillet with water and keep it on ice for later use. Run water over the fillet and then dry it with kitchen paper, making sure that no fibers are left on the meat. If you are not going to eat the fish in two days, wrap it tightly in plastic wrap, place it in a sealable plastic bag, and keep it in the freezer. The fish will keep in the freezer for two to three months.
 - If you plan to eat it within two days, fill a container large enough to hold the fish halfway with crushed ice, place the fish on top, cover and store in the refrigerator.
- You have to turn the ice if it starts to melt before you start eating the fish. Keep in mind that fish will rot in the refrigerator if not kept on ice.
Tips
- Make sure to clean your hands and the work area. Wear gloves to reduce the risk of cross-contamination.
- Use the sharpest fillet knife you have - the duller the knife, the greater the risk of hurting yourself.
Warnings
- Don't use more fish than you need. Remember that one large fish makes two large fillets.
- If you want to have a side dish with the fish fillet, make sure to prepare it before the fish to avoid cross-contamination.
Necessities
- Fillet knife
- Chef's knife
- Cutting board
- Scissors
- Tweezers


