Author:
Frank Hunt
Date Of Creation:
20 March 2021
Update Date:
1 July 2024
Content
"Revision in Word" is the editing of text where a red color indicates the removal or modification of text in Microsoft Word. You can revise a Microsoft Word document using the built-in "Track Changes" feature, or manually review the document with different font colors and strike through text. "Track Changes" is perfect for large edits and feedback, while manual revision is more suitable for smaller documents and papers that are exchanged between different versions of Word.
To step
Method 1 of 2: Using "Track Changes"
 Open the document you want to edit.
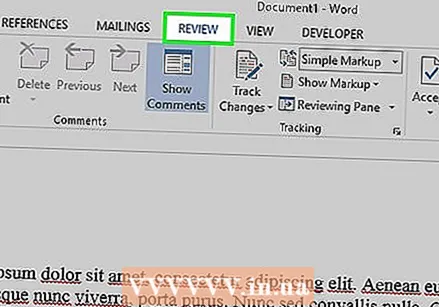 In the main menu, click on the "Check" tab. This tab contains tools for spell checking and text editing, including the "Track Changes" feature.
 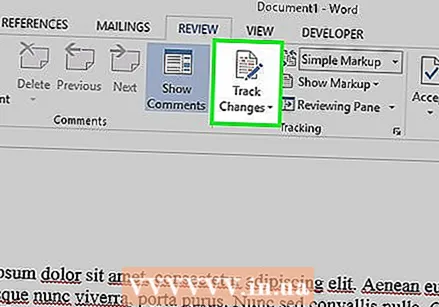 Click the "Track Changes" button to activate this feature. Indicates a red line in the margins next to edited text. Any added text is indicated in red.
 - You can also enable "Track Changes" by clicking Ctrl + ⇧ Shift + E to push.
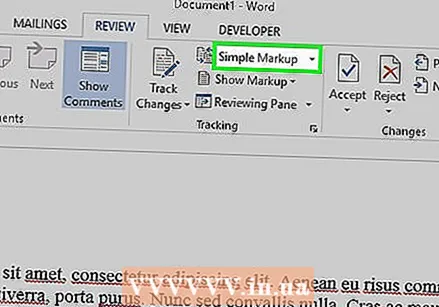 Open the drop-down menu next to the "Track Changes" button. This menu allows you to choose how advanced you want your changes to be tracked.
 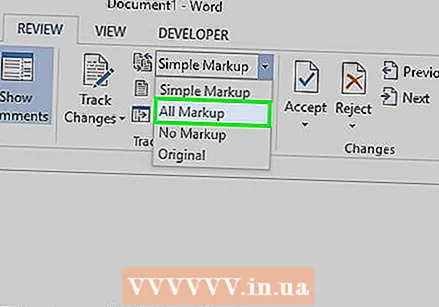 Select "Final: Show markers ". This option shows added or replaced text in red. It also adds a comment to the right of the edit bar with more info about the action that was performed (eg "inserted" or "deleted").
 - Other options are "Final", which shows red lines next to the edited lines of text, but does not specifically indicate what has changed; "Original", showing no changes at all; and "Original: Show Highlights", which draws a line through deleted text, but shows no replacement text.
- In "Final" you can click on the red lines next to the edited text lines, to show the changes made (just like with "Final: Show Markups").
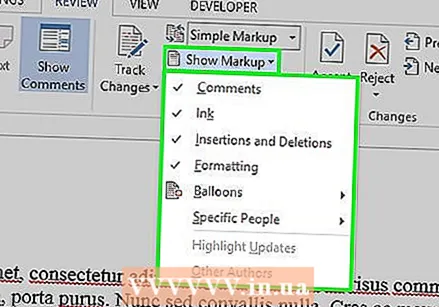 Click the "Show Markers" menu. Here you can choose which parts of "Track Changes" are shown. Click on each option to check or uncheck it.
 - Checking "Comments" displays any comments from the editor in the margin.
- Checking "Ink" shows any drawings from the editor.
- Checking "Insert and Delete" shows added and deleted text.
- Checking "Format" shows formatting changes (eg double character spacing or changing the margins).
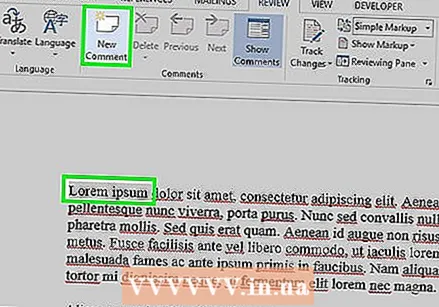 Select part of the text and click "New Comment" in the "Comments" part of the menu. With this function you can give feedback on the selected text. Your feedback will appear in the edit bar on the right side of the window.
 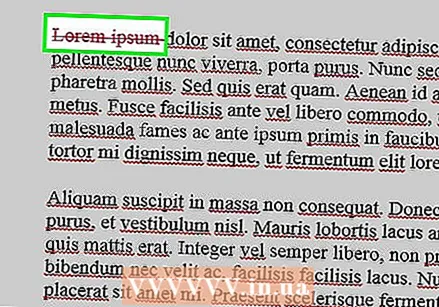 Edit the document as you see fit. When you are done removing or adding a character, Microsoft Word will place a vertical red line next to the line in which the edit was made.
 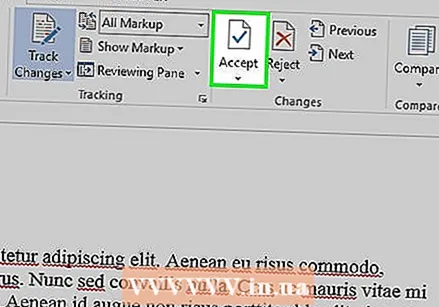 Click on "Accept" to save your changes. Your document has been successfully revised! Clicking "Accept" will remove the red lines and other revision indicators.
Method 2 of 2: Manual overhaul
 Open the document you want to edit. Manual editing of a document is preferred if you are editing a document with an outdated version of Word, or if you want more control over which changes are displayed. Manual revision is compatible with any version of Word.
 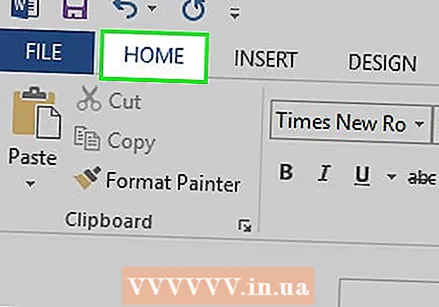 Click the "Home" tab if it is not already open. This tab contains font tools such as bold, italic, and underlined text. The Home tab can be found in the blue menu bar at the top of the screen.
 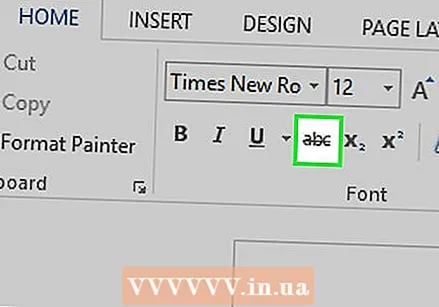 Locate the "Strikethrough" button in the menu bar. You can find this next to the "Underline" button. You are going to use strikeout to strike out unwanted text.
 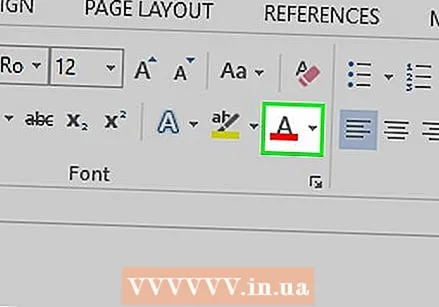 Find the "Text Color" button in the menu bar. This is indicated by a capital "A" with a colored bar (usually black) underneath. You are going to use this tool to write new text in a different color.
 - You can change "Text Color" by clicking the bar below the "A", then selecting a new color from the drop-down menu.
 Use your mouse to select a part of the text that is unwanted. When text is selected, any tool you use will affect it. For example, clicking "Text Color" will change the color of the selected text to the color indicated by the bar below the A button.
 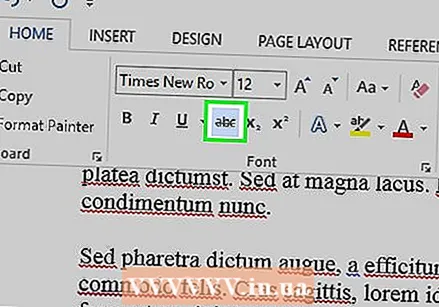 Click the "Strikethrough" button to place a line through selected text. This indicates that you think the selected content should be removed.
 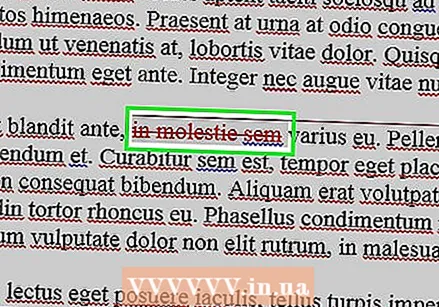 Make sure there is a space between the end of the strikethrough and the beginning of the next word. Otherwise, the next text you type will automatically be crossed out as well.
 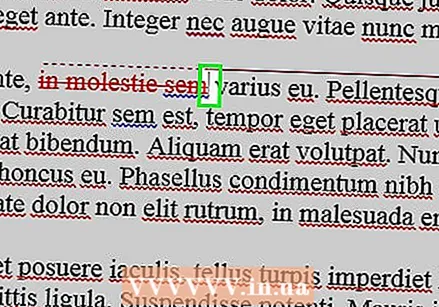 Place your cursor at the end of the space after the strikethrough text. If you type a modified version of the strikethrough text, do it in a different color than the default text.
 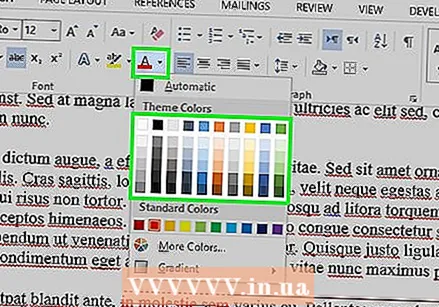 Click on the "Text Color" button. If the new text does not already have a color other than the document's default color, change it to something that is clearly visible (such as red or orange). This is the "revision" color.
 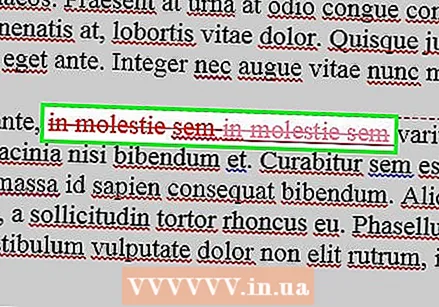 Insert the changed text after the strikethrough text. The line through the previous text, combined with your new red text, makes it clear which text has been "removed" and what text it should be replaced with.
 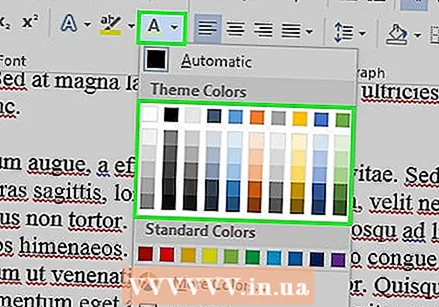 Make sure that any additions have the edit color. You must clearly show which text you have added to the document.
 - For example, if you've added a semicolon to a sentence that goes on, use the edit color.
 Repeat steps 5 through 11 until the entire document is updated.
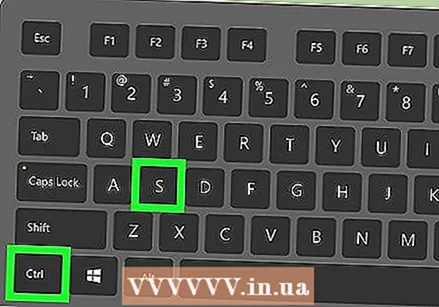 Press Control + S. to save your document. Your document has been successfully checked!
 - You can also click "File" in the main menu, on the far left, and click "Save".
Tips
- Manual revision is perfect for minor editing tasks, such as reviewing each other's work in class.
- If you are using a shared computer, you can block the "Track Changes" feature with a password, so that other Word users cannot simply make changes under your name.
Warnings
- Don't forget to save your work often!


