Author:
Laura McKinney
Date Of Creation:
1 August 2021
Update Date:
9 May 2024
Content
iPad is a tablet made by Apple. This device has many features including listening to music, accessing applications, mail, and more. Connecting the iPad to a computer is not difficult, and this allows you to move information between the two devices.
Steps
Part 1 of 5: Connect iPad to Computer
Download and install iTunes (if your computer does not have this program). You can download iTunes for free from Apple's iTunes website.
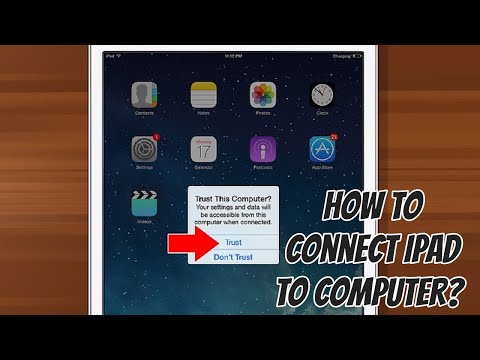
Connect iPad via USB port on computer. You need to plug into the port directly on the computer, not through a USB hub (used to add some USB ports to the computer so users can use more peripherals).- Tap "Trust" on the iPad. This message only appears when you connect iPad for the first time.

Open iTunes. The program may prompt you to choose the iPad trust feature that requires a reliable connection with your computer.
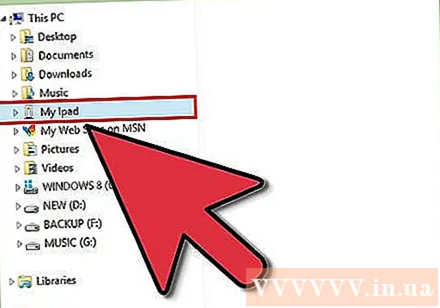
Check that the iPad has appeared on iTunes. You'll see the iPad icon on the top toolbar if you're using iTunes 12, or in the device menu, if you're using iTunes 11.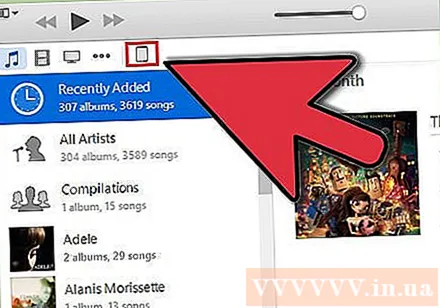
- If the iPad icon doesn't appear, you'll need to check if the device is turned on. If the iPad can't be opened and iTunes can't recognize it, you'll need to put the tablet in Recovery mode.

Select iPad in iTunes. This will open a Summary window for iPad where you can create a backup or download an iOS update. advertisement
Part 2 of 5: Sync Music and Movies to iPad
Add files to iTunes library. To copy, or "sync" content to iPad, you need to add them to your iTunes library. You can add files on your computer like MP3, AAC, MP4, MOV and some other file types. You can also purchase content from the iTunes Store.
- Read more detailed instructions on how to add music to iTunes.
- Read more detailed instructions on how to add video files to iTunes.
- Read more detailed instructions on converting WMA files to MP3.
Select iPad in iTunes. Click the iPad icon in the upper toolbar if you're using iTunes 12, or in the device menu, if you're using iTunes 11.
Click the Music tab. In iTunes 12, the card is in the left pane after selecting the iPad. In iTunes 11, the tab is located vertically above the main frame after selecting the iPad.
- Check the "Sync Music" checkbox to allow iTunes to sync music to your iPad. You can sync your entire library or specify an album, artist, genre, or playlist you want to copy to iPad.
Click the Movie tab. In iTunes 12, the card is in the left pane after selecting the iPad. In iTunes 11, the tab is located vertically above the main frame after selecting the iPad.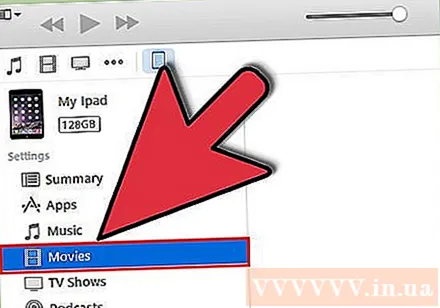
- Check the “Sync Movies” box to allow iTunes to sync videos and movies to iPad. You can choose which movies from the library want to sync, or automatically copy based on the movies viewed.
- If you have TV Shows in your video library, they will appear on the TV Shows tab.
Click.Sync or Apply to start the copying process. This step will take some time, especially when you are copying a lot of music or video files that are large. advertisement
Part 3 of 5: Sync Photos to iPad
- Arrange your photos into a single area. iTunes will sync the photos from the original folder or any subfolders in the original folder. If you're on a Mac, you can use iPhoto to organize your images into albums.
- Click here for tips on how to organize your images on your computer.
Select iPad in iTunes. Click the iPad icon in the upper toolbar if you use iTunes 12, or in the device menu, if using iTunes 11.
Click the Photos tab. In iTunes 12, the card is in the left pane after selecting the iPad. In iTunes 11, the tab is located vertically above the main frame after selecting the iPad.
Check the "Sync photos from" checkbox and select the source from the drop-down menu. After selecting a folder, you can choose to synchronize all the pictures in a folder, or a specific subfolder.
Click.Sync or Apply to start the copying process. This step will take time if you sync many image files.
Synchronize other files. You can also use iTunes to sync other types of files such as apps, podcasts, and contacts. Click the corresponding card and choose what you want to synchronize. advertisement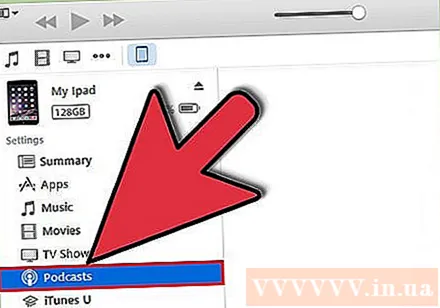
Part 4 of 5: Setting Up Wi-Fi Synchronization
Open the Summary tab for iPad in iTunes. Make sure your iPad is connected to your computer via USB and you've hit "Trust" on the iPad's screen (if needed).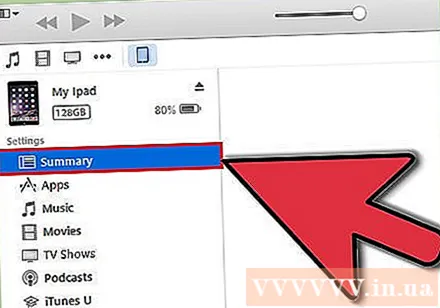
- Wi-Fi sync lets you manage content on your iPad without having to plug it into your computer.
Select "Sync with this iPad over Wi-Fi" (Sync with this iPad over Wi-Fi). This step allows you to do the same sync as when connecting iPad by USB, except over wireless.
Click on.Apply.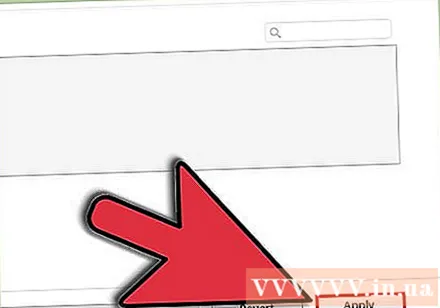
Connect iPad to wireless network.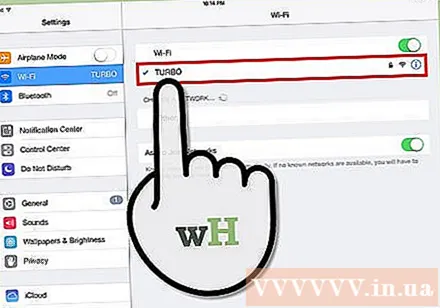
Check to turn on the computer and open iTunes.
Plug in the iPad charger and start syncing. iPad will sync with the computer as long as it's connected to the same network, the computer is turned on, and iTunes is running. advertisement
Part 5 of 5: Connecting iPad to a Computer Monitor
- Buy a screen adapter. There are a wide range of adapters available today for each iPad tablet model, as well as the type of connection your monitor supports.
- The best way to connect your iPad to a newer screen is through an HDMI adapter. VGA connections are lower quality, but are also quite popular.
- Connect iPad to monitor using the adapter. If needed, you can also use the audio jack on the adapter to attach external speakers.
- Use iPad as usual. By default, the iPad will display the screen on both the iPad and the monitor (except the original iPad could only display video playing). The entire operating system and apps will be displayed on both devices.
- Play video on screen and control with iPad. A playing video will play on the screen, and the iPad will display playback controls. advertisement


