Author:
Carl Weaver
Date Of Creation:
1 February 2021
Update Date:
16 May 2024
Content
- Steps
- Method 1 of 4: How to Burn a Disc with iTunes
- Method 2 of 4: How to burn a disc using Windows Media Player
- Method 3 of 4: How to burn a disc using the Windows system utility
- Method 4 of 4: How to Burn a Disc Using Mac OS X System Utility
- Tips
- Warnings
This article will show you how to burn music files such as MP3 to a blank CD. To play a music CD, burn it using iTunes or Windows Media Player. Songs (and other files) can also be burned to a CD through the built-in system utilities of Windows and Mac OS X.
Steps
Method 1 of 4: How to Burn a Disc with iTunes
 1 Make sure you have an audio CD. Audio discs differ from regular CDs in that they automatically play music when inserted into a player. Buy blank CDs that have the words “recordable” or “audio” in their descriptions.
 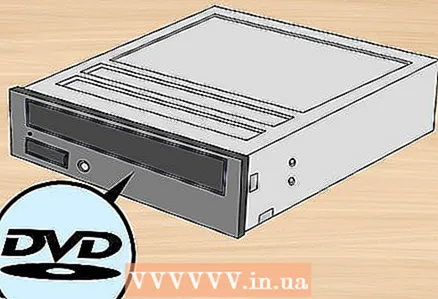 2 Connect an external optical drive to your computer (if needed). Most Macs and many Windows computers do not come with optical drives (DVD drives), so you might need an external optical drive. It is sold in many electronics stores.
 - If your computer has an optical drive, look for the “DVD” label on it. If there is no such mark, you will not be able to burn an audio CD on this drive (you will have to buy an external drive).
- Make sure the optical drive can write discs - this should be stated in the drive description.
- If you have a Mac, buy a USB-C drive or USB3.0 to USB-C adapter.
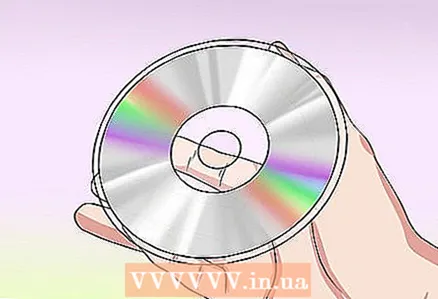
 3 Insert a blank CD into your DVD drive. Place (label side up) a CD in the drive tray, then close the tray.
 - 4 Launch iTunes. Click on the multi-colored musical note icon.
- 5 Open the menu File. It's in the upper-left corner of the iTunes window (Windows) or in the upper-left corner of your screen (Mac).
- 6 Please select Create. It's near the top of the File menu.
- 7 Click on Playlist. You will find this option in the Create window. A text box appears in the left sidebar of iTunes.
- 8 Enter a playlist name, then tap ↵ Enter. A playlist will be created in the left sidebar of iTunes.
- 9 Add songs to your playlist. To do this, drag songs from your library onto the playlist title. You can drag songs one by one or select several songs at once - to do this, hold Ctrl or ⌘ Command and click the desired songs.
- If you don't see a list of all songs on the screen, tap Songs under the Library.
- You can record up to 80 minutes of music on a standard CD.
- 10 Select a playlist. When you've added songs to a playlist, click on it to open it.
- 11 Open the Record menu. Click File> Burn Playlist to Disc.
- 12 Check the box next to the Audio Disc option. It's in the middle of the menu.
- 13 Click on Write down. It's near the bottom of the menu. Burning the songs in the playlist to the CD starts.
- One song is recorded for about 30 seconds.
 14 Remove the CD. When the burning process is complete, remove the CD from the optical drive and try playing it in your CD player (or another computer).
Method 2 of 4: How to burn a disc using Windows Media Player
 1 Make sure you have an audio CD. Audio discs differ from regular CDs in that they automatically play music when inserted into a player. Buy blank CDs that have the words “recordable” or “audio” in their descriptions.
  2 Connect an external optical drive to your computer (if needed). Most Macs and many Windows computers do not come with optical drives (DVD drives), so you might need an external optical drive. It is sold in many electronics stores.
 - If your computer has an optical drive, look for the “DVD” label on it. If there is no such mark, you will not be able to burn an audio CD on this drive (you will have to buy an external drive).
- Make sure the optical drive can write discs - this should be stated in the drive description.
- If you have a Mac, buy a USB-C drive or USB3.0 to USB-C adapter.
 3 Insert a blank CD into your DVD drive. Place (label side up) a CD in the drive tray, then close the tray.
  4 Open the start menu
  . Click on the Windows logo in the lower left corner of the screen.
 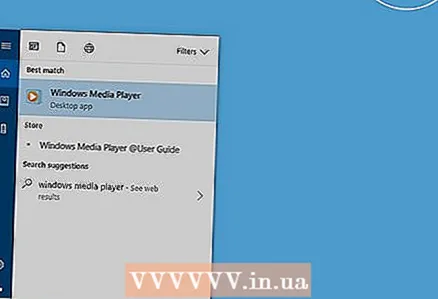 5 Enter windows media player. This will search for Windows Media Player.
 - Typically, Windows 10 does not have this player and cannot be downloaded from the Microsoft website. In this case, use iTunes.
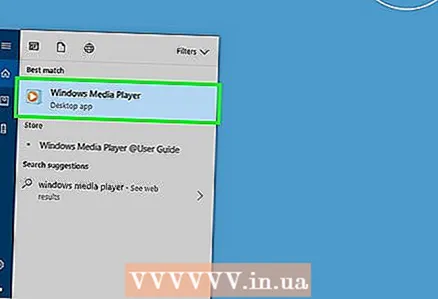 6 Click on Windows Media Player. It's a blue-orange-white icon at the top of the Start menu.
 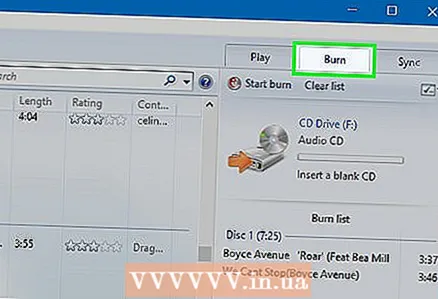 7 Click on the tab Recording. You will find it in the upper right corner of the window.
  8 Add music to the Player window. Drag the songs you want to the Recording sidebar on the right side of the Windows Media Player window.
 - If you don't see individual songs, first go to the Music tab on the left side of the window.
- Using Windows Media Player, you can burn up to 70 minutes of music to a CD (if there is more music, the Player will ask you to insert a second disc).
 9 Click on the "Menu" icon. It looks like a white square with a green checkmark and is located under the Sync tab in the Recording section. A menu will open.
 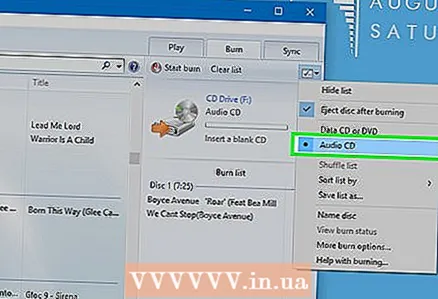 10 Check the box next to Audio CD. It's at the top of the menu.
  11 Click on Start recording. It's in the upper-left corner of the Recording section. Burning songs to the CD starts.
 - This process will take several minutes, depending on the recording speed.
 12 Remove the CD. When the burning process is complete, remove the CD from the optical drive and try playing it in your CD player (or another computer).
Method 3 of 4: How to burn a disc using the Windows system utility
 1 Make sure the disc is empty. It can be a CD-R disc or a CD-RW disc.
  2 Connect an external optical drive to your computer (if needed). Most Macs and many Windows computers do not come with optical drives (DVD drives), so you might need an external optical drive. It is sold in many electronics stores.
 - If your computer has an optical drive, look for the “DVD” label on it. If there is no such mark, you will not be able to burn an audio CD on this drive (you will have to buy an external drive).
- Make sure the optical drive can write discs - this should be stated in the drive description.
- If you have a Mac, buy a USB-C drive or USB3.0 to USB-C adapter.
 3 Insert a blank CD into your DVD drive. Place (label side up) a CD in the drive tray, then close the tray.
  4 Open the start menu . Click on the Windows logo in the lower left corner of the screen.
  5 Open an Explorer window
  . Click on the folder icon at the bottom left of the Start menu.
 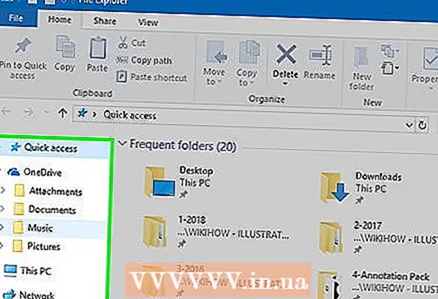 6 Open the folder with the desired audio files. Do this on the left side of the window.
 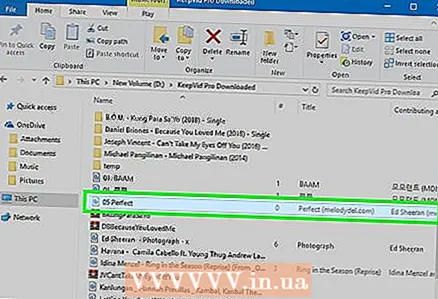 7 Select the files you want. Hold down the left mouse button and drag the pointer over the files you want to burn to disk, or hold down Ctrl and click on each desired file to select them one at a time.
  8 Click on Share this. This tab is in the upper-left corner of the window. A toolbar appears at the top of the Explorer window.
  9 Click on Burn to disc. It's in the Submit section of the toolbar. A window will open.
 - 10 Click on Write down. It's near the bottom of the window.
- 11 Click on To completewhen prompted. The recording process ends and the disc tray may open automatically. The music files are now on the CD.
Method 4 of 4: How to Burn a Disc Using Mac OS X System Utility
 1 Make sure the disc is empty. It can be a CD-R disc or a CD-RW disc.
 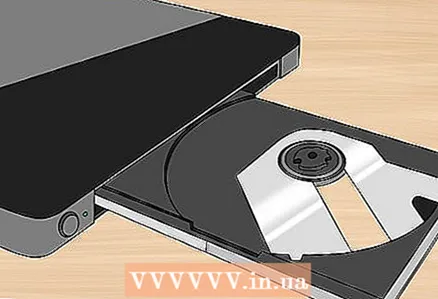 2 Connect an external optical drive to your computer (if needed). Most Macs and many Windows computers do not come with optical drives (DVD drives), so you might need an external optical drive. It is sold in many electronics stores.
 - If your computer has an optical drive, look for the “DVD” label on it. If there is no such mark, you will not be able to burn an audio CD on this drive (you will have to buy an external drive).
- Make sure the optical drive can write discs - this should be stated in the drive description.
- If you have a Mac, buy a USB-C drive or USB3.0 to USB-C adapter.
 3 Insert a blank CD into your DVD drive. Place (label side up) a CD in the drive tray, then close the tray.
 - 4 Open a Finder window. Click the blue face icon in the dock.
- 5 Open the folder with the desired audio files. Do this on the left side of the window.
- 6 Select the files you want. Hold down the left mouse button and drag the pointer over the files you want to burn to disk, or hold down ⌘ Command and click on each desired file to select them one at a time.
- 7 Copy songs. Click Edit on the menu bar, and then select Copy Items from the menu.
- You can also click ⌘ Command+Cto copy audio files.
- 8 Open the CD. Click the CD name in the left sidebar of the Finder window, or double-click the CD on the desktop.
- 9 Insert songs. Click Modify on the menu bar, and then select Insert Items from the menu.
- You can also click ⌘ Command+Vto copy audio files.
- 10 Open the menu File. It's in the upper left corner of the screen.
- 11 Click on Recording. This option is on the File menu; to the right of it, you will see the name of the CD.
- 12 Click on Write downwhen prompted. This button is at the bottom of the pop-up window. Burning the music files to the CD starts.
 13 Wait for the file writing process to complete. Then click "OK" and remove the disc. The music files are now on the CD.
Tips
- In general, CDs burned in Windows and Mac OS X can be used on either of these systems.
Warnings
- Spotify, Google Play Music and other streaming services cannot burn CDs as their music is copyrighted.


