Author:
Alice Brown
Date Of Creation:
27 May 2021
Update Date:
12 May 2024

Content
Many printed documents contain multiple sections that include text, photographs, and other graphics. Aligning the elements of a printed document organizes its content and gives it visual appeal. Knowing how to align a document in InDesign, a popular desktop publishing program that allows users to create print documents in a variety of sizes and formats, is a great help for designers.
Steps
 1 Purchase Adobe InDesign if you don't already have it. Follow the onscreen instructions to install InDesign on your computer and restart your computer if necessary.
  2 Become familiar with the InDesign workspace and the tools available to the user.
 3 Open Adobe InDesign.
 4 Open the InDesign document you want to work with by choosing File> Open from the control bar at the top of the work area.
- If you don't have an existing InDesign document to work with, create a new document by choosing File> New> Document and set the options for the new document.
 5 Using the Select tool found on the Tools panel, click on the elements you want to align. To select multiple items, press and hold the control key while clicking each item. If the document does not contain any elements, create or import them now.
 - To import a photo, click File> Place in the InDesign control panel. Find the image file you want to import and double-click the file name. Move the cursor to the place or frame where you want to place the photo and click with the mouse. Resize the image by selecting the image with the Select tool and moving the cursor while holding down the Control and Shift keys. This will adjust the image size proportionally. You can also enter exact values for the height and width of the image in the Height and Width fields located on the control bar.
- To create a different type of object, choose Line, Ellipse, Rectangle, or Polygon from the InDesign's Tools panel. Click the place in the document where you want the form to appear. Click and then drag with your mouse to draw the desired shape. Keeping the newly created object selected, click on the Swatches panel, which is located on the right side of the work area. Select Fill box and then a color for the object. To add a border to an object, select the Stroke box in the InDesign's Swatches panel and choose a color for the border of the object.
- To import text, create a frame for the text using the Text tool in the InDesign's Tools panel. With the Text tool selected, click inside the text frame and start typing.
- You can also import text from an existing word processing document by choosing File> Place, navigating to the file you want to import, and double-clicking on its name. The loading cursor appears. Move the mouse where you want the text to appear and click to place it there. Large amounts of text may need to be split into multiple text frames. Do this by clicking on the red plus sign in the lower right corner of the text frame, moving to a new page or column where you want to place the text, and clicking. Repeat this step until you have all the text in place.
 6 Click Window> Object & Layout> Align to open the InDesign's Align panel.
- At the bottom of the panel, select the objects to align by selection, margin, page, or spread.
 7 Click the button that corresponds to the type of alignment you want: top, bottom, right, left, or middle.
 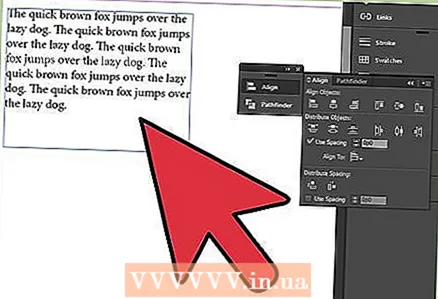 8 Repeat these steps for each group of elements that you want to align.
Method 1 of 1: Aligning text in a text frame
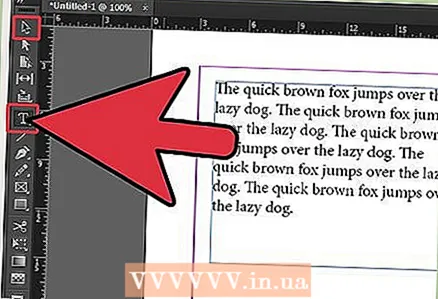 1 Select the text frames that contain the text you want to align. You can do this with the Select tool or the Type tool.
  2 Click Object> Text Frame Options.
- To align the text vertically from the top of the text frame, select Top.
- To align the text from the center of the text frame, select Center.
- To align the text vertically from the bottom of the text frame, select Bottom.
- To distribute the text evenly from top to bottom of the text frame, select Justify.
 3 Repeat this step for all the text you want to align.
Tips
- InDesign also lets you distribute objects to a predefined area. You can distribute objects by selecting the elements you want to distribute by opening the Align panel and clicking on the button corresponding to the desired distribution type. To adjust the distance between objects, select Use Spacing and specify how much spacing you want to apply.
What do you need
- Computer


