Author:
Clyde Lopez
Date Of Creation:
22 June 2021
Update Date:
12 May 2024
Content
- Steps
- Method 1 of 3: Room preparation and painting
- Method 2 of 3: Painting the ceiling
- Method 3 of 3: Alternative texturing
- Tips
- Warnings
The ceiling is usually the most vulnerable part of a room's interior. If the walls are broken by windows and doors and are often decorated with paintings, photographs and other decorative elements, then ceilings are devoid of all these tricks, usually being just a smooth white surface and can seem boring. The easiest way to correct this situation, to add variety to the ceiling decoration, and therefore to improve the entire interior as a whole, is the texturing of the ceiling surface. Also, changing the texture can be a great way to mask imperfections in the ceiling surface.
Steps
Method 1 of 3: Room preparation and painting
 1 First of all, insulate the walls and furniture in the room, protect them from contamination. Firstly, it is necessary to remove all unnecessary furniture from the room, and what to take out cannot be covered with a protective film or other special materials. Cover the entire floor surface in the same way. It is recommended to carefully wrap the chandelier and other lamps with plastic bags and seal them with tape. Finally, tape the entire perimeter of the ceiling with duct tape to protect the walls from paint stains.
 - You will also have to remove any unnecessary panels and removable parts from the ceiling, such as ventilation covers and wiring plugs.
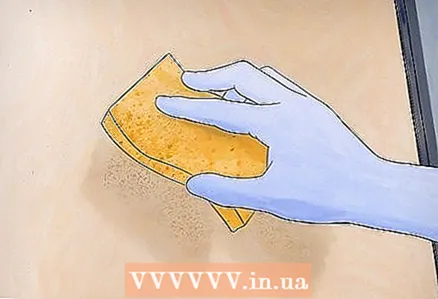
 2 Fill up any cracks or unevenness in the ceiling. It is necessary to achieve perfect evenness of the base layer of the ceiling. Try to approach this with all responsibility and thoroughness, since the final result will depend on the quality of the base layer. In addition, cracks in plaster tend to widen over time and irregularities deepen.
 - Some cracks and irregularities can be repaired with a putty, but larger structural cracks may require specialist assistance.
 3 Painting the ceiling with a primer. Apply a coat of primer to the ceiling to prepare the surface for texturing. This will not only help reduce the bleed-through of a different color under the base paint, but also improve its adhesion. The color of the primer should match the color of the base paint as much as possible.
 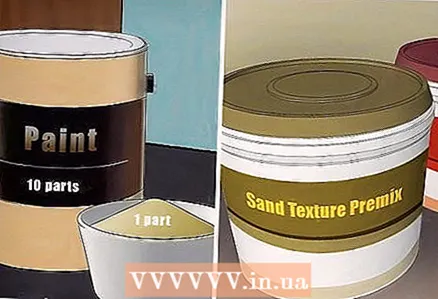 4 Mixing paint for texturing. There are several ways to texture the ceiling. It is possible to buy a ready-made pre-textured paint (and this is probably the easiest option). You can also mix paint with special additives - either latex or oil paints. Make sure you buy texturing materials in advance, such as specialty sand, and mix according to the manufacturer's instructions and your preference.
 - Typically, the ratio of additives to paint is one to ten. This means that about 1 ½ cups of texturing agent must be mixed with one gallon (~ 3.8 liters) of paint.
 5 Test your resulting mixture. After you've mixed the paint with additives, it's a good idea to test it in a small area in the corner of a room or somewhere in an inconspicuous place to make sure the result looks exactly as you intended it. Modify the mixture as needed.
Method 2 of 3: Painting the ceiling
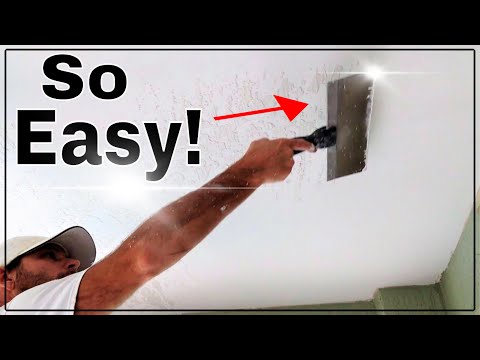
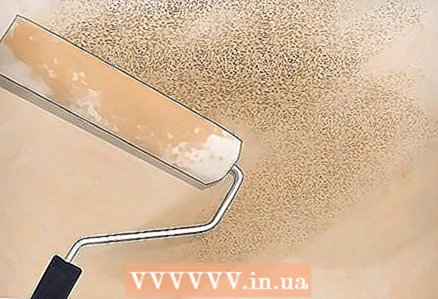 1 Ceiling painting. For this, you can use either rollers or brushes. Apply paint in a W, X, or N shape to make sure paint is applied correctly in all directions. It is recommended to remove excess paint from the roller or brush before painting, as otherwise it will simply drip onto your face !!
 - If the paint won't adhere to the roller (because it will be too thick), you can first use a trowel or similar tool to apply the mixture to a specific area of the ceiling, and then move to the roller to smooth out the texture.
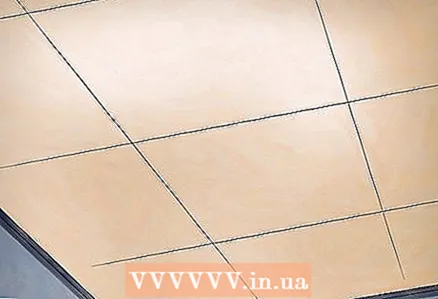 2 Mentally break the ceiling into sections that need to be painted over. Divide the ceiling into sections and paint over them one by one. This breakdown is purely auxiliary in nature and does not mean that the ceiling should be lined, but it is just easier to paint because of the better organization of the process and in order to avoid chaos, which means that this will significantly speed up the painting process.
  3 The paint should dry completely. When you have covered the entire ceiling area with paint, you must allow it to dry thoroughly before moving on to the next operations (if necessary). This usually takes at least a few hours. Additional coloring, texturing or any other action applied to the paint that has not yet dried will lead to irreparable damage, unevenness and poor final results.
 - The ceiling dries better if the air circulation in the room is improved.
Method 3 of 3: Alternative texturing
 1 Texturing the ceiling with a rag. Use paint in several contrasting colors with a rag to get the original texture of the ceiling. You can also use a sponge in the same style for a slightly different texture.
 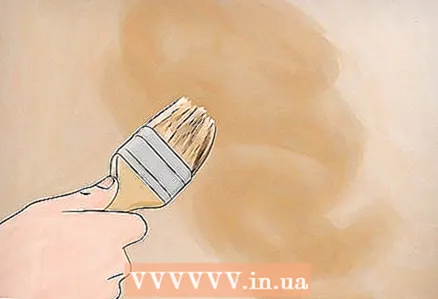 2 Texturing the ceiling with thickened paint. You can mix paint with putty to create a plaster-like texture. You can either buy the finished product or make the mix yourself. You will most likely need a fairly large amount of material (at least 2.7 liters of mixture), but this largely depends on the area of the area to be covered and the thickness of the required layer.
 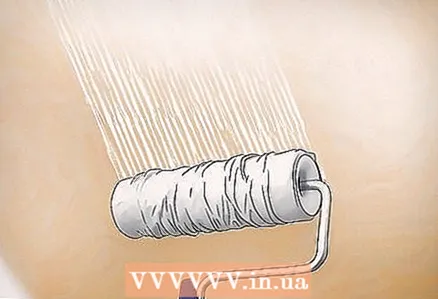 3 Texturing the ceiling with a special roller. You can also use special textured rollers with special patterns to avoid the need for multiple coats. You can use terry or other rollers. A picture of the final result is usually present on the packaging and in the instructions for use of these rollers.
Tips
- If desired, you can use special spray guns available at most hardware stores to texture the ceiling.
- You can create your own unique textures, or repeating patterns using a stencil and applying texturing by hand. This type of texturing can be tedious and time consuming if you don't have enough stencils to cover most of the ceiling at once. You must attach the stencil to the ceiling with duct tape and wait for the paint to dry each time before removing the stencil to attach it to the next area.
- If you buy pre-textured paints, make sure they are for ceilings. Some of them are for walls only.
- When reapplying texture paint, use a roller with a long, dense nap, as the short nap will not cover the existing texture.
- By using special sprayers to re-texturize, damage to the previous layer can be avoided. However, this process is accompanied by heavy pollution.
- If you need to cover a small area, for example, when renovating existing embossed ceilings, then you are advised to use a ready-made textured paint that sets very quickly - in just a few seconds, as it is specially designed for use in small spaces or for renovation work.
Warnings
- When carrying out work, it is necessary to open the windows, ensuring sufficient air circulation in the room. Fumes from the paint can cause headaches and dizziness.


