Author:
Virginia Floyd
Date Of Creation:
6 August 2021
Update Date:
10 June 2024

Content
This article is for those serious about using their backyard or basement to grow bait for themselves, for profit, or for fun - watch the DIY mission come to the fore. For example, in the Mid-Atlantic states, where winter is not so cold - about 10-20 degrees Celsius (50-70 degrees Fahrenheit), breeding worms has become an easy and enjoyable way to get rid of a lot of table waste and other debris and feed your worms. ...
Ingredients
- Food for worms. This is not a difficult question. Any organic product can be used as food. Just avoid acidic foods or foods that quickly sour and cause acid formation. Find organic compounds and use them as a food source. Look for moldy food, but some foods - baked goods and the like - can be used without too much trouble.
Steps
 1 Remember that worms ARE living beings, and therefore, by nature, they have four basic life programs - to swallow, digest, secrete and excrete toxins from the body, as well as basic vital functions. In short, you can start with just a handful of worms and increase the number as needed. You can start doing this to the fullest by following the recommendations of this and other articles for your benefit.
 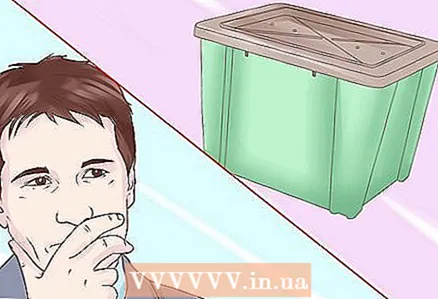 2 Decide what you want to make your containers for worms - when choosing a material for making containers, you should consider the period of use, place of residence, and also the climate. We'll show you what you can do to make a good container for worms. Wooden and organic clay pots with tiny holes at the bottom and sides can rot, but are great as a container for worms. Clay pots made from the ground will also absorb water, so remember to add a little more water if you plan on using them. The use of pottery should be avoided as some examples may contain lead. Plastic boxes that you find on any construction site, if you live near an apartment where renovations are being made, in a multi-storey building or even on your own plot, plastic buckets with a volume of 18 or 11 liters will be perfect for you. Remember to drill holes in the bottom to drain the water and several holes in different areas, mainly on the sides for ventilation. Regardless, make sure they do not contain any chemicals, insecticides or paints that could be hazardous. Lacquer thinner, thinners, turpentine, gypsum board or so-called drywall and many cleaning products are corrosive and will kill the worms. * It is also not a good idea to use glass as it can break easily.
 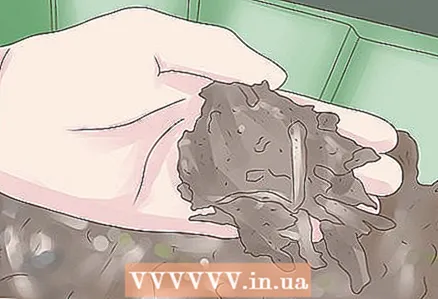 3 Shred your bedding; all organic will do for this. If you have access to a paper shredder, consider half done.Newspapers, non-glossy magazines, or even brown paper bags, or upholstery or packaging paper made of paper are great for shredding bedding. Glossy paper magazines can contain a certain amount of toxic ink. If you've used magazines like this, shred the pages and immerse them briefly in HOT water, drain the water, and repeat with warm water until you can see ink in the water. Should be enough about 4 or 5 times. Be sure to soak them in COLD water for at least 5 or 6 hours before using them as bedding. Oddly enough, sometimes glossy paper falls apart when used with cold water. If this happens, use it ONLY as a compost heap. It WILL FIT for this, but not for container use. If your glossy paper is stuck together, you can use it for containers.
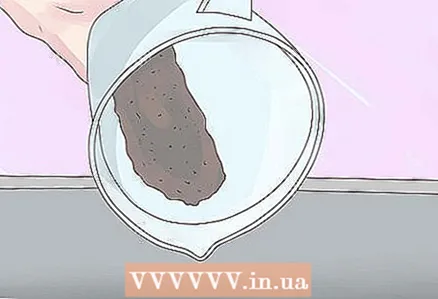
 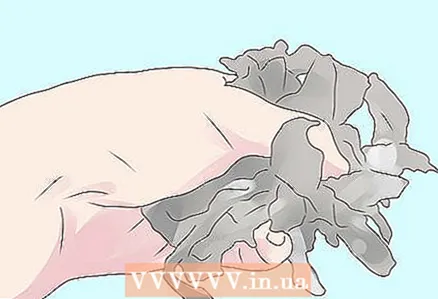 4 Add a mixture of wet shredded paper with clay, mud and sand and some unrefined sawdust, peat moss or bark pieces, or if you want, you can also add tufts of wet cut grass, hay or straw soaked in water in your washed, washed and cleaned 18 liter buckets, wooden containers or flat plastic containers. You can add some organic potting mix, but DO NOT use the fertilizer mix with soil! This will certainly kill your worms, as this mixture contains many acidic substances. If you will be using grass, make sure it is sun-cured if you mix it with bedding. Top-down green grass clippings will also help shape them into organic plants. They can be mixed with bedding later if you wish.
  5 Use a trowel to lay and add any pieces of bedding you want to use. It will work better than a wooden spoon, rubber spatula, or any other utensil, but don't use it to scoop up your own worms. Do it yourself with gloves on. In addition, place a few garden shovels or at least two full cups of finely ground lime flour in the bedding layer. Mix everything thoroughly by touching the edges of the container and stirring with a small trowel, or if you have flat, plastic or wooden containers, move the mixture as best as possible, then transfer the entire contents to another container and stir again from the very bottom. Make sure it is damp enough, but not very wet. Worms MAY drown. Add more finely ground lime flour if desired. Be generous with lime flour. Wooden containers will also absorb some water due to the porous structure of the wood.
 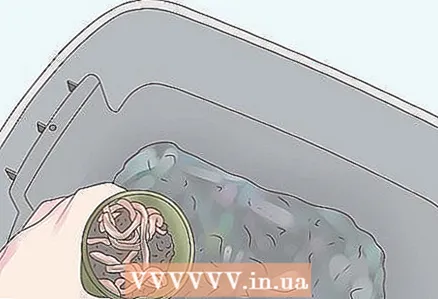 6 Plant your worms. This is your choice, since there are different types of worms that grow quickly and very often give offspring. The European earthworm appears to be the favorite. Canadian earthworms should be bred at 5 to 10 degrees Celsius (30-50 degrees Fahrenheit). These small, delicate worms are quite sensitive to heat. Californian red worms are good bait for fish, and they reproduce quickly. They work best for compost, but they can also be used in containers. They are sold in kilograms and can be easily bred. Make sure they are really red Californian worms though, as some vendors may slip you a different kind of worm and call them red Californian ... If they seem too small for a fish hook, then they are not suitable for fishing.
 - African earthworms are an excellent choice, but they breed a little slower than other species. They can withstand moderately hot climates, but are sensitive to cold.It is best if your worm farm will be in a basement or other sheltered place where the temperature does not drop below freezing. They are dormant and do not reproduce at any temperature below 5 degrees Celsius (40 Fahrenheit). Regardless of which species you choose, they cannot tolerate sunlight or high temperatures for a long time. Keep them in a dark and relatively cool place.
 7 Feed them, feed them as often as possible, and watch them grow! You can buy commercially made mixes or make your own mix of fertilizers, coffee grounds, tea bags, old oatmeal, whole wheat flour, most table scraps except meat or bones, and corn grits. Make sure to rinse the cereal through a coffee filter or paper towel before mixing it with other food. The water you use will dissolve the baking soda and salt and help eliminate them. What is left can be destroyed with a little extra lime powder. Do not feel sorry for limestone, as it contains calcium carbonate and will help sweeten acidic soil, and more than one worm does not like acids, and this will lead to the formation of calcium in the soil in large quantities, which earthworms need to reproduce. When watering, use rainwater whenever possible.
 - Chlorinated tap water should sit for about a day or so to get rid of the chlorine. While this is not good for bedding your worms, in a critical situation if your container is too dry, you can use a small amount of moderately chlorinated tap water, but the less water you spray, the better.
- Alternatively, you can go to the Department of Nutrition and Grains or your local agricultural store and find out if they have crushed feed, cattle feed, or salt-free horses. Creamy food, or so-called chopped food, works well too, but usually you'll have to buy it in 23kg bags! That will be a lot, IF you are not going to grow worms in the winter! You can moisten a handful of this food and feed them with this mixture once a week, adding the other ingredients above in a time-sharing mode. Also make a note to sprinkle food on top of the bedding. Do not mix food with bedding, straw, or potting mix. Just remember to FEED THE WORM FREQUENTLY if you're not going to compost them.
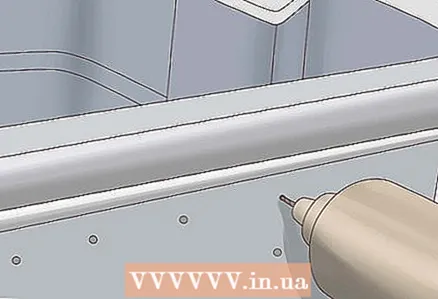 8 Make sure your containers are properly ventilated! If you are using plastic containers, drill holes in the bottom so excess moisture can escape to prevent the container from oxidizing. Worms can die in containers filled with water. The water should be collected in a tray and used as a liquid fertilizer, but also remember that it is an organic liquid fertilizer that is high in nitrogen. At times, it can attract other insects.
 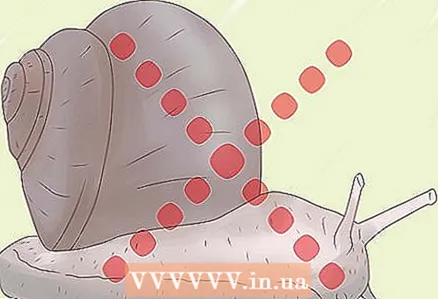 9 Beware of parasites. There are several parasites, the presence of which is absolutely NOT desirable in the body of your worms - some of them are dangerous to humans.
 - Centipedes and centipedes are dangerous to humans. Centipedes can secrete strong acid, and some have been known to tear themselves apart and release this acid onto human skin. Scolopendra have strong pincers and inflict painful wounds by biting fingers and hands. Use tongs to remove these parasites and be extremely careful. Scolopendra are also a threat to your worms, but remember that both are carnivores and they will kill every worm they can get to and eat them quickly.
- Snails and slugs can also try to get in, but simple copper wire wrapped around the top edge of your containers can hold off the onslaught of snails and slugs. If you find one of these in your container, remove it immediately.
- Ants, cockroaches, mold and mildew are also not new to the worm farm. Use traps to get rid of ants, as well as cockroach traps and insect repellents, but do not let them come into contact with your containers.
 10 Empty your small containers by hand using rubber or vinyl gloves about every 3 weeks and watch how they grow. If you see small white stripes, handle them carefully as these are baby worms! When you find small capsules of worms, carefully pick them up and place them on a new mat or container. Check and feed them if you see they are out of food. Take ONLY the worms you want to use and swap out the old bedding and worm coprolites for new bedding. Place the worms that have been breeding for a long time back on new bedding and let nature take its course. Worms cannot live in their own excrement, so change the bedding when you see coprolites in abundance. Not only is this an enjoyable activity, but it can also help you make good money by converting the secretions of worms into something more fertile, and making organic liquid fertilizers for flowers or small garden plants.
Tips
- Moldy food should be removed and fresh food placed on top of the bedding. If you have growing mold or mildew, gently scrape off whatever you can and check your pH level. My best score that I have been able to achieve is an almost neutral 7.0. If the pH gets too high or too low, it will kill your worms. Add more lime powder and dry the top of the soil for a couple of days. You can expose the container to the gentle rays of the sun to kill mold and mildew spores.
- Pick up the worms you want to pick up towards late spring. This is also the best time to release those worms that won't be useful to you in the winter. Those who have a worm farm in their basement should remember that they will have to be fed throughout the winter months until spring comes and it gets warmer. Don't expect them to survive without food. In the winter months, they will certainly die without food and little attention.
- You don't need to be a genius to grow worms, and you will notice that some worms will start to recognize your voice, although it sounds silly, but it is true, and they can even climb higher during feeding, if you keep them in the container long enough. ... Of course, you shouldn't touch them, and you won't be able to get a worm as a pet, but over time it will seem to you that they have become smarter.
Warnings
- Choose worms carefully when fishing. Save the healthiest and most suitable worms for breeding.
- Use plenty of limestone, crushed eggshells, and check your pH often. If the ground is too acidic, add a generous dose of lime powder.
- Beware of various parasites. Slugs and snails will eat the worm food before your worms notice it.
- DO NOT USE CORROSIONAL LIME, BECAUSE THIS MIXTURE DRIES EVERYTHING AND KILL WORMS AT THE NEAREST CONTACT! Use only lime powder with at least 95% calcium carbonate admixture. Do not substitute lime powder for cement.
- There is a type of worm that is not typical for this area - it is sometimes found in some gardens. It is called a planaria. She has an arrow-shaped head and a tiny body. She is carnivorous and eats her own kind. She is capable of destroying an entire container of worms in just a few days.She loves small worms, but can destroy any other worm or protective shell of eggs. If you find a similar specimen in your container of worms, remove it immediately and transfer all your worms to a new box and new bedding. JUST IN THE OCCASION, IF SHE LOST THE PROCENRENCE IN THE SOIL WHERE THE WORM LIVE, because small planarians live in the soil. Kill this worm, no matter how! Don't let him lay a single egg. These worms are not even suitable for fishing. He will tear himself apart just to escape, and can live and reproduce with only half his body.
- Centipedes and centipedes will eat your worms. A centipede can injure your hands or fingers if you touch its acid-forming body or entrails. I read that it is possible that they release sulfuric acid to protect themselves from attack.
- Maintain a pH value of 7.0 or so to create conditions conducive to breeding.
- Don't forget to feed the worms if you want them to overwinter in your basement or outhouse. Release any worms that YOU DO NOT NEED during the winter months.
- Change containers for your worms and check the pH level every three weeks. This will provide oxygen to the soil, while you should monitor the condition of your worms and look for thin little larvae or protective shells of eggs.


