Author:
Janice Evans
Date Of Creation:
26 July 2021
Update Date:
12 May 2024

Content
If you want to film a video of a party, event, or concert, the best thing to do is to get started with a plan. Where will you record the film? How long? What will you do with it later? Learn to professionally edit your recording so that it doesn't just take up your camera's memory, but so you can share it with others. Go to step 1 and learn more about how to make a great movie yourself.
Steps
Method 1 of 2: Shooting a video
 1 Get a camera. Depending on your reasons for making a video, you can invest in a high-quality camera and create professional projects, or save and use what is available. In any case, acquiring a camera is the first step to filming.
 - Extremely cheap and very easy to make videos with mobile phone... It can, of course, shake a little and the sound is usually not very good, but if you want to capture an event quickly and easily, a mobile phone camera is a good option.
- Digital Photo Cameras usually have video shooting functions, and some of them are quite cheap and high quality. Widespread and user-friendly memory card cameras.
- Price for HD cameras (high-definition cameras) ranges from a few hundred to several thousand dollars, and these gadgets look very professional. Many low-budget Hollywood films have been shot with these cameras, which can be purchased at an electronics store like Best Buy, or rented in your area.
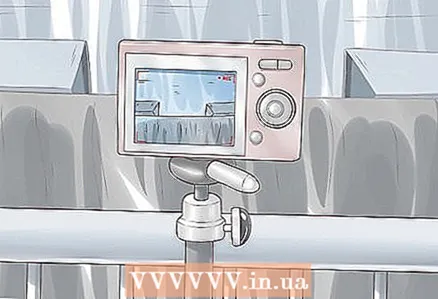
 2 Choose the best shooting angle. Whether you're filming a birthday party, concert, wedding, or any other occasion, get there early and take a few shots to find the best angle to record. Choose several comfortable positions and shoot from different angles. The footage will be varied and you will be able to edit a good product later.
 - If you have an assistant, shoot from different angles at the same time, this will give you the opportunity to edit the cuts later. This cool effect will make the final product look professional and complete.
- Try not to block other people's view, especially if the crowd is large. You are not the only one who wants to take a close-up and do it from the right angle. Make sure everyone can see well and can shoot even from a long distance.
 3 Do not turn off the camera. It should work all the time so that you are prepared for unexpected moments. Choose a time to start shooting and allow the camera to warm up so that recording starts a little earlier than the event you want to capture.If you want to shoot a video and turn on the camera at the moment when your child rushes to the goal during the football championship, most likely you will not succeed. And if you start shooting during the half-time interval, then you will be ready.
 - Don't rush to edit video. Try not to make many pauses and starts during shooting, then it will be difficult to remember the order of the frames, it will be much easier to work with long fragments. You can cut out unnecessary pieces later, but most cameras have a lot of memory, take advantage of this.
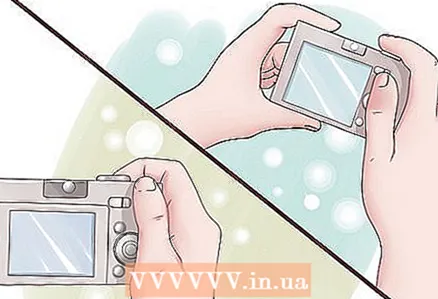
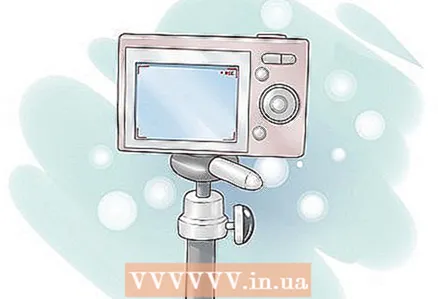 4 Stand as still as possible. If you are using a cell phone camera, or any other camera that is not attached to a tripod, try to hold it as stable as possible. Loose and blurry images due to shaking hands will interfere with viewing important recordings. Sit down while shooting and keep your hands on your lap if necessary, or spend the money on a tripod that will stabilize the camera.
 - A common mistake when recording video with an iPhone camera is vertical positioning. When you download a video to your computer for post-processing (if you want it), you will see annoying streaks on one of the two sides of the screen. Shoot with the landscape function and hold the camera horizontally. On the phone screen you will see stripes on the sides, but then they can be easily removed on the computer, and the recording will be good.
 5 If you want to record sound, get as close as possible. Using only the built-in microphone on your camera, without additional recording equipment, it will be very difficult to hear everything that is happening, unless you are close enough.
Method 2 of 2: Editing a video
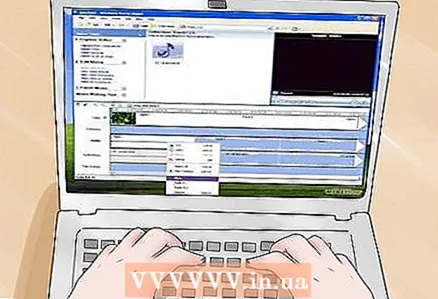
 1 Download the footage to your computer. After filming is complete, copy everything to your computer and edit. Most cameras connect to a computer via a USB cable. Or you can use a card reader: remove the memory card from the recorder and insert it into the USB converter. Follow the instructions for your camera.
 - To be able to freely edit the video and make changes, save the footage as a separate document. You will always have the opportunity to return to the original material if necessary, rest assured you will not lose anything. You can always start over.
 2 Download an editing program. If the video does not seem perfect to you and you do not want to be content with the result, it is best to use a user-friendly editing software. This will allow you to adjust, customize, add music, and remove raw video if necessary. If you want to add a title or improve the sound, you will have to use some editing software.
 - Among popular free versions such programs can be called the following:
- iMovie
- Windows Movie Maker
- Avidemux
- Professional editing software includes:
- Apple Final Cut Pro
- Corel VideoStudio Pro
- Adobe Premiere Elements
- Among popular free versions such programs can be called the following:
 3 Cut out unnecessary or incomprehensible parts. After opening the video in the program, start deleting anything that is unnecessary in the final product. Remove duplicate scenes, or trim everything, leaving only the essentials, and start ordering your best shots. Depending on what kind of video you want, the footage can be shaky and informal, or good quality and professional. Your choice depends on the desired result.
  4 Feel free to experiment. Swap the sections if it improves the video. When documenting a party or any other event, do not try to tell everything truthfully, "as it was in reality", make the video as good as possible. Tell a story.
  5 Add transitions to smooth out the frame transitions. Most editing software comes with many features that allow you to move smoothly from one scene to the next, making it easy to navigate and make changes. Avoid sharp transitions and splitting frames, unless this is an effect that you want to add to the video for some reason.
 - iMovie and other programs have many complex freezes and transitions that can be used, but use them carefully. If you get too carried away, it can distract from the final video. The plot and the video itself are what matters, not the fancy frame-to-frame transitions you've learned to do.
 6 Add sound effects or music. If the melody matches the video, load the music on your computer to serve as the background for the video, or remove the sound entirely if it's not important and add a song instead. This is a good way to liven up a recording made by a phone, where the quality of the soundtrack is significantly inferior to the quality of the video.
 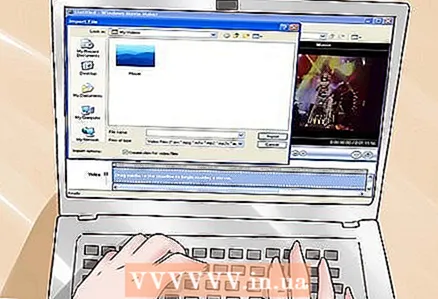 7 Complete the project. When finished, complete the project by saving the finished video file in .avi or .mov format. Open it in Windows Media Player or Quicktime and test it.
  8 Share a video. After you finish working on your file, think about how you would like to share it with others. You could burn a DVD and donate copies to people. This is a very good solution if you were filming a wedding or other private event where there were few guests who were interested in watching the recording.
 - If more people are interested in the movie, upload it to YouTube. If it's short enough, you can create a YouTube account and upload videos relatively quickly. It will be available at any time and you will have the opportunity to share the link with anyone.
- If you want to upload a video to the Internet, but at the same time restrict access to it, upload the recording through your account on the Vimeo website. The file will be of very high quality and, moreover, it will be password protected, which means that you can freely share it with anyone who has this password, and no one else will look at it.
Warnings
- Do not use copyrighted music in your video. By uploading such material to YouTube, you run the risk of your account being blocked and your video removed.
What do you need
- ideas
- tripod
- video camera
- actors and actresses


