Author:
Clyde Lopez
Date Of Creation:
26 June 2021
Update Date:
11 May 2024
Content
This article will show you how to create a moving car in Minecraft. Although the direction of movement of such a machine cannot be changed, it will move forward on its own. This can be done in all versions of Minecraft.
Steps
 1 Start a new game in creative mode. While it is possible to create a car in Survival Mode, it is very difficult to do due to the lack of most of the necessary resources (in Creative mode, all resources are at hand).
 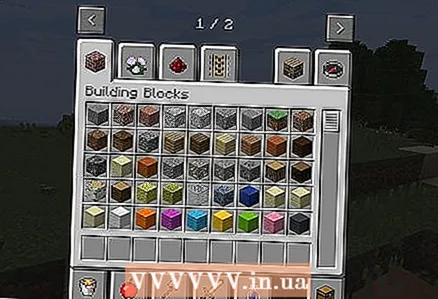 2 Open your inventory. For this:
 - computer - press the key E;
- mobile device - press "⋯";
- console - Press the X button (Xbox) or the square button (PlayStation).
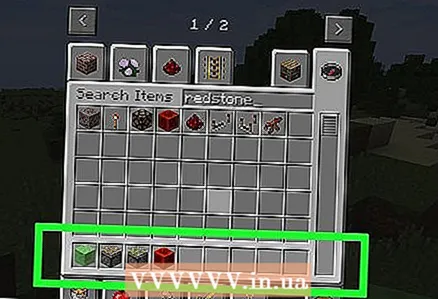 3 Add the required items from your inventory to the quick access panel. These items are:
 - slime blocks;
- piston;
- sticky piston;
- redstone block.
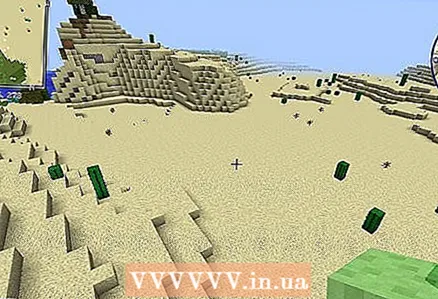 4 Find a level space. The car will move forward until it hits something. In addition, there must be at least one block of empty space under the machine for it to move.
 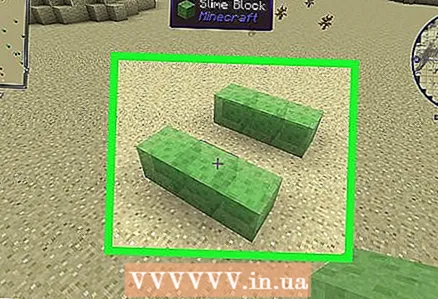 5 Create two parallel rows of three slime blocks each. Leave two blocks of white space between the rows.
  6 Connect two rows. To do this, place two slime blocks between the center blocks of both rows. You will get a shape in the shape of the letter "H".
 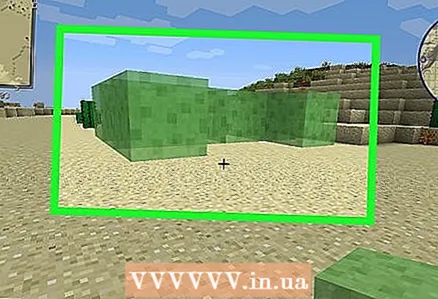 7 Create a car body. To do this, put blocks of mucus on all blocks of the letter "H", and then remove the lower blocks. The result is an H-shaped figure hanging in the air.
 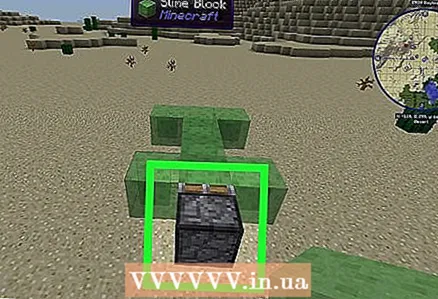 8 Place the piston against the rear center block. To do this, break the rear center block, place two blocks (on top of each other) on the ground as scaffolding, put a piston, break the scaffolding, and install the slime block that you broke.
 - The piston must be at the rear of the machine.
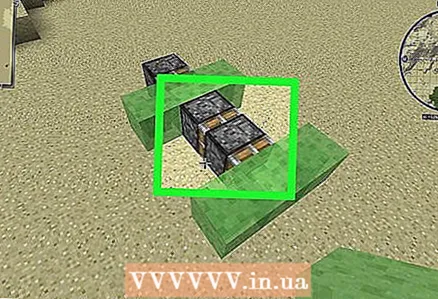 9 Put on the sticky plunger. Break the two blocks that connect the two rows of blocks and replace them with two sticky pistons.You may need to break the slime block in one of the rows, put in a second sticky plunger, and then reinstall the slime block.
  10 Go to the front of the machine. The sticky piston that is adjacent to the front of the machine needs to be replaced with a conventional piston that will point forward.
 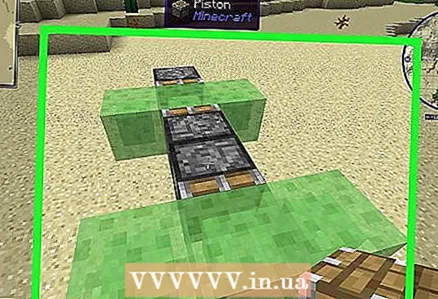 11 Replace the sticky piston at the front of the machine with a regular piston pointing forward. You should get the following construction:
 - a row of mucus blocks;
- forward piston;
- sticky piston pointing backwards;
- another row of mucus blocks;
- piston pointing forward.
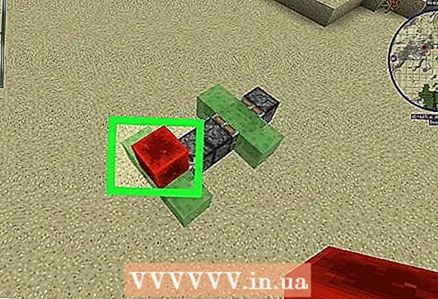 12 Place the first redstone block. Place it on the center block of the front row of slime blocks.
 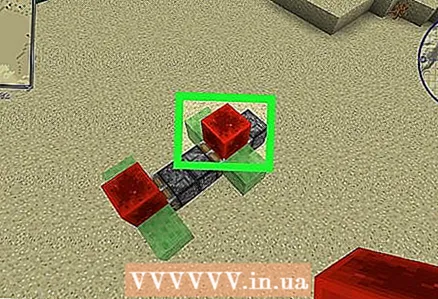 13 Place the rest of the redstone blocks. Place one block on the center block of the back row of slime blocks, and place the second block directly in front of the first above the sticky piston.
 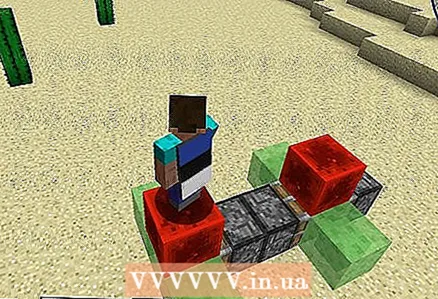 14 Get in the car. Don't sit on a redstone block.
  15 Break the redstone block above the sticky piston. The car will start to move forward. To stop it, place a redstone block over the sticky piston, or place any block in front of the machine.
Tips
- Decorate the car if you like, but make sure there are no blocks under the car and above the pistons.
- Build the car high enough above the ground for it to travel a long way.
Warnings
- The car will stop if there is a block under it. So build a car in a flat world.


