Author:
Ellen Moore
Date Of Creation:
15 January 2021
Update Date:
16 May 2024
Content
- Steps
- Part 1 of 5: Prepare the fabric
- Part 2 of 5: Make the brim of the hat
- Part 3 of 5: Make a crown
- Part 4 of 5: Assemble the Hat
- Part 5 of 5: Final touches
- Tips
- What do you need
At first glance, making a cylinder on your own will seem difficult, but in fact, you can very easily make a cylinder, besides, it is wear-resistant, spending a little materials and a couple of hours. Read on to find out how.
Steps
Part 1 of 5: Prepare the fabric
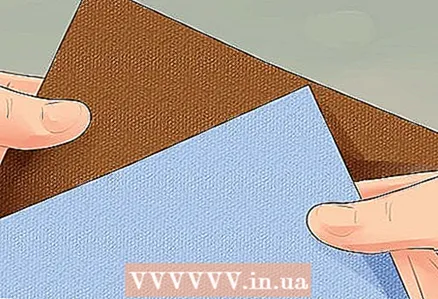 1 Choose a material. The classic cylinder material is no longer available, but you can choose from a variety of modern materials. When choosing material, give preference to harder and heavier fabrics. Lightweight and soft materials make a bendable hat.
 - The most popular option to use is felt. It's affordable, inexpensive, comes in a variety of colors, and is easy to work with. Other options are fleece and tightly woven wool.
- Fosshape (non-woven material, the appearance resembles white flexible felt, becomes stiff when heated and subsequently holds the desired shape), calico and canvas fabric, it may be a little harder to find and they will cost you a little more, but they have a stiffer structure, which, in the end, will lead to a more pleasant result. If you cannot find these materials in the color you want, you can paint them.
 2 Cut out the fabric for the brim of the hat. You need to cut two identical round pieces. The largest diameter should be about 15 inches (38 cm).
 - To create a double layer, both hat brims are folded and sewn together. This is to make the brim of the hat stiffer and more form-fitting. If you only use one piece of fabric for the brim of the hat, it may not be enough for stiffness and will need to be reinforced.
 3 Cut out a piece of fabric for the crown. The crown is a tall, tubular part of the cylinder that creates a sophisticated style. You need to cut two identical rectangular pieces of fabric. Length 6 ½ "(16.5 cm), width 24" (61 cm).
 - Just like the brim, the crown is made up of a double layer of fabric for proper stiffness. Without this double layer, the top hat will likely collapse or fold as soon as you put it on.
- For a funnier version of the top hat, you can cut individual stripes in different colors for the crown. Sew the strips together lengthwise so that they form a single piece with a height of 6 ½ "(16.5 cm).
 4 Cut out the bottom of the cylinder. You only need to cut one piece of material for the bottom of the hat. Cut out a circle 8 inches (20.3 cm) in diameter.
 - Unlike the brim and crown, the bottom or “lid” does not need a reinforced structure, so only one piece of fabric is needed. Although if you don't like the look of one layer, you can double that part of the hat by adding a second piece of fabric of the same size.
Part 2 of 5: Make the brim of the hat
 1 Fold the brim of the hat. Place two pieces of fabric one on top of the other, right side in, wrong side out. Clip them in place.
 - Secure both layers along the edges with sewing pins. Use enough pins to avoid shifting the edges of the fabric, starting at the edge where you will start to sew the margins together.
 2 Make a circle in the center of the brim of the hat. Use a fabric pencil or chalk to sketch a smaller circle in the center of the larger circle of the brim. The circumference measurements should match the size of your head.
 - This circle will be the hole for your head, which is why you need roughly the same size. Use a tape measure to measure the circumference of your head to make sure it lines up with the circumference of the center of the brim of your hat.
- Typically, the inner circle diameter is 6 inches (15.24 cm).
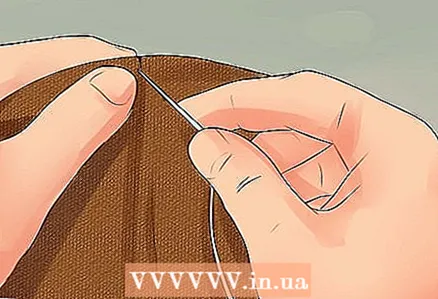
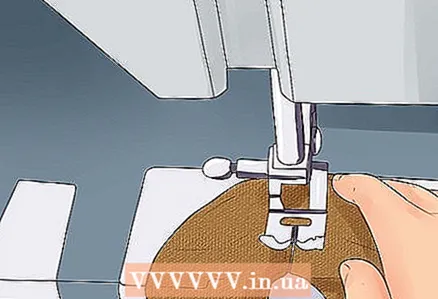 3 Sew together the pieces of fabric for the brim. Use a sewing machine or needle and thread to sew around the outside edges of the fabric, leaving a seam allowance of about ⅛ ”(3.176 mm).
 - Don't seam along the edge of the inner circle just yet.
- When finished, you will have a solid round disc with a circle marked in the center.
- Remove pins as you sew or after you have finished sewing.
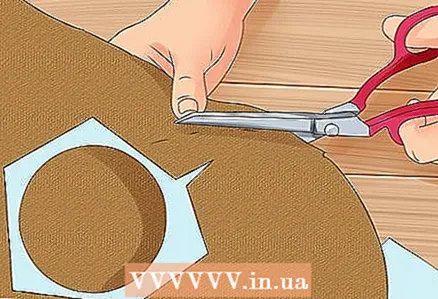
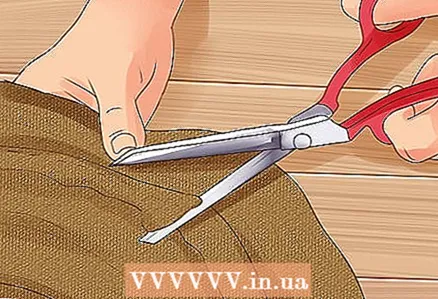
 4 Cut out a circle in the center of the cylinder margins. Use sewing scissors or a cutting machine to cut along the outline marked in the center of the brim of the hat. Cut from the inside of the circle, not along the outside.
 - If you find it difficult to keep the pieces of fabric from shifting or shifting in the center, you can remedy the situation by pinning the pins around the outside of the outline drawn in the center of the circle, before starting the cut. This should restrict the movement of the fabric.
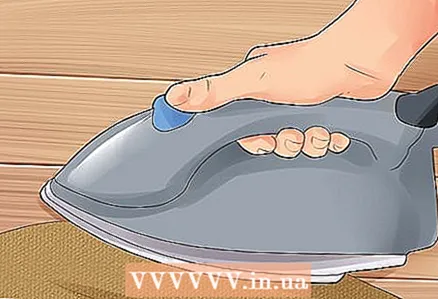 5 Turn the margins inside out. Using the hole you cut out in the center of the brim, turn the brim outward.
 - Iron if possible, because smoothed material is easier to work with.
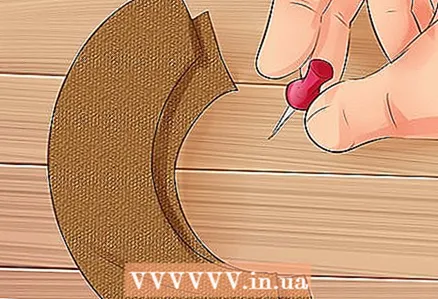
 6 Sew on the rest of the brim. Sew the fabric around the center hole of the margins with a sewing machine or needle thread. Leave a seam allowance of about ¼ ”(6.35 mm).
 - As before, pin off the fabric to limit movement around the center hole.
Part 3 of 5: Make a crown
 1 Fold the pieces of the crown. Place two pieces of fabric one on top of the other, right side in, wrong side out. Clip them together.
 - You need to pin all 4 parts of the rectangle. Place the pins as close to the edge as possible so that the edges will not slip while sewing.
 2 Sew the pieces together. Sew around the folded pieces to create a two-layer piece of fabric.
 - Leave a seam allowance of about ⅛ ”(3.176 mm).
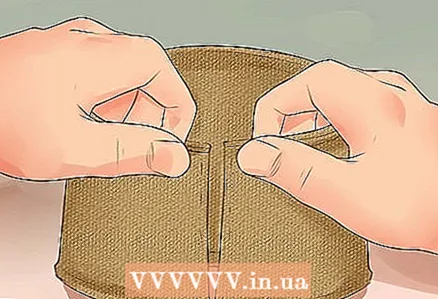 3 Form a crown. Fold slightly in half widthwise and staple the edges. Sew the joined edges with a sewing machine or needle.
 - Do not iron or fold the crease. Ultimately, it is necessary for this part to be rounded, not flat.
- The seam allowance will vary depending on the size of your head. The part of the fabric that falls on the seam should be about half the diameter of the hole in the brim of the hat, and when unfolded it should be the same size as the hole in the brim.
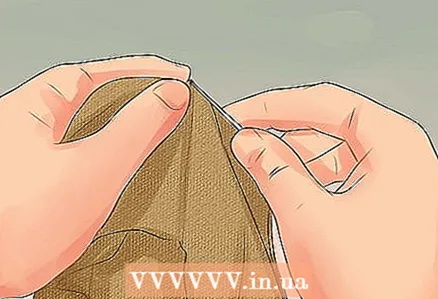
 4 Expand. Straighten the fold of the crown and shape it with your fingers.
 - If there is a crease along the side that you folded earlier and you can't straighten it out, you can try placing the crown on a round vase, lamp, or similar object to straighten it into a rounded shape. Straighten the fold by ironing it.
Part 4 of 5: Assemble the Hat
 1 Place the crown over the bottom of the hat. Place the bottom side up on a work surface and place the back side of the crown on top. Lock in place.
 - Staple the pieces as close to the edge as possible to prevent them from shifting.
 2 Sew. Sew the crown to the bottom using a needle or sewing machine. Leave a seam allowance of about ⅛ ”(3.175 mm).
 - Once the two pieces are sewn together, flip the crown upside down.
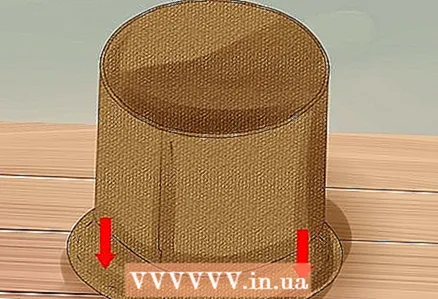
 3 Line up the crown and brim of the hat. Pull the bottom edge of the crown slightly through the cutout opening in the brim, leaving ⅛ to inches (3.175 to 6.35 mm) of the fabric from the bottom of the brim. Lock in place.
 - Fasten as close to the edge of the crown as possible under the brim of the hat.
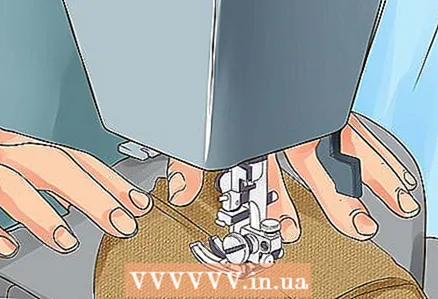
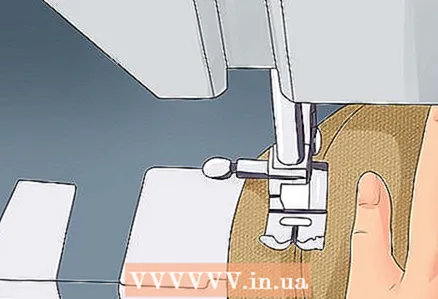 4 Sew. Sew on the protruding portions of the crown fabric under the brim of the hat with a needle or a sewing machine.
 - Seam allowance no more than ⅛ in. (3.175 mm).
Part 5 of 5: Final touches
 1 Cut off excess material. Any excess fabric on the inside of the brim or crown should be trimmed with sewing scissors or a cutting machine.
 - This is not essential as the excess fabric will be hidden, but this step will make the hat more comfortable to wear.
 2 Decorate the top hat to your liking. You can keep it regular and wear it, or add decorative elements to personalize it or add to the costume.
 - If you are using a hat for a fancy dress or a particular costume, study the pictures of the characters you are trying to replicate and decorate the hat accordingly.
- You can decorate the top hat by attaching a black satin ribbon to the base of the crown for a more “classic” look.
- To make the top hat more practical, add removable jewelry.
 3 Wear your top hat with pride. Your top hat is now complete and ready to wear.
Tips
- Use a sewing machine to sew a simple straight stitch. If sewing by hand, double stitch.
- When sewing thick fabrics, replace the sewing machine's needle with a sturdier one, marked for “leather” or “denim”.
What do you need
- 1 piece 1/3 yard (1.19 m) felt, foshape, fleece, calico or canvas, 24 '' (60.96 cm) wide
- 1 spool of thread
- Sewing scissors or cutting machine
- Sewing (straight) pins
- Sewing machine or needle
- Iron
- Fabric pencil or chalk
- Tape measure


