Author:
Janice Evans
Date Of Creation:
25 July 2021
Update Date:
10 May 2024
Content
- Steps
- Part 1 of 3: How to add rows to a table
- Part 2 of 3: How to Delete Rows
- Part 3 of 3: How to copy and paste strings
When working with tables in Microsoft Word, you can quickly add and remove rows by using the tools on the Layout tab. Rows can be inserted anywhere in the table, not just at the top and bottom. You can also copy and paste existing lines to duplicate content.
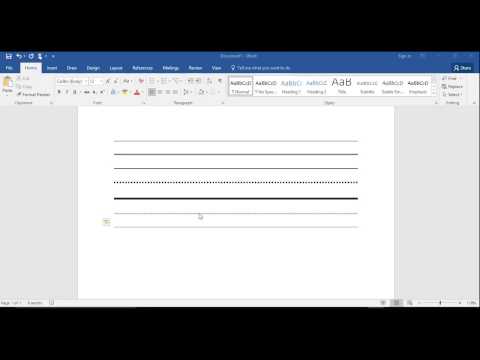
To insert a new line in a Word document, click ↵ Enter/⏎ Return.
Steps
Part 1 of 3: How to add rows to a table
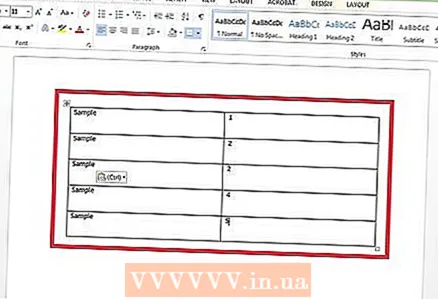 1 Select the line above or below which you want to insert a new line. Rows can be added so that they appear above or below the selected row. To add a line below, go to the bottom line. Select any cell in a row or the entire row.
 - To insert multiple lines at once, select as many lines as you want to add; to do this, hold down the left mouse button and drag the pointer over the required number of lines. For example, to insert three new lines, select the three existing lines.
 2 Click on the Layout tab. You will find it on the right side of the tab bar (Windows) or next to the Table tab (Mac OS X). It will only appear if the cursor is inside the table.
  3 Click Insert Above (Windows) or Above (Mac) to insert a line above the selected line. An empty line will be inserted above the selected line (the format of the lines will be the same).
 - Click Insert Left or Insert Right to insert a column to the left or right of the selected cell.
 4 Click Insert Bottom (Windows) or Bottom (Mac) to insert a row below the selected row. An empty line will be inserted below the selected line (the format of the lines will be the same).
  5 Use the key Tab ↹to quickly add new rows at the end of the table. Place the cursor in the last cell of the table and click Tab ↹to create a new line. Rows will be added below the last row of the table.
Part 2 of 3: How to Delete Rows
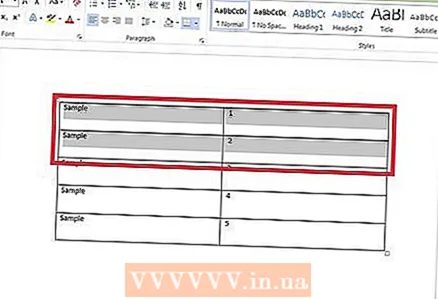 1 Highlight the line or lines you want to delete. Hold down the left mouse button and drag the pointer over the required number of rows to select multiple rows at once, or simply select one cell in a row.
  2 Click on the Layout tab. You will find it on the right side of the tab bar. It will only appear if the cursor is inside the table.
  3 Click Delete> Delete Rows. The selected line (or lines) will be deleted. The content of each of the cells in the row will also be deleted.
Part 3 of 3: How to copy and paste strings
 1 Highlight the line or lines you want to copy. Be sure to select the entire line, otherwise the copied line will be incomplete. Hold down the left mouse button and drag the pointer over the required number of lines to select one or more lines.
  2 Right-click on the row cell under which the copied row will be pasted. When you paste the copied line, it will appear below the line you right-clicked on.
  3 Choose Insert As New Rows from the Insert option menu. The copied row will be inserted into the table as a new row immediately below the row you right-clicked.


