Author:
Lewis Jackson
Date Of Creation:
11 May 2021
Update Date:
12 May 2024
![How to Post Your First YouTube Video [Step-by-Step]](https://i.ytimg.com/vi/w25FNPlnXXQ/hqdefault.jpg)
Content
You have seen videos on YouTube that get thousands of views. Have you ever wanted to create your own video on YouTube? Here's how.
Steps
Think about what you want with your video. It doesn't have to be anything special, but it can be good enough and fun to provoke YouTube audiences. Ask yourself the following questions and write down the responses.
- How long will my video be? YouTube limits video length to 15 minutes. If you want your video to be longer than 15 minutes, post it as another video. (example: Part 1, Part 2,…).
- In what environment will my video be? You may have to change the settings on your camcorder.
- Is the topic I'm filming interesting or not? Does Lieu have anyone watching? If the beginning of your video is boring, viewers won't waste time watching the rest. Don't make a video that only interests you, unless you're just posting it for fun.

Prepare everything before you start recording. You do not want to be in the middle of work, then suddenly realize that something is not done!- If you are reporting, speak loudly and clearly so your viewers can hear you. Drink water before you start recording. Keep water bottles within reach and don't drink aloud while recording!
The steps that follow depend on the device you use to record. advertisement
Method 1 of 2: Camera user
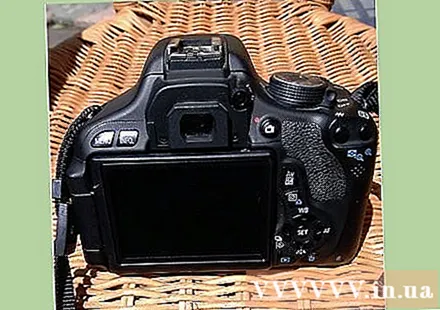
Turn on the camera. Make sure it is set to "movie", not "picture". Make sure the focus of the shot is clear and sharp. If you have a lackluster video, it will be difficult to watch.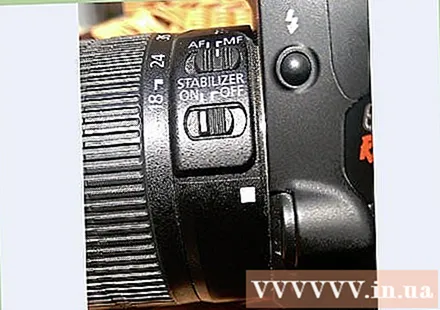

Make sure the camera is ready. It can be difficult and frustrating to watch a blurry or shaky video. If you cannot hold the camera steady while recording, use a tripod or place the camera on top of a stack of books. Make sure your shooting is clear and the whole subject is in the frame - not just the half of it.
When you are finally ready, be sure to press the record button. Depending on the type of camera you are using, the record button is usually the same button you use to take the photo. Make sure the camera is running properly.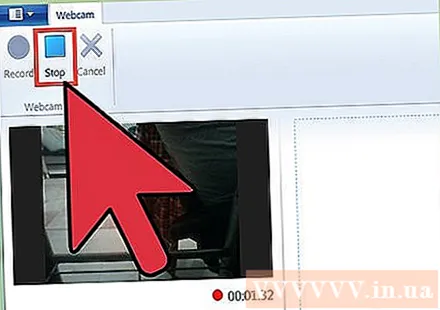
Record your video. When you are finished, press the record button again to stop.
Connect your camcorder to the computer and convert the video to files. Make sure it is saved.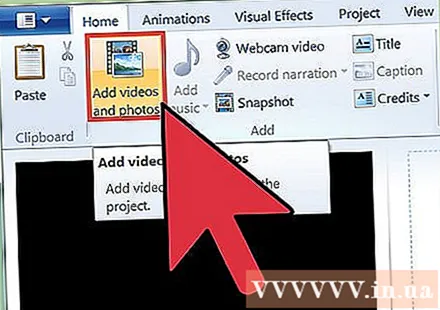
Open your video and see what the quality is. If you find you made a mistake, then you can use Windows Live Movie Maker to eliminate that mistake. If you don't have Windows Live Movie Maker installed in your computer, you can easily download (Windows Live Movie Maker) for free from the Internet. Edit the video as you like. You can even add music to accompany!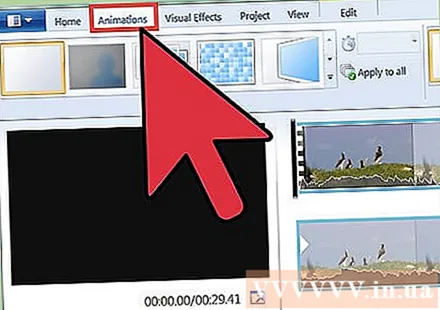
Watch your video a few more times and add animations, captions, title pages. Make sure you fix the bugs and the video looks great before uploading it to the public. Make sure your video doesn't contain copyrighted information. If you are using a song as background music, add the title and artist name for it in your description. You will need to give credit to that person, otherwise you might be in trouble!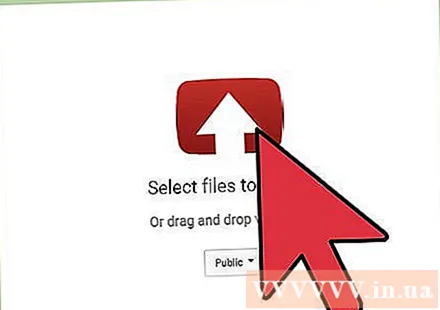
Once your video is ready, upload it. On top of the software you are using for video editing, there will be a YouTube icon somewhere. Find it and click it.
- You will be asked to sign in to your YouTube account.
- Then, YouTube will ask you to fill in information related to the video and its content. You will be asked to include a title, description, and tag if needed. You will also be asked to choose a category for your video. Please select the category according to the content of your video.
- Once you've filled in the information, hit “OK” and YouTube will begin uploading the video. Depending on the length of the video, this might take a few minutes.
Once you've uploaded your video to YouTube, it will be open to the public. Congratulations! You have uploaded your first video! advertisement
Method 2 of 2: For those who use an iPad
To record your video, go to camera mode on your iPad.
Please press the record button and record your video. However, iPad users are only capable of making short videos, so it's best to use a camcorder.
Once you are finished recording, go to the video archive - not the photo archive. There will be a small arrow pointing up in the upper right hand corner.
Click on that arrow. It will show you 3 options for uploading video. Click on the YouTube icon.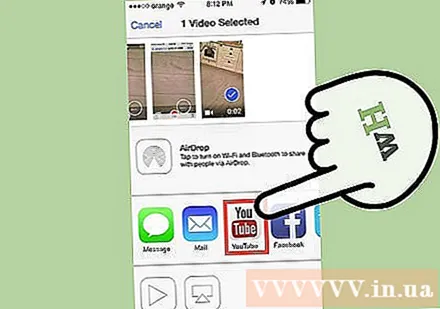
YouTube will ask you to fill in information related to the video and its content. You will be asked to include a title, description, and tag. You will also be asked to choose the category to which your video belongs. Choose the category that matches the content of your video.
Once you've filled in your information, hit “OK” and YouTube will begin uploading the video. Depending on the length of the video, this might take a few minutes.
After you have uploaded your video to YouTube, it will be public. Congratulations! You have uploaded your first video! advertisement
Recommendation
- Practice what you're going to say in your video before you actually shoot it.
- Use your notes in case you forget what you're going to say.
Warning
- Enter the artist names of the tracks you used in the video.
- Make sure there is no copyrighted content in your video.
- For safety's sake, do not use the full name.
- Blurring the faces of people who happen to be in the background.
Things you will need
- YouTube account
- Camcorder (or some form of recording device)
- Idea
Related posts
- Use Movie Clip to Make a Music Video for YouTube (Use Movie Clip to create YouTube Music Video)
- Create Lyric Videos for YouTube Using Windows Movie Maker (Create lyrical videos on YouTube using Windows Movie Maker)
- Make a YouTube Channel
- Create Good Videos on YouTube (Make good videos on YouTube)


