Author:
Monica Porter
Date Of Creation:
18 March 2021
Update Date:
14 May 2024
Content
This wikiHow teaches you how to prevent others from seeing your Facebook photos or albums. You can put photos on both Facebook website and mobile versions in private mode. Note: you can't edit privacy preferences for photos, videos, and albums posted by others.
Steps
Method 1 of 4: Set each photo to private on the computer
Open Facebook. Go to https://www.facebook.com/ in a web browser. The News Feed page will open if you are logged into Facebook.
- If you are not logged into Facebook, enter your email address and password to continue.

Go to personal page. Click your name in the top right of the Facebook page.
Click the card Photos (Picture). This tag is below the cover photo at the top of the Facebook page.
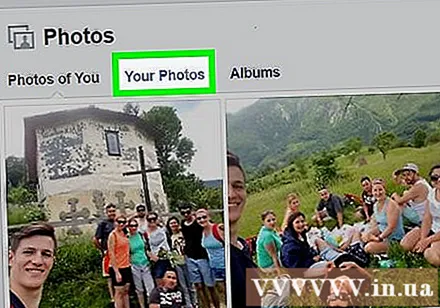
Choose a category of photos. Click a category card (example: Your Photos - Images) near the top of the page.
Choose an image. Click on the photo for which you want to set privacy. The image will appear.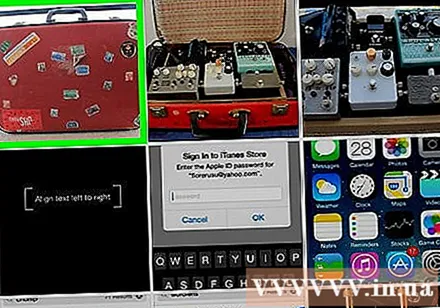
- The photo must be posted by you, not uploaded by someone else.
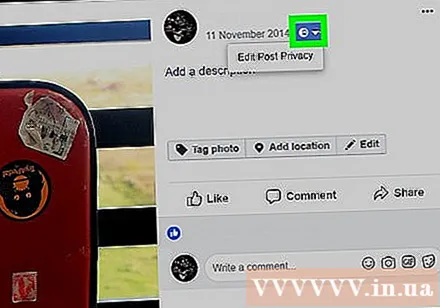
Click the "Privacy" icon. This icon usually has a silhouette of one or two people and is below the right of your name in the upper right of the image. A drop-down menu will appear.- If when you click this icon there is a pop-up menu with options Edit Post Privacy (Edit post privacy), click Edit Post Privacy to go to the post, then click the privacy icon at the top of the post before proceeding.
Click More ... (Other options). This item is in the drop-down menu.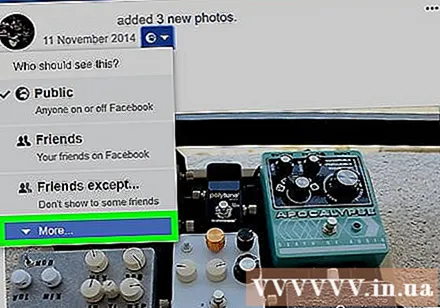
Click Only Me (Only me). This option is in the extended drop-down menu. Photo privacy will instantly change and only you will see it. advertisement
Method 2 of 4: Set each photo to private on the phone

Open Facebook. Click the Facebook app icon with a white "f" on a dark blue background. The News Feed page will open if you are logged in.- If you are not logged in, enter your email address and password to continue.

Click on the icon ☰ in the bottom-right corner of the screen (iPhone) or the top of the screen (Android). A menu will appear.
Click on your name. This option is at the top of the menu. Your profile page will appear.

Scroll down and tap Photos. This tab is below the information.
Choose a category of photos. Tap one of the categories of photos (for example: Uploads - Upload) near the top of the screen.
Choose an image. Tap the photo you want to make private. The image will open.
- Note: the photo selected is your upload, not the one you are tagged in. We cannot adjust privacy preferences for other people's pictures.
Click on the icon ⋯ in the upper right corner of the screen. A menu will appear.
- On Android, you need to long press on a photo.
Click Edit Privacy (Edit privacy). This option is in the menu. A new menu will open up.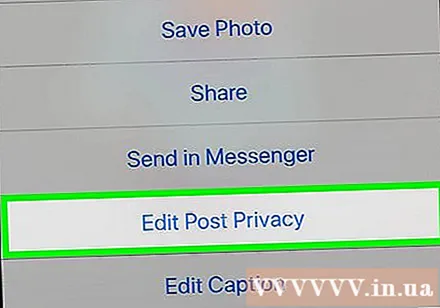
- For some photos, you need to tap Edit Post Privacy here.
- If you don't see this option, the photo is in a user-created album and can't be set to private. At this point, you need to make the album private.
Click More at the bottom of the menu.
- Skip this step if an option is available Only me in the menu.
Click on the option Only me from the menu.
Click Done (Done) in the upper right corner of the screen. This will save the photo's customizations, and the picture will be hidden from everyone but you. advertisement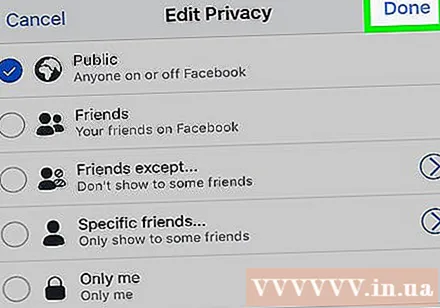
Method 3 of 4: Make albums private on computer
Open Facebook. Go to https://www.facebook.com/ in a web browser. The News Feed page will open if you are logged into Facebook.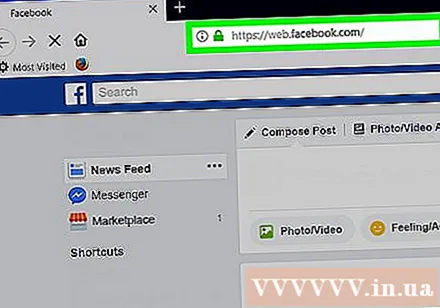
- If you are not logged into Facebook, enter your email address and password to continue.
Go to personal page. Click your name in the top right of the Facebook page.
Click the card Photos is below the cover photo at the top of the Facebook page.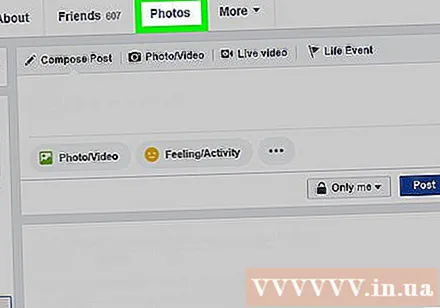
Click the card Album in the top right of the "Photos" page. A list of the photo albums of your Facebook profile will open.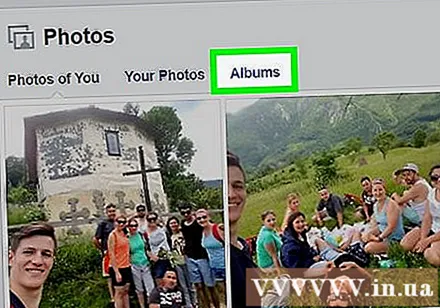
Find the album you want to make private.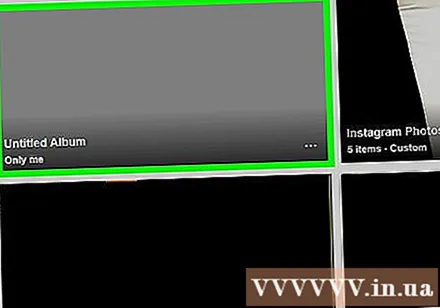
- Some Facebook albums are pre-made on the Facebook website and so they cannot be made private.
- We cannot edit the privacy of the album "Mobile Uploads" - Mobile uploads (or "iOS Photos" for photos previously uploaded from Apple phones).
Click the icon ⋯ in the lower right corner of the album cover photo. A small menu will appear.
- If the selected album does not have a three-dot icon, you cannot edit it as private; however, you can instead make each photo and video in the album private.
Click an option Edit (Edit) in the menu. The album page will open.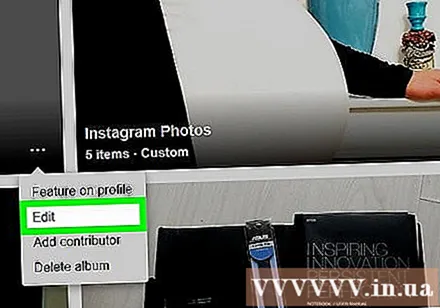
Click the "Privacy" drop-down box at the top of the page. A drop-down menu will appear.
Click an option Only me in the drop-down box.
- If you don't see this option, click See all lists ... (See all listings) to expand the menu.
Click the button Save (Save) in the top right of the page. The settings are saved and return the album to viewable only by you. advertisement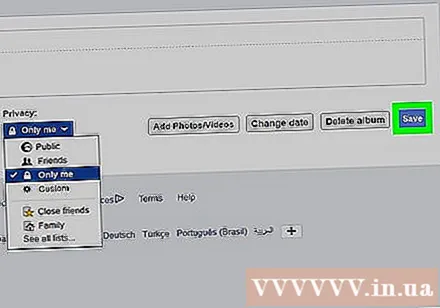
Method 4 of 4: Make albums private on phone
Open Facebook. Click the Facebook app icon with a white "f" on a dark blue background. The News Feed page will open if you are logged in.
- If you are not logged in, enter your email address and password to continue.
Click on the icon ☰ in the bottom-right corner of the screen (iPhone) or the top of the screen (Android). A menu will appear.
Click on your name. This option is at the top of the menu. Your profile page will appear.
Scroll down and tap Photos. This tab is below the information.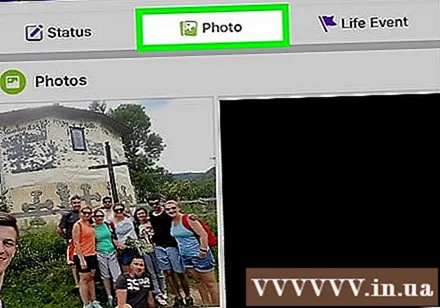
Click on the card Albums in the top right of the screen. A list of all the albums you have on your Facebook profile will appear.
Find the album you created. We can only set me-only for albums we upload to Facebook.
- If the photo that you want to make private is in an available Facebook album (eg "Mobile Uploads"), you can still hide specific photos in it.
Click on the icon ⋯ in the upper right corner of the album.
- If you don't see the above option, you can't edit the album's privacy.
Tap the current privacy setting. Privacy setting will always show as Friends (Friends) or Public (Public) and in the middle of the screen. When you click on it a menu will pop up.
Click on the option Only me is in the menu. The menu will close and your selection will be saved.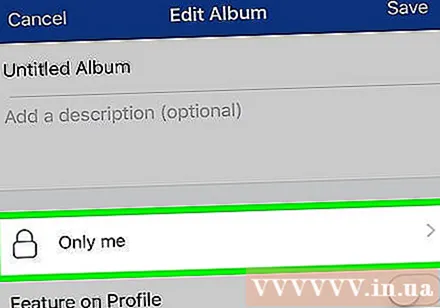
Click on the option Save in the upper right corner of the screen. The album's preferences are saved, so only you can see the album. advertisement
Advice
- If someone uploads your unwanted photo to Facebook, you have the right to report the post for review by Facebook.


