Author:
Lewis Jackson
Date Of Creation:
11 May 2021
Update Date:
12 May 2024
Content
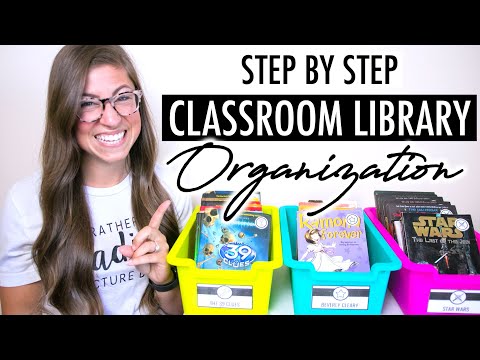
Classroom libraries can quickly become difficult to manage. If you want to be able to easily find what you want, then you'll need to think a little bit about organizing all of those books. A well-organized system keeps things organized, as you will know immediately where lost books should be put back. You will also be able to see any gaps in your library, so you'll know what new books you have to buy.
Steps
Method 1 of 4: Designing Your Class Library
Determine what you have. Before you start labeling shelves and cases, you'll want to know exactly what you have. Put all of your books in one place, and categorize them across categories.
- Classify your books into three main categories: books for use now, books for later reading, and books to take away.

Collect as many books as you can. There are books. Visit several storefronts, and buy boxes of books in bulk.- Choose from a wide range of topics, including fiction and science-reality books.
- Please register with the educational publisher. If you are not a teacher, try to find a teacher from your school who already signed up for an account.
- Ask the librarians in the school if they have any excess books they plan to leave.
- Contact your local municipal library. Many branches organize annual book sales.
- Check online for older children's books. Amazon, Barnes & Noble, and thriftbooks.com all have discounted second hand books. The place to sell books for half the price is where you can find the right prices.
- Please double-purchase popular books.
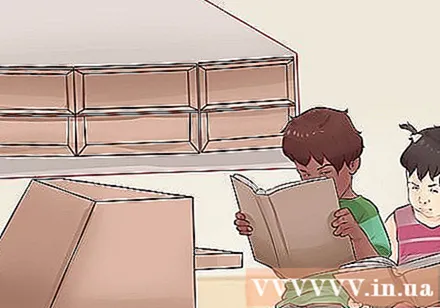
Use a low shelf for children. For an elementary school reading library, shelves with only 2 rows are best. You can use the top of the shelf to display a few items, and the young children will be able to reach all of the books.- Use a low shelf to divide a portion of the classroom for quiet reading time. You will be able to see through the shelves easily, so you will be able to see the children in that area.

Use a vertical bookshelf for a small area. If you have a small workspace, then consider the slender and tall bookshelves. Alternatively, you can use rotating racks to hold a large number of books in a small area.
Use children's book boxes. Books for young children are usually large, so they may not fit on regular shelves. They are also usually thin books, so it can be difficult to read the titles on the spines. The system of containers works much better for them, and children will find it easier to pick them up. advertisement
Method 2 of 4: Organize and Label Your Books
Sort the books by category. If children of different ages will use your library, categorize books by grade and class and place all books by reading level in their own place.This will make it easier for children to find books that are suitable for their age group.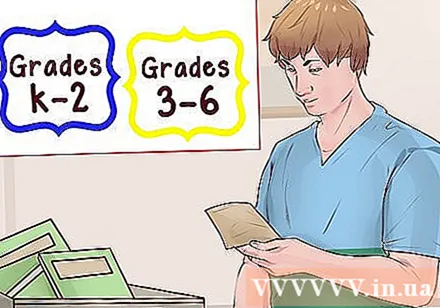
- Choose a code with a special color for each reading level, and buy labels in that color.
- For example, print yellow labels for all Grade 2 books, blue labels for grades 3 through 6, and so on.
Categorize real-science books by topic. Choose a color specifically for science-reality labels, which should be different from whatever you are using for fiction books. Use a system of categorizing those books, and organizing them by main topic.
- A sample example might be: Animal, Biography / People, Science, Language, Travel / Places, History,
- For example, Ancient Egypt (Ancient Greece) by George Hart may have a green reading label for the "TOURISM / LOCATION" category.
Sort fiction books by author. Print labels with “VOUCHUNG” on the first line, and the first letter of the author's surname on line 2. Use the appropriate color for the grade or reading age group as required.
- For example, the book Oh, the Places You’ll Go (Oh, The Places You Will Go To) by TS. Seuss may have a yellow label (indicating the level of reading for grade 2) which would be, “STUNNING - S”
- Bunnicula: A Rabbit-Tale of Mystery (Bunnicula: The Rabbit - The Mystery) by James Howe could have a label that blue (indicates the reading level for ages 8-12) would be, "STUFF - H"
Label the shelves. Print individual codes on labels. Label each shelf with color-coded stickers that match the labels on the books.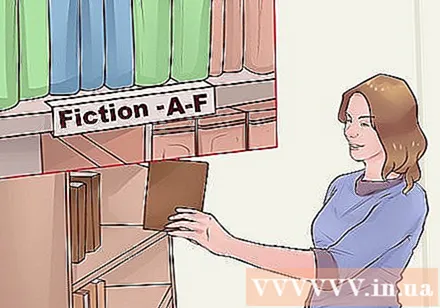
- For example, a sci-fi bookshelf containing books for ages 8-12 with authors with names starting with A through F may have a blue reading label, "STORY, A-F"
Label the boxes. Buy boxes of different colors, to match the labels on books.
- The yellow box labeled “A - F” may contain second grade appropriate books written with them beginning with A - F by authors.
- If you are using barrels, attach the labels to small pieces of cardboard and hang them on the bin using metal rings. (You can buy metal rings for books at the office supplies store or teacher's own).
Label your books. Once your books are sorted into categories and placed on a certain shelf or box, you will need to label them.
- Consider applying color-coded labels to color-coded labels on cartons - each has its own color.
- Include any relevant information on the label that will help you organize it faster. You can include the author, category, and case or case number on the label.
Method 3 of 4: Use Your Classroom Library
Train your kids to use that system. Teach your students how to read labels. Show them how to match the book's label to the bin label and always return the books to the correct boxes. Students will notify you over time when a book is in the wrong box.
- If you are working with kids who have not yet grasped the alphabetical alphabetical order of letters, you can label boxes "STUNNING / A - B - C - D - E - F" instead of "PERFECT CONCEPT / A - F "The children will be able to match the letter on the spine label with one of the letters on the barrel label.
Display books to create excitement. Choose a few for display on top of the shelves or in a special bookshelf. A large library of so many books can be intimidating for some kids. Keeping a few of the books selected for display will encourage them to read more.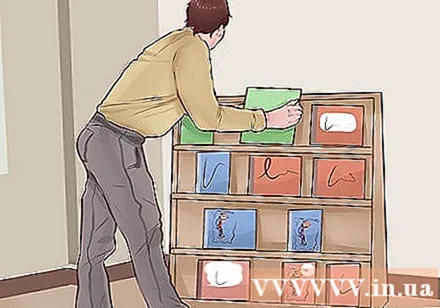
- Emphasize the books according to the topics you were teaching in the classroom at that time.
- As you add books to your library, showcase them so that they stand out and identify them as "new" books.
Let's create a system to manage the books. If you are allowing your students to take books home, be sure to keep an eye on them. It is a common situation for a library book to get mixed with other books at a child's home. You may need to remind your children once the time has passed and they have to return any books they keep at home.
- Put a piece of paper in a clipboard in the library. When a child has “finished paying” a book, write their name along with the date, the title of the book, and the information about the placement label.
- Cross out the item when the book is returned, and write down the date it was returned. You can also initial your name if there are more than 1 teachers or adults managing the library.
- If a book has been in the home of a certain child for a long time, send a message home to parents asking them to return the book.
Method 4 of 4: Use technology to organize classroom library
Buy a scanner. Small scanners like the IntelliScanner help you organize your books. The devices scan the barcode on the back cover, and record all the information it has such as title, author, release date, publisher, page number, and genre.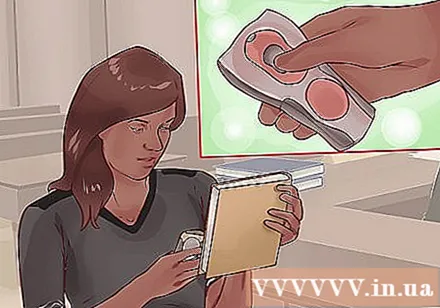
- Please scan the barcode on the cover of the book.
- Add information to the files on your computer that are directly related to your own library: reading level, date of purchase, location of a bookshelf or shelf.
- Print out a complete list that can be categorized into different ways to display books by reading level, category, or topic. The list should also contain a thumbnail image of the cover.
- Make this list easily accessible by students, kids, or other teachers - anyone who will use the library.
- Use your Intelliscanner scanner to create barcode labels that you can stick to your books.
Try the Book Retriever app. The Classroom Library company creates the Book Retriever application, which has a database of more than 135,000 books in different age groups. It has several tools to help organize your library.
- Scan the barcodes of the books, and add titles manually if the information is not in the database.
- Make a list of popular books for each month that you can use for display.
- This will help you see all the books that have been borrowed from the library.
- The discount of children's books is allowed if purchased through that app.
Manage your books with Classroom Organizer. With this web-based program you can organize your library for free. You can enter information about books and students, and design a checkout system to help you keep track of which books have been borrowed and who has them. advertisement
Advice
- Buy hardcover books if you can afford them. They will have a much longer lifespan than paperback books.


