Author:
Robert Simon
Date Of Creation:
15 June 2021
Update Date:
12 May 2024

Content
Have you ever wanted to have your own TV show? Just a webcam and internet connection and everything will come true! Do you want to show off your gaming skills? Gaming video streaming is growing in popularity. Video streaming is the future of the internet, and it's simpler than ever.
Steps
Method 1 of 4: From Webcam
Find online services to broadcast. To live stream from a webcam, you need to log into a home page. That page will provide bandwidth for you to share directly with everyone. Many websites allow you to go live without having to install encoding. Here are some popular services:
- Ustream
- YouNow
- Bambuser
- Livestream
- Google+ Hangouts On Air

Create Account. All live streaming services require you to create an account before using it. All have free account support, and many offers for paid accounts like removing ads and increasing views.
Use built-in broadcasts on web services. Most services allow you to broadcast without downloading and installing additional software. However, using the integrated broadcasting software on the web, the quality will be lower than that of the downloaded software. The execution method on each service will be slightly different.

Sign in to your account.
Create a channel or room. Many sites have "Broadcast Now" or "Go Live" buttons.
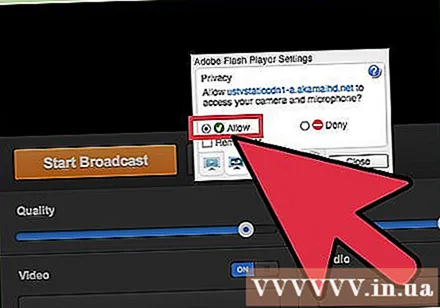
Activate Flash to access the webcam. You just need to operate the first time it airs, then click either "Remember" or "Always Allow". You may need to update to Flash version.
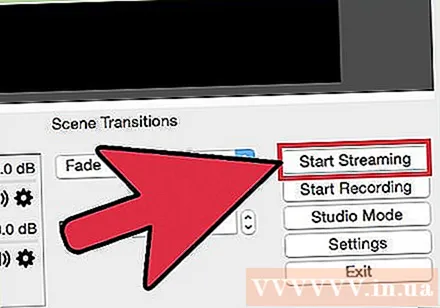
Start broadcasting. Once the camera is detected, you can start broadcasting it immediately.
Download broadcasting software to improve quality. Many services offer free versions of broadcast software, or allow the use of middleware such as Flash Media Live Encoder or Open Broadcaster Software. Refer to the articles on the internet for detailed information.
Embed video directly on personal website. After you set up your channel, you can use the embed code to insert the video into a private web. You must have web code editing permission to insert a video. Contact the web developer if you do not have personal access. advertisement
Method 2 of 4: Use Google+
Sign in to YouTube with the account you want to use for live streaming.
Access .after logging in.
Click the button.Enable (Activation) next to "Live events". Your account should be in good standing (Good Standing).
Read the terms, terms and click.I Agree (I agree) to continue.
Click the "Create Event" button.
Enter the basic information of the event. Include title, description and tag.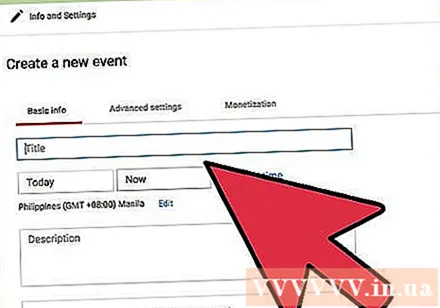
Schedule adjustments. You can schedule a start or go live.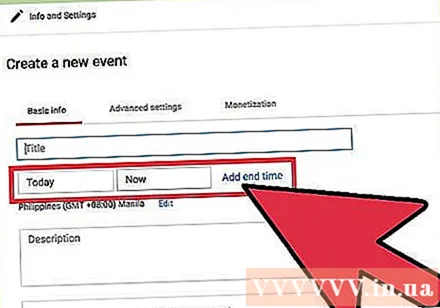
Click the "Public" menu to choose a privacy option. With public events, everyone can find and view, events that are not listed, only anyone with the link can access, Private videos restrict viewers, they must be logged into a Google+ account.
Remember to select "Quick". This is to activate Google Hangouts on Air, using the Hangouts plugin and webcam. The "Custom" option is for events that are more complex and require a coding program.
Check for advanced settings. Click the "Advanced settings" tab and see all the options. You can change the custom comments, age limit, metrics, postponement, and more.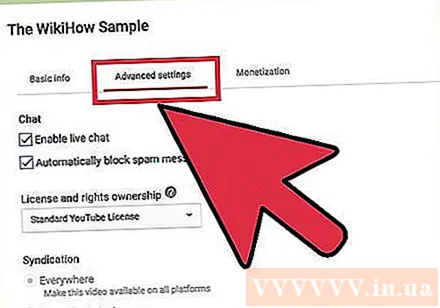
Click on "Go live now" to launch Google+ Hangouts. If you don't have the Google+ plugin installed, you will be asked to do so at this step.
Wait for the video to load. The Hangouts window appears and the webcam is activated. You should see the percentage begin to increase gradually in the bottom corner of the screen. Once you reach a certain number, you can go live.
Click "Start broadcast" to begin, then click "OK" to confirm. You are allowed to broadcast up to 8 hours.
Click on the "Control Room" option to manage the audience. This option allows you to disable or dismiss viewers that interfere with broadcasting.
Share and embed live streaming video. Click the "Links" button in the bottom corner of the Hangouts window to view the sharing information and embed code. Shortened URLs let you share videos to Twitter and other social networks, while embed codes let you add videos to your blog with ease.
- Also, the video will be prominently displayed on your YouTube channel.
Method 3 of 4: Stream Video Game
Sign up for a live streaming service. To broadcast while playing games, you need to subscribe to a service that allows video streaming. The server will provide the bandwidth and viewer chat and tools for broadcasting games. Here are some popular video game live streaming sites:
- Twitch.tv
- Ustream.tv
- Twitch is one of the sites that specialize in video game live streaming, you can find a large audience through this site.
Download a screen recording program. To broadcast while playing a game, you need a computer screen recording and broadcast program. There are many programs available online, both free and paid, here are two popular free programs: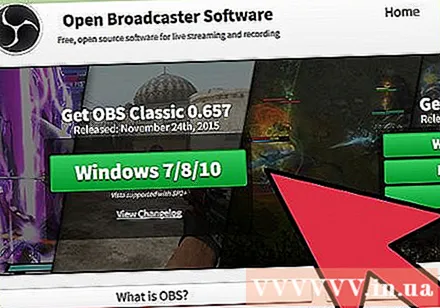
- FFSplit
- Open Broadcaster
Install the video card (optional). If you want to stream from a console console like Xbox One or PlayStation 4, you'll need to install your video recording card on your computer. This is a hardware device that connects to a gaming system to capture images from there. The computer will capture images and sound from the game console.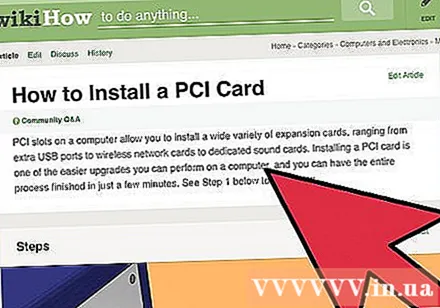
- You do not need to install this card if you shoot games to play on your computer.
- Installing a video card is similar to installing a graphics card.
Make sure your computer is powerful enough for broadcast. Streaming while gaming takes up a lot of system resources as you play the game while you stream it. Twitch recommends the computer should have the following configuration:
- CPU: Intel Core i5-2500K Sandy Bridge 3.3GHz or AMD equivalent
- Memory: 8GB DDR3 SDRAM
- Operating System: Windows 7 Home Premium or later
Link the software to your live stream account. Open the Service tab or menu in the live streaming software. Select a broadcast service from the list of available options. Programs like FFSplit have Twitch and Justin.tv built in.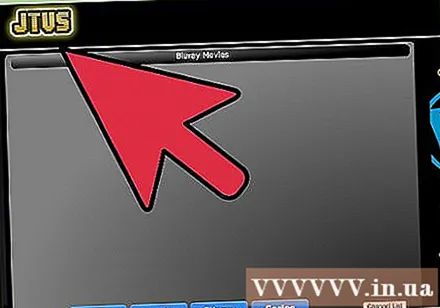
- Enter Stream Key. To start using the broadcasting software, you need to link your Twitch or Justin.tv account through the Stream Key. You can obtain the key on Twitch by clicking the Streaming Apps button on the Twitch website, then clicking Show Key. Copy and paste the displayed key into the corresponding field in the broadcast software.
- Choose a server. In FFSplit, you will see a list of servers below the Service list. Click the “Find Best Server” button to automatically find the best service for your location.
Choose an encryption option. In the Encoding menu, you can adjust the encoding settings, which will affect the video quality and streaming speed. Many programs and services recommend setting the game type and network speed.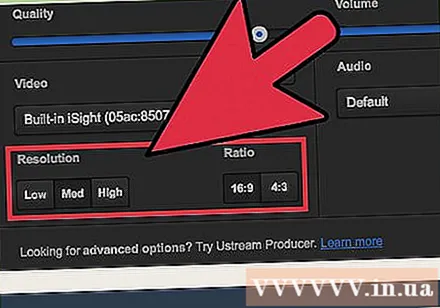
Try broadcasting a few times. This is a way to become familiar with the broadcast software and will help you check if the encoding setup is optimal. advertisement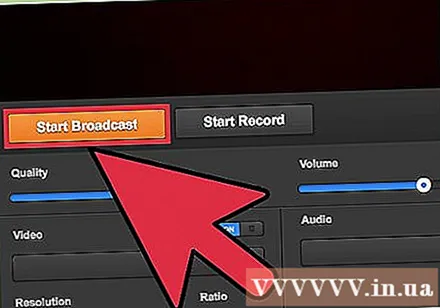
Method 4 of 4: Use Encoder
Download and install the encoder. An encoder is a program that converts an input (camcorder, screen capture card, mic, etc.) into video for online broadcasting. While many websites have built-in encoding solutions, using their own encoder improves video quality and gives you more control over broadcasting. You should use encoders with advanced broadcasts, for example a program that uses multiple cameras or needs good sound quality. There are many encryption programs out there, but most of them require a fee to access the full features.
- Open Broadcaster Software (OBS) is a free, open-source encoder that supports many advanced features. In this article, we will assume that you use OBS as it is the best free software available. OBS comes with configuration profiles for a number of popular streaming services.
- Wirecast is an encoder that allows you to quickly access the look and feel of streaming services like YouTube Live Streaming. The free version only allows to use one input camcorder.
- Flash Media Live Encoder (FMLE) is Adobe's product with many professional features, but the price is quite high. You can quickly access streaming services by downloading the FMLE profile that the service offers.
Decide the connection speed. This speed will determine the encoder quality so that viewers can watch the video clearly. You can check the connection speed at the address. Record the connection speed as you will need it.
- Read this tutorial to learn how to test your internet speed.
Open the Settings menu. Here, you will do the configuration for OBS.
Click the "Encoding" tab. This setting determines the quality of the live stream video, and depends on the internet speed.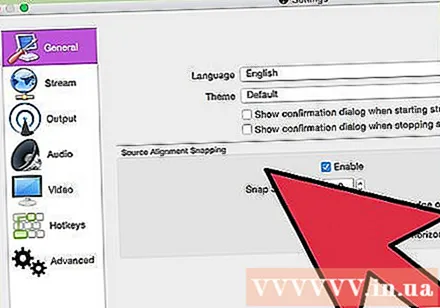
- "Max Bitrate" (Maximum Bitrate) is the maximum encryption speed. You should set it to half of the maximum upload speed. For example, if the maximum upload speed is 3 mb / s (3000 kb / s) you set the maximum bitrate to 1500 kb / s.
- Set "Buffer size" to the same maximum bitrate value.
Click on the "Video" tab. You can adjust the resolution and frame rate of the live stream video. These settings are highly dependent on the upload speed.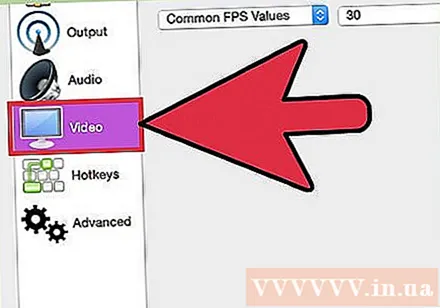
Set "Base Resolution" as shown on the screen.
Use the menu "Resolution Downscale" to change the resolution of the output video. Here are some recommended settings based on maximum bitrate:
- 1920x1080 (1080P) - 4500 kb / s
- 1280x720 (720P) - 2500 kb / s
- 852x480 (480P) - 100 kb / s
Set the FPS to 60 if the service allows. Some live streaming services only allow 30 FPS. YouTube and a few other services have begun to support 60 FPS videos.
Click the "Broadcast Settings" tab. This tab allows you to configure the connection to the live streaming service.
Select a streaming service in the "Streaming Service" menu. There are many preconfigured services available to help you reduce the number of URL copy and paste. If your service is not listed, select Custom.
Enter stream key / stream name. After starting a new live stream on the selected service, you are given a special code to paste into the "Play PAth / Stream Key" dialog box. This allows the service to receive video directly from the encoder software.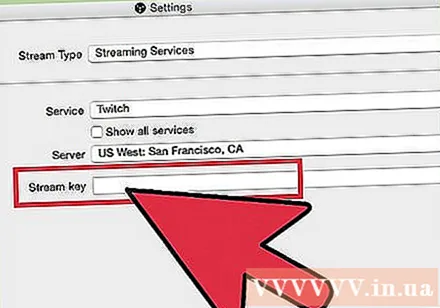
Exit the Settings menu.
Right-click the "Sources" dialog box and select "Add Sources". This allows you to add the input source for broadcasting.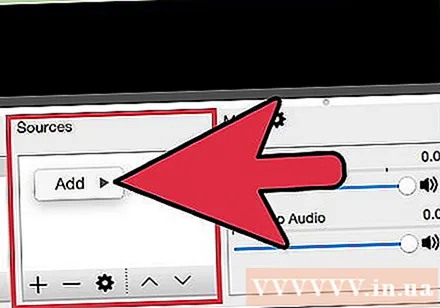
- If you want to broadcast from your computer monitor, select "Monitor Capture".
- If you want to broadcast from a webcam, select "Video Capture Device".
- If you want to broadcast from a video game card, select "Game Capture".
Conduct broadcast from the encoder first. Before broadcasting from other services, broadcast from the encoder. Once you've made sure all the functions work properly, you can send the video to the live streaming service. advertisement