Author:
Peter Berry
Date Of Creation:
20 February 2021
Update Date:
15 May 2024
Content
After connecting the Kindle Fire to the computer, we can copy e-books, videos, photos and other multimedia. This wikiHow teaches you how to access your Kindle Fire on a computer, as well as how to troubleshoot if your Kindle Fire fails to connect.
Steps
Method 1 of 3: Connect the Kindle Fire to the Windows computer
Connect the Kindle Fire to your computer via a micro-USB cable.

Unlock Kindle Fire. You can unlock the Kindle Fire by swiping the arrow on the screen from right to left.
Wait for the Windows computer to recognize the Kindle Fire. A window will pop up with Kindle device management options.
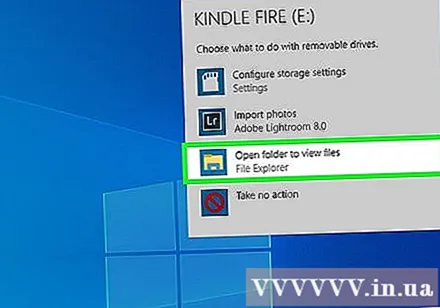
Click on “Open folder to view files”. A new Windows Explorer folder will open so you can view the data and content located on your Kindle Fire.- If the window doesn't pop up, click the folder icon located in the Task Bar to open Windows Explorer. Then you click Kindle good Fire under "My Computer" or "Computer" in the left sidebar.

Click the "Internal Storage" folder. After opening the Kindle folder on your computer, click the "Internal Storage" folder. This is where you will save the file to your Kindle.
Drag and drop files to Kindle. Use Windows Explorer to drag files from another location on your computer to your Kindle Fire.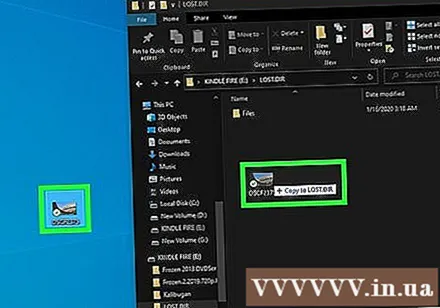
Click Disconnect (Disconnect) located at the bottom of the Kindle Fire screen.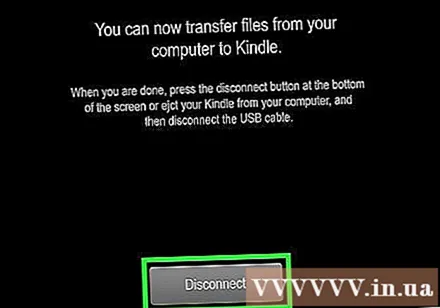
Unplug the micro-USB cable from the Kindle Fire. The Kindle Fire home screen will appear after the device exits the USB mode and is ready to use
Method 2 of 3: Connect the Kindle Fire to Mac OS X
Download the Android File Transfer app. To transfer files to Kindle Fire on Mac, you need to download the Android File Transfer app.
- See more online on how to transfer data from Mac to Android device and install the Android File Transfer application.
Connect the Kindle Fire to your Mac via the micro-USB cable. If your Mac doesn't have the right port, you can purchase an adapter online.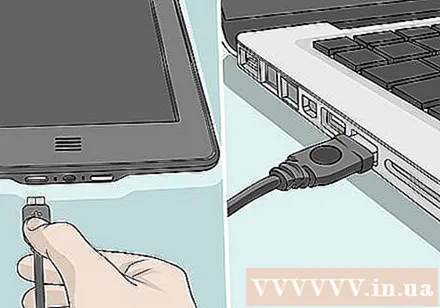
Swipe the arrow on the Kindle Fire screen from right to left to turn it on.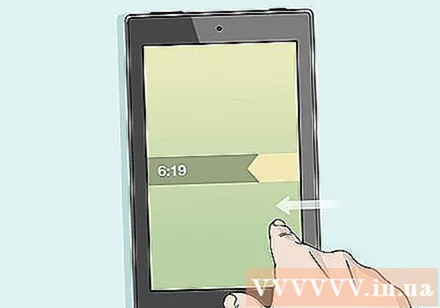
Wait for the Mac to recognize the Kindle Fire. An icon labeled "Kindle" or "Fire" will appear on your Mac screen.
Click the icon Kindle or Fire on the computer screen. Kindle Fire folders and files will appear in the Finder app.
Click the "Internal Storage" folder located in the Kindle Fire folder that appears when you click the icon on the desktop. This is where we will save files from the computer to the Kindle.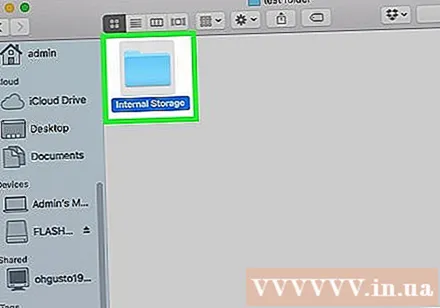
Drag media files and drop them onto Kindle Fire. You can drag the desired file and drop it into Kindle Fire in Finder.
Close Finder after copying data to the Kindle Fire. You can do this by clicking the red "x" in the upper left corner of the Finder window.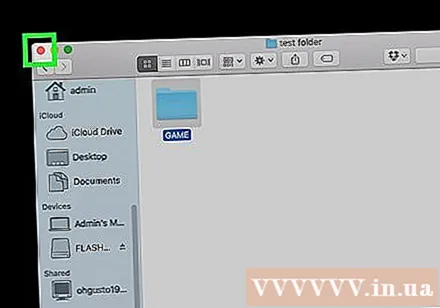
Disconnect the Kindle Fire. To do so, drag the Kindle icon on the desktop and drop it in the trash in the Dock. The trash icon will change to an "Eject" symbol.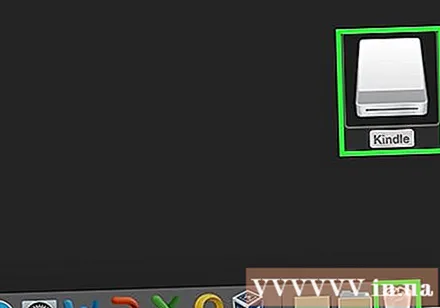
Disconnect the micro-USB cable from the Kindle Fire. The e-reader will be ready to use as soon as the home screen pops up
Method 3 of 3: Fix Kindle Fire not connecting issue
Disconnect the Kindle Fire. If the computer does not recognize the Kindle Fire as soon as you plug in the USB cable, try unplugging and reconnecting. Or you can change to a different USB port / cable.
Restart your Kindle Fire. If the computer still does not recognize the Kindle Fire, try connecting the device to the PC and restarting the reader while connected.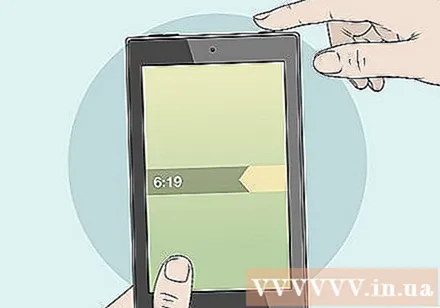
Update the driver (driver). On the Mac, you can update drivers and apps on the App Store. On the PC, we use the Settings menu to download the update, and find the specific driver in Device Manager. Make sure the USB driver is up to date.
Update the Kindle app on your computer. Some users reported that the Kindle Fire connection issue was fixed after they updated the Kindle app on the computer. You can download the latest version of Kindle for PC at.
Install the MTP USB driver. If the Kindle Fire still won't connect after you've gone through the basic processing steps, it may be missing the necessary drivers. Please perform the following steps to install the MTP USB driver.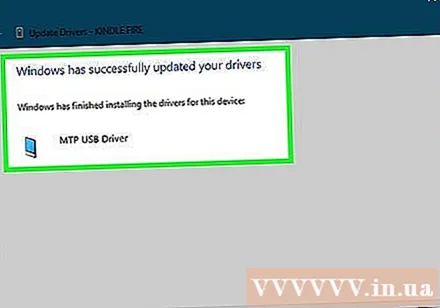
- Connect the Kindle Fire to your PC with a USB cable.
- Press "Windows Key + X"then click Device Manager.
- Click the menu View (View) at the top, then select Show Hidden Devices (Show hidden devices).
- Click to expand Portable Devices (Mobile device) in the Device Manager section.
- Right-click the Kindle Fire device and select Update driver (Driver update).
- Click Browse my computer for driver software (Browse on the computer for the driver).
- Click Let me pick from a list of available drivers on my computer (Choose from a list of drivers available on the computer).
- Click Portable Devices and click the button next (Next) in the lower right corner.
- Click MTP USB device and click the button next in the lower right corner.
- Click Yes to install the driver.
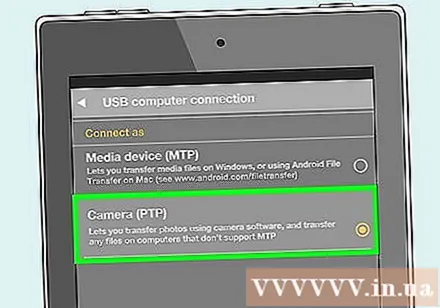
Connect the Kindle Fire as the camera. When you connect the Kindle Fire to your PC, use the drop-down menu and choose to connect the Kindle Fire as the camera. If you don't see this option in the drop-down menu, you can choose by opening the menu Setting on the Kindle Fire and click Storage. advertisement