Author:
Lewis Jackson
Date Of Creation:
9 May 2021
Update Date:
12 May 2024

Content
If you have never watched a movie or TV show with many audio tracks on VLC, you will have a lot of trouble choosing the sound for each episode. For example, your favorite Japanese anime keeps playing the Japanese audio version while you want to watch the movie with Vietnamese sound. However, the process of setting up the default language is quite simple. This wikiHow teaches you how to do that.
Steps
Method 1 of 2: Simple installation
Run VLC. Since we only changed the settings, you do not need to open the program with any files.
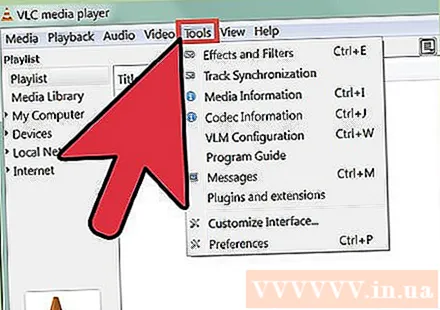
Select Tools from the options at the top of the window. A drop-down menu will open.
Select Preferences from the drop-down menu. A new window with a list of options will pop up.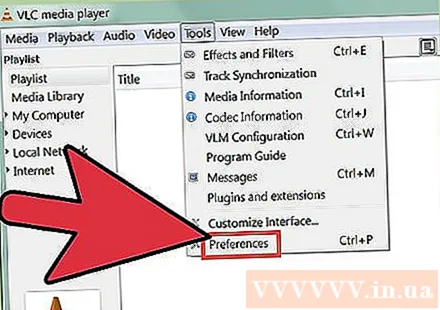
- Or, you can press CTRL + P to open the Preferences window.

Select the Simple setting. In the lower left corner of the Preferences window there are two options, make sure Simple is selected. This is the default setting, but you should check to be sure.
Select the Audio tab. Select the Audio tab from the left or top of the window. This option has a traffic cone wearing a headset.
Enter the desired audio language. Look for the Tracks title near the bottom of the list of audio settings. Then, you enter the language code that you want in the field next to the line "Preferred Audio Language" (the desired audio language). You can see more code list in this link: http://www.loc.gov/standards/iso639-2/php/code_list.php. Try with 639-2 encoder first, then 639-1 encoder if previous code didn't work.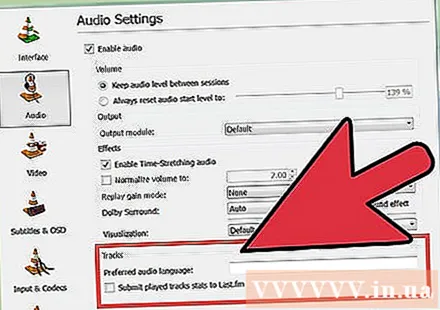
- English: eng
- Japanese: jpn
- Vietnamese: vie
Customize subtitles settings. If you want to install the default subtitles, you can do so in the same window. You will also see other subtitle customization options like font, font size, shadow, and so on.
- Click the caption tag in the top or left part of the window.
- Enter your language code in the field next to the "Preferred Subtitle Language." You can see more code list in this link: http://www.loc.gov/standards/iso639-2/php/code_list.php
Click Save. Click the Save button in the lower right corner of the screen. Changes will be confirmed.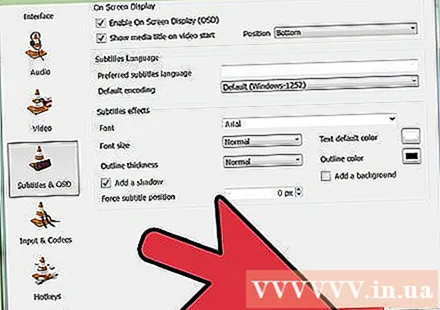
Restart VLC. To apply changes, you need to restart VLC. advertisement
Method 2 of 2: Advanced installation
Select all settings. On the Preferences window, select All in the lower left corner of the window. If the simple method doesn't work, then the audio might not work. In this case, you need to set the default audio track, you may have to try again and again until it succeeds.
Select Inputs / Codecs on the left side of the Advanced Preferences window. A new page with the title Inputs / Codecs will appear.
Change the number of audio tracks. If the file has multiple audio tracks, you may need to try several times to find the correct one. If there are only two audio tracks 0 or 1 will be the correct one. 0 is automatic if you do a custom reset; 1 is the supplement.
Enter the language. If the simple method didn't work then perhaps this step wouldn't change anything, but this will be your last chance. Enter the language code that you want to use in the input field next to the "Audio Language" heading. Here is the list of language codes: http://www.loc.gov/standards/iso639-2/php/code_list.php.
Change the number of subtitles. If you are still having trouble installing the default subtitles, try different number of subtitles.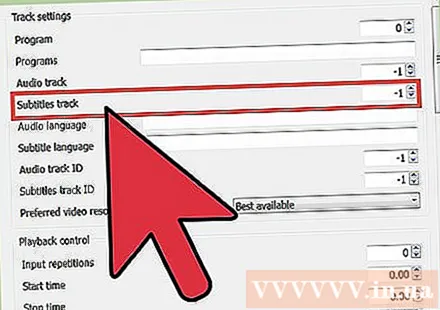
Click Save. Click the Save button in the lower right of the window to confirm the change.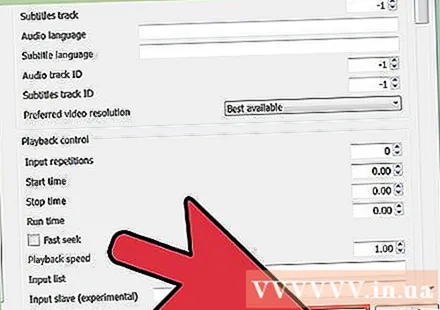
Restart VLC. You need to restart the program to apply changes. advertisement
Advice
- You need to be patient when doing this. This process can be daunting, but if it succeeds, it will save you a lot of time.
Warning
- Use caution when sharing videos over torrents.


