Author:
Monica Porter
Date Of Creation:
16 March 2021
Update Date:
15 May 2024

Content
Want to convert an Excel document to Microsoft Word? Excel does not have the ability to convert Excel files into Word files, and Word cannot open Excel files directly. However, tables and charts in Excel can be copied and pasted into Word and saved as Word documents. Here's how to insert an Excel table into a Word document.
Steps
Method 1 of 2: Copy and paste Excel data into Word
Copy Excel data. In Excel, click and drag to select the content you want to save into the Word document, then press the key combination Ctrl + C.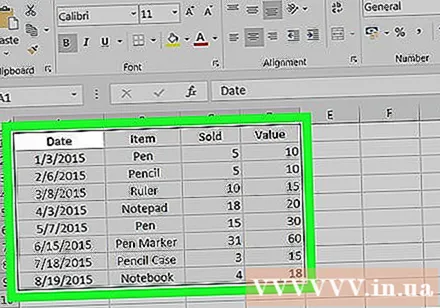
- Press Ctrl + A to select all of the data in the chart, and then tap Ctrl + C.
- You can also click your mouse on the Edit menu, then choose Copy.
- If you're on a Mac, press a key combination ⌘ Command + C to copy.
- In addition to copying and pasting Excel data, you can also copy and paste Excel charts into Word.

Open the Word program and paste the Excel data. In the Word document, move the cursor to where you want to paste the excel sheet, and then press Ctrl + V. So the excel sheet has been pasted into Word.- You can also click the Edit menu, and then choose Paste.
- For a Mac, tap ⌘ Command + V to perform a paste operation.

Choose a paste option. In the lower right corner of the table, click the Paste Options button to see the various paste options.- If you do not find the Paste Options button, your device does not have this feature activated. To activate, go to Word Options, select Advanced. Under Cut, Copy and Paste, check Show Paste Options buttons to add features.

Click the button Keep Source Formatting (Keep source format) to use Excel table style.
Or choose the button Match Destination Table Style (In the target program format) to use the Word table style.
Create a linked Excel table. There is a feature in Word that allows you to create links to other Office files. That is, if you make changes to the Excel file, the copied table in Word will also be updated. Click the Keep Source Formatting and Link to Excel button or the Match Destination Table Style and Link to Excel button to create a linked table. Excel.
- These two options are suitable for source formats for the other two paste options.
Click the button Keep Text Only (Keep content only) to paste Excel content without any formatting.
- When you use this option, each row will be on a separate paragraph, with columns of data separated by tabs.
Method 2 of 2: Insert an Excel chart into Word
In Excel, click your mouse on the chart to select it, and then press a combination of keys Ctrl + C to copy.
In Word, press Ctrl + V to paste the chart into Word.
Choose a paste option. In the bottom right corner of the table, click the Paste Options button to see the different paste options.
- Unlike pasting Excel data, there are two different sets of options on a chart to choose from. You can change a chart's data options, as well as formatting options.
Click the mouse Chart (linked to Excel data) (Chart (linked to Excel data)) to update the chart when the Excel file is updated.
Press the button Excel Chart (entire workbook) (Excel chart (whole workbook)) to allow opening Excel files from chart.
- To open the Excel file from the chart, right-click the chart, and then select Edit data. And the Excel source file will be opened.
Click on Paste as Picture (Paste chart as photo) to paste the chart as a static image, and the chart will not be updated when the Excel file changes.
Click Keep Source Formatting (Keep source format) to use Excel table style.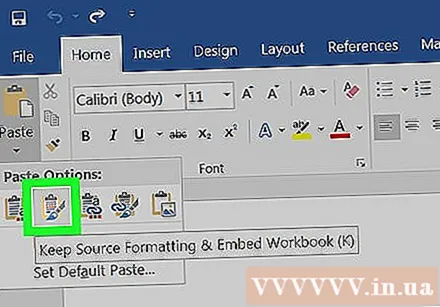
Select the button Use Destination Theme (By target program style) to use the Word table style. advertisement


