Author:
Judy Howell
Date Of Creation:
27 July 2021
Update Date:
1 May 2024

Content
People working in the medical field often use sterile gloves and need to know how to wear them correctly. By putting them on correctly, you can prevent the transmission and contraction of infectious diseases to both the patient and the healthcare provider. You can put on sterile gloves by making sure your hands are clean and then sliding them into the gloves.
To step
Part 1 of 2: Make sure your hands are clean
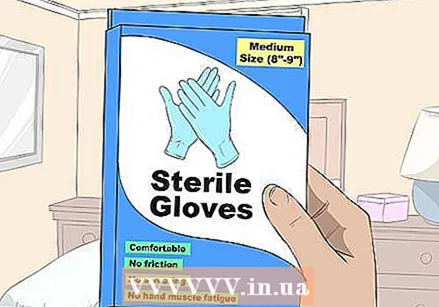 Choose the right glove size for you. Sterile gloves come in a wide variety of sizes. These can differ per company. Try out different sterile gloves until you find the right fit. When you have found the right fit, discard the gloves you tried and put on a new completely sterile pair. Check the following to determine when you are the right size for your hand:
 - The ability to move your hands comfortably
- No rubbing on your skin
- Little to no sweating
- Little or no hand muscle fatigue
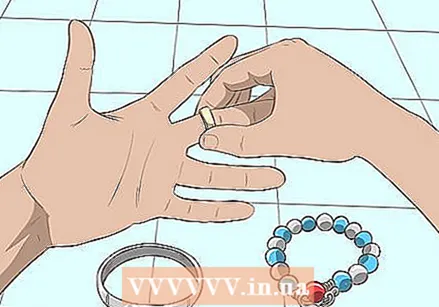 Remove your jewelry. While not necessary, consider removing rings, bracelets, or other jewelry from your hands. These can soil your gloves or make them difficult to put on and uncomfortable to wear. By removing your jewelry you also limit the risk of tearing.
 - Put your jewelry in a safe place where you can easily find it when you are done with your gloves.
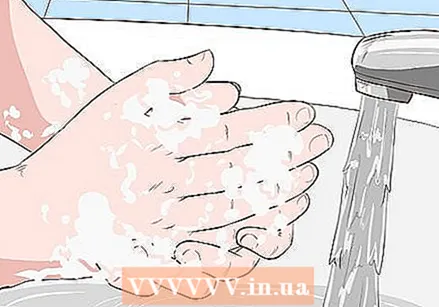 Wash your hands thoroughly. Before you touch your gloves or put on your sterile gloves, wash your hands first. Lather your hands with soap and water. Rub your hands under the stream of water for at least 20 seconds. Rinse your hands and wrists well and then dry them.
 - If you don't have soap and water, use an alcohol-based hand sanitizer.
- Some types of sterile procedures require you to use a different soap and scrub in a different way.
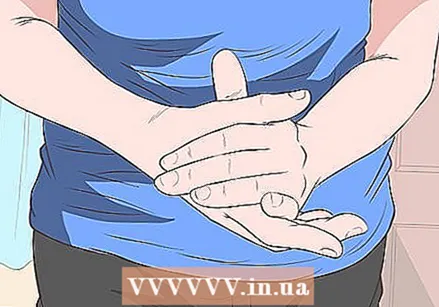 Keep your hands above your waist. When your hands are clean, don't let them fall below your waist. Keeping them above this level can reduce the risk of contamination. If your hands do fall below your waist, wash them again before putting on your gloves.
 - Standing upright can help keep your arms above your waist.
Part 2 of 2: Put on gloves
 Open the packaging of the sterile gloves. Inspect the packaging for tears, discoloration or moisture and discard if the packaging is affected. Open the outer wrapper of the package. Make sure to open from the top, then the bottom, and then the side. Remember you only have a 2cm margin that you can touch. This exposes the sterile interior of the packaging where the gloves are.
 - Note that sterile gloves also have an expiration date. Before putting on your gloves, check that they are not expired.
 Remove the inner wrapper. Take out the inner wrapper and place it on a clean surface. Make sure you can see both sterile gloves through the package to make sure you have opened the package properly.
  Pick up the glove in front of your dominant hand. With the hand you are not using for writing, take the glove in front of your dominant hand. Only touch the inside of the wrist of the glove (the side of the wrist that will stick to your skin). By putting on your dominant glove first, you can minimize the risk of tearing or contamination on the hand you probably use the most.
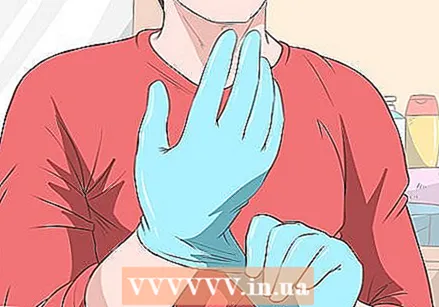
 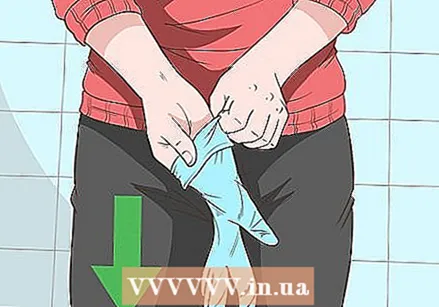 Put on the glove on your dominant hand. Let the glove hang with the fingers pointing down. Make sure your hands are not below the waist and above the shoulders to ensure sterility. Then slide your dominant hand into the glove with palm up and fingers open.
 - Do not forget to touch only the inside of the glove to avoid possible contamination.
- Do not make any adjustments until you are also wearing the other glove.
 Slip on the second glove. Insert the fingers of your gloved hand into the folded wrist of the other glove and lift it up. Keep your second hand flat and palm up, place the glove over your fingers. Then pull the second glove over your hand.
 - Raise your gloved hand to avoid touching your bare palm or wrist.
 Adjust your gloves. If you are wearing both gloves, you can adjust them. Reach under the wrist area of each glove to pull them on or make any other adjustments needed. Do not reach between the skin and the cuff. Smooth each glove onto your hands. They should feel good without cutting off your circulation or feeling uncomfortable.
  Check the gloves for tears. Examine each hand and glove thoroughly. If you notice any visible tears or anything else, wash your hands again and put on new gloves.
Warnings
- If you accidentally touch your skin or any other object while putting on the gloves, they are contaminated.
- If the gloves become soiled in any way, wash your hands again before putting on a new pair of sterile gloves.
- Learning how to put on sterile gloves is not easy and can be frustrating. Practice several times before performing any procedure that requires using sterile gloves.
- The above procedure is known as "open glove technique", which is intended for use without a gown. If you wear an operating gown (as in the operating room), you should not use an open glove technique, but a different method called "closed glove technique", which is required by formal policy in most medical institutions.
Necessities
- Clean workplace
- Alcohol-based soap or hand sanitizer
- Sterile gloves


