Author:
Morris Wright
Date Of Creation:
28 April 2021
Update Date:
14 June 2024

Content
- To step
- Method 1 of 4: Using rag rolls
- Method 2 of 4: Using curlers
- Method 3 of 4: Using a curling iron
- Method 4 of 4: Scrunch your hair
- Tips
Whether you want curly hair for a special occasion or for everyday wear, the chemicals in perms can do serious damage to your hair. Fortunately, there are ways to get bouncy curls, soft waves, or beautiful waves, without causing any damage. If you want a head full of beautiful curls without damage, use curlers, foam curlers, a curling iron, or by making your hair messy (scrunching).
To step
Method 1 of 4: Using rag rolls
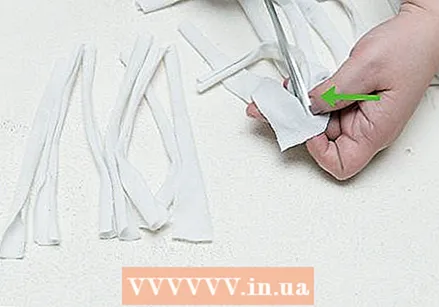 Make your own rag rolls. Rag rolls are an easy and affordable way to get those tight, bouncy curls you've always wanted. Take an old T-shirt or sheet and cut it into strips. Each strip should be about 2 cm wide and 12 cm long.
 - If you want extremely tight curls, you will need to make more rag rolls (about 15-20). If you want looser, bouncy curls, you'll need fewer rag rolls (roughly 7-10).
 Prepare your hair. Wash your hair to remove excess oils that can weigh down your curls. Your hair should be damp when you put it in the rag rolls, so don't let it dry completely. If your hair tends to have curl retention issues, put a little gel or curl-enhancing cream in your hair before putting in the rag rolls.
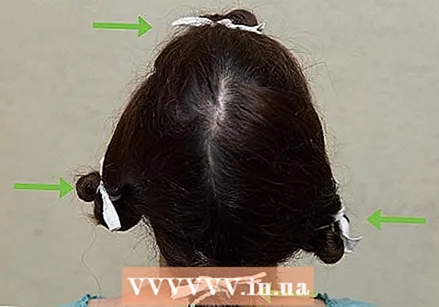
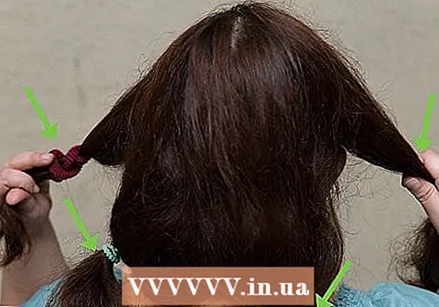
  Divide your hair into sections. It's easiest to put your hair in the rag rolls if you're working one section at a time. You need to divide your hair into four sections: the top, the back, the right side and the left side. Secure each section in place with a hair bow.
 - Start with the section on the top of your head. Once you are done curling the top section of your head, take the next section you want to work on from the headband. Continue in this way until each section of your hair is in the rag rolls.
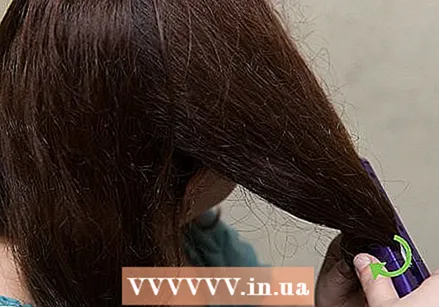
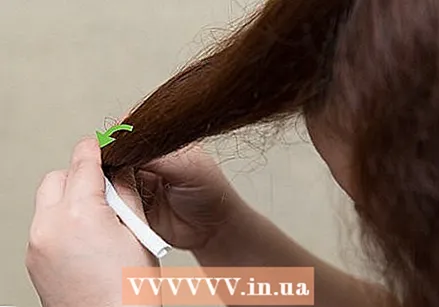 Roll your hair into the rag rolls. Take a 2-3 inch section of hair from the top of your head. Hold your strip of fabric perpendicular to your hair and wrap the ends of your hair around the patch 3-4 times. After you have wrapped the ends of your hair tightly around the patch, roll the patch upward toward your scalp.
 - Once you've rolled the curl all the way up to your scalp, tie a knot at the end of your curl bunch. You only need to make one knot - no need for a bow or double knot. Pull the ends of your fabric taut so your curl stays in place.
 Roll all your hair in the rag rolls until your entire head is covered. Make sure that every knot is pulled tight so that your rag rolls stay in place.
 - Let the rag rolls sit in your hair overnight.
- Tie a scarf around your head to prevent frizz while you sleep.
 Take the rag rolls out the next morning. Gently untie and unroll each piece of hair, one by one. Don't pull too hard on your curls because you don't want them to frizz. Start by grabbing the curls by your neck and work your way up.
 - If you have trouble straightening your rag rolls, you can cut them off with scissors. Be extremely careful when doing this as you don't want to cut your hair.
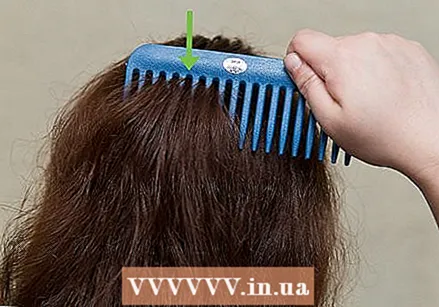
 Shape your curls. Depending on the look you're going for, brush out your curls or leave them in spirals. If you want a smooth, flowing effect, brush out your hair. If you like messy individual curls, lightly comb them through your hair with your fingers. Use hairspray to hold your hair in place.
Method 2 of 4: Using curlers
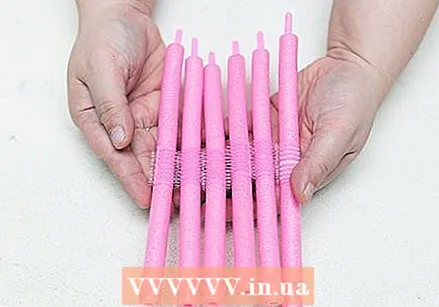 Buy your curlers. You may recognize these as the little pink curlers you've seen in movies or with your grandmother. They are super affordable and available at any beauty supply store. They come in many sizes, so get the size you want your curls to be.
 - Not all curlers are pink, it's just the most popular color. Any curler works fine.
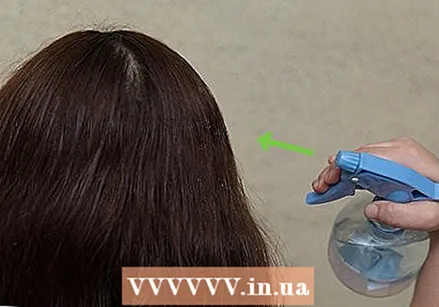 Wash your hair. Your hair should only be washed and still damp when you roll your hair in curlers. Your hair is more likely to hold the curl when it dries. If your hair has trouble holding the curl, add some gel or curl-enhancing product to your hair before rolling it into the curlers.
 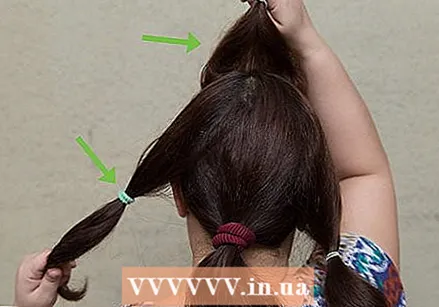 Divide your hair into sections. As with curlers, it is easiest to divide your hair into sections before putting in the curlers. There should be three sections of hair: the right side, the left side, and the center. Hold each section in place with a hair bow.
 - You start with the middle section of the hair, then move on to the sides.
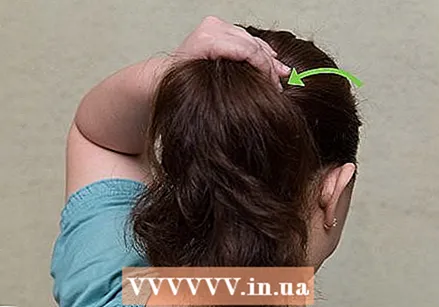
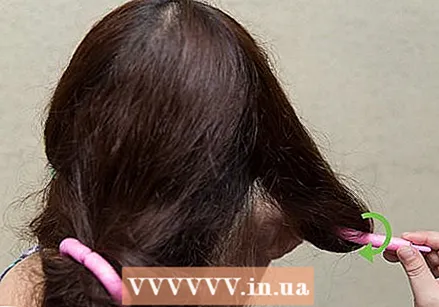 Put your hair in foam rollers. Start by opening the roller hinge so that the plastic clip is sticking out to the side. Start at your hairline and roll a 2cm section of hair around the roller all the way to the roots. Once you've reached the roots, close the hinge over the rolled-up hair and snap it into place.
 - Roll 2-3 cm pieces of hair in curlers up to the back of your neck. You will need 4-8 curlers for this, depending on the size of the curlers and the amount of hair you have. At this point, your curlers should have some sort of mohawk shape.
- After you are done with the middle section of your hair, roll the sides of your hair into curlers, starting at your temples and working your way back. You will need 3-8 curlers for each section.
- The bigger the curlers, the less you will need. The smaller the curlers, the more you will need. If you have thin or short hair, you will need fewer curlers. If you have long or thick hair, you will need more curlers.
- Tie a scarf around your head to keep your curlers in place at night.
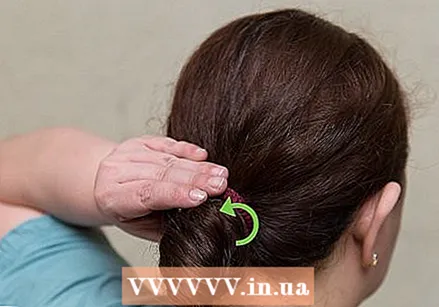
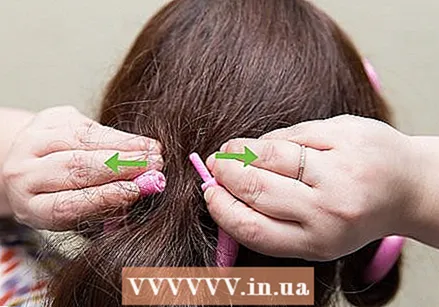 Remove the curlers from your hair the next morning. To loosen your foam curlers, loosen the hinge on each curler and gently unroll them one at a time. Start with the curlers at your neck and work your way up until all the curlers are out. Your curls will be bouncy and grow close to your head.
  Style your hair. If you want messy, short curls, don't brush out your hair. Instead, gently toss the curls with your fingers until you get the look you want. If you want luxurious waves and volume, brush out the curls. They will look big and bouncy. Finish your haircut with hairspray.
Method 3 of 4: Using a curling iron
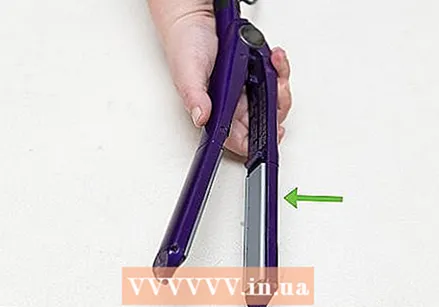 Choose your curling iron. The type of curls you want will determine the size of curling iron you should use. Do you want tight bouncy curls, or do you want luscious waves? Make sure to use the correct curling iron to get the results you want.
 - For tight and bouncy curls, use a 3/8 or 5/8 inch curling iron. These size curling irons give you tight spiral curls that beautifully mimic the look of a perm.
- For bouncy, bouncy curls that are bigger at your scalp and tighter at the ends, use a curling iron. A curling iron gives your hair a nice spiral curl.
- For full curls or defined waves, use a 1 inch curling iron. This size is recommended for shorter hair and is ideal for creating beach inspired hairstyles.
- For big, voluminous waves, use a 1.25 or 1.5 inch curling iron. This is an essential full wave curling iron that you can wear every day.
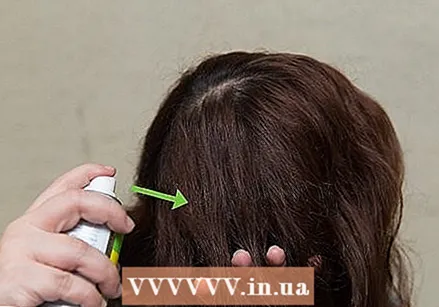
 Prepare your hair. Wash your hair to remove any excess dirt and oil that could weigh down your hair. Use a voluminous shampoo and conditioner to add body to your hair. While your hair is still damp, add a curl-enhancing product or mousse. This will help your hair to hold the curls.
 - How you dry your hair depends on how you want your curls to look. If you want natural looking curls, let your hair air dry before curling it. If you want full and voluminous curls, blow dry your hair before curling it.
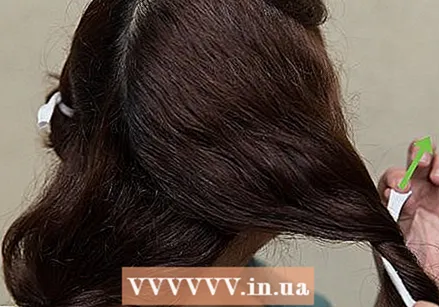
 Divide your hair into sections. Dividing your hair into sections will make it much easier to curl your hair. Pull up the top half of your hair and secure it with a clip or hair bow so that you can curl the bottom half of your hair first.
 - Before dividing your hair into sections, plug in your curling iron so it has time to heat up.
 Curl your hair. Once your hair is completely dry, it's time to curl it. Starting with the bottom part of your hair, take small strands of hair at a time. Do not curl your hair by clamping it in your curling iron and rolling it upwards. Instead, hold the curling iron in place and wrap your hair around it. Start close to your roots and wrap your hair around the curling iron away from your face. Hold the bottom 10 cm of your hair in place for 10 seconds. Then let go of your hair and gently pull the curling iron away from your hair. Do this with each strand of hair, until the bottom half of your hair is curled.
 - Loosen the top part of your hair and grab the first piece you want to curl. Curl the top of your hair the same way you curled the bottom. Start at the roots and wind small pieces around your curling iron. Continue until you have curled all of your hair.
 Style your curls. If you want to keep your curls defined, flick your hair slightly with your fingers to give it a more natural look. If you want tight curls with lots of volume, comb out your curls with a wide-tooth comb.
 - Leave your hair alone until it feels cool before touching or combing through your curls. Trying to style it too soon after curling can cause hair to straighten.
- Complete your look by spraying your curls with hairspray.
Method 4 of 4: Scrunch your hair
 Scrunch your hair. The scrunch method creates curls, curves and volume in your hair, and doesn't require much technique to master. Scrunching is similar to crumpling a piece of paper, done with damp hair.
 - After you wash your hair, scrunch your hair while it is still damp. Pinch small sections of your hair between your fingers, tucking the ends towards your roots. Look here for a more detailed explanation:
 Apply hair product for more structure. Scrunching your hair relies heavily on products such as volumizing mousses, strong gels and curl-enhancing creams. Apply these products to your damp hair before scrunching to keep bends and curls in place.
 - To apply these texture products, rub a dime-sized amount into your palms and work the product into your hair. You can use a few products, as long as you use small amounts of each.
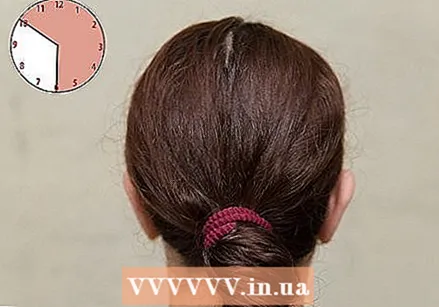 Put your hair up for the night. You can do this by putting your hair in a scrunchy bun (or buns, if you have a lot of hair), or by folding your crumpled hair into a head scarf or buttoned T-shirt. Do not leave any of your locks outside of the bun (s) or T-shirt.
 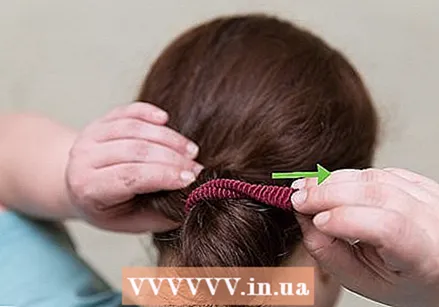 Let your hair hang. If you have the time, let your hair scrunch at night. This way it dries in place and keeps more shape. If you don't have all night, blow dry your hair while it is held in place by your buns. Once you loosen your hair, it should have a wavy, curly look.
Tips
- If you don't want to wait overnight for your curls to dry, blow-dry them after you've put all of your hair in the rollers. While this does give you some curl, it's not as effective as sleeping in curlers overnight.


