Author:
Frank Hunt
Date Of Creation:
20 March 2021
Update Date:
15 May 2024
Content
- To step
- Part 1 of 5: Using a cast iron frying pan
- Part 2 of 5: Preparing the dough
- Part 3 of 5: Baking the bread on the stove
- Part 4 of 5: Using a hay box
- Part 5 of 5: Baking a flatbread in a skillet
- Tips
- Warnings
- Necessities
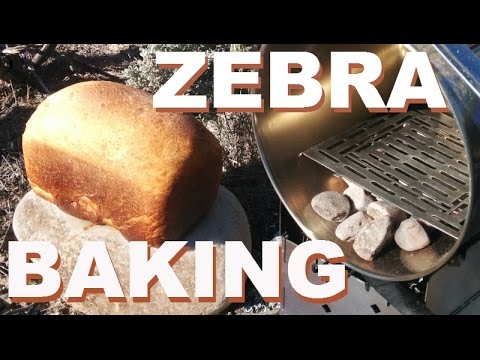
Baking bread on the stove is a good alternative to the oven. Baking on the stove can save energy, but can also be a useful alternative if an oven is not available. This method can be used at home, camping or on a boat to quickly have a fresh loaf of bread on the table.
To step
Part 1 of 5: Using a cast iron frying pan
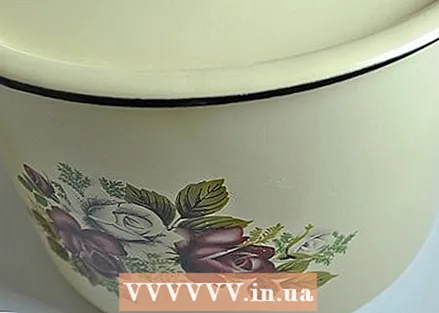
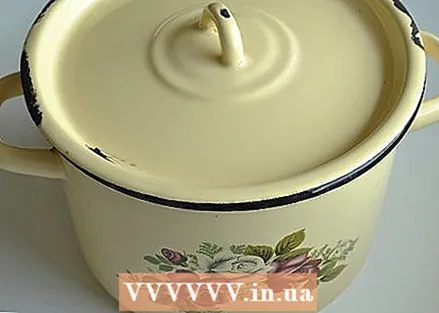 Start with a large pan. The heavier the material, the better. You cook dry, so cast iron is best. If you choose to use something lighter, such as aluminum, consider using this pan only for stovetop frying, as the bottom will likely burn a little.
 - Most cast iron frying pans have a capacity of 5-7 liters and are large enough to bake a loaf of bread.
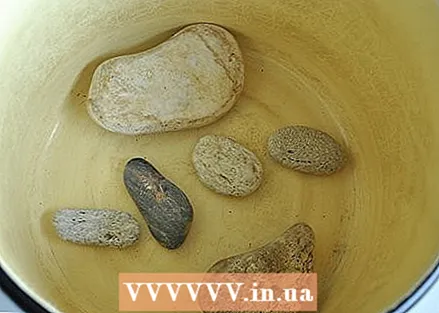 Make a thermal ballast. Place something on the bottom and center of the pan. This will be the base that your bread pan will rest on so that air can flow around it. It also ensures that the pan cannot come into direct contact with the worst heat, to minimize burning of the bottom of the bread.
 - Try it with some broken pieces of thick tile. Flat or small round stones can also work well.
- Another option is to reuse an empty fish can. Make sure the paper is removed and place it on the bottom of the pan.
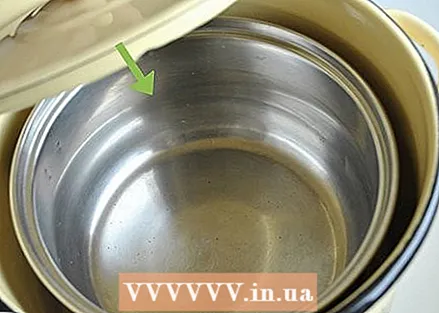
 Find a bread pan that will fit in the cast iron frying pan. You can use a Pyrex bowl or an equivalent (not a regular glass) bowl that can withstand the heat. Other options include a metal or ceramic bread pan. Place the mold in the cast iron frying pan on top of the stones. If you're using a rectangular loaf pan, make sure the long sides fit in your pot. The dish should not exceed the edge of the cast iron frying pan.
 - The bread pan should not fit too tightly. You need space for the air to flow all the way around it.
 Place a lid on your cast iron frying pan. This lid should provide enough room for the loaf pan to fit while at the same time leaving room for the bread to rise over the top of the pan. Test the lid with a loaf pan in the larger pan.
 - If you are having a hard time finding a lid that fits, try using another pan that is large enough to cover the top of the pan.
 Make sure the lid stays put. It's important to do everything you can to keep as much heat in the cast iron frying pan as possible. As the heat rises, it is useful to cover the lid or pan with a second lid to force the heat back into the pan. If the lid has a steam hole, try to find a stainless steel bolt, washer, and nut that will fit inside.
Part 2 of 5: Preparing the dough
 Gather the ingredients. For a basic bread you need 375 grams of flour, a teaspoon of active dry yeast, two teaspoons of salt and 400 ml of warm water. These are the basic ingredients, but you can add spices to taste. Some suitable herbs are, for example, rosemary or thyme.
 - For smaller loaf tins, you can halve this recipe if necessary.
 Mix your ingredients in a mixing bowl. Mix the dry ingredients together before stirring them in the warm water. Flip the dough until completely mixed. The dough should be slightly sticky.
 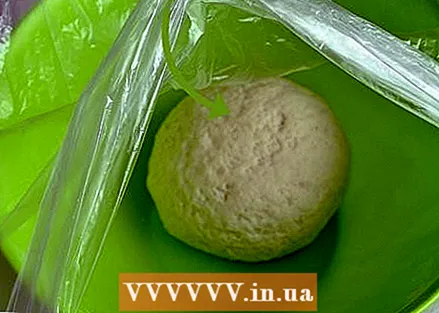 Let the dough rest. Cover the bowl with plastic wrap and let it sit on the counter for 18-24 hours. The yeast makes the dough rise during this time. It can also create visible air bubbles on the surface of the dough.
  Finish the dough. Remove it from the bowl and place it on a floured surface. Fold the ball of dough in half and tuck the edges underneath. Wrap this dough in a floured kitchen towel and let it rise for another two hours until you can put your finger in about an inch and the dough bounces back.
Part 3 of 5: Baking the bread on the stove
 Heat the pan. Place the cast iron frying pan on the largest burner. Place the thermal ballast on the bottom of the pan and cover it with both lids. Set the burner on high heat. Let the heat develop in the pan for five minutes. After five minutes, lower the temperature to just above average.
  Put the dough in the floured bread tin. Make sure all parts of the inside of the mold are covered with flour. It is helpful to rub oil or lard on the inside so that the flour sticks to it, then add some flour and shake the mold until it is completely covered on the inside. The dough should fit snugly in the pan. The dough will rise even further during baking, so it should not rise above the edge of the tin.
 - Another option for covering the mold is with oatmeal. Pour the oil over the bottom and sides of the tin, then sprinkle in finely ground oatmeal. Turn the mold around and shake it until all sides are covered with oatmeal.
 Place the mold in the pan. Using an oven mitt, remove the lids from the pan and set aside on a heat-resistant surface. Carefully place the bread pan in the center of the pan, avoiding the hot sides. Make sure there is enough room on all sides of the mold for heat to surround it.
  Bake the bread. Place both lids back on the pan using oven mitts. Bake the bread for about 30 minutes. After 20 minutes, check if the bread appears to be crusty. The top of the bread will not brown, but it should no longer be soft and doughy once baked.
  Place the bread on a cooling rack. Remove the lids and mold from the pan using oven mitts. Gently shake the bread out of the pan. It should fall out easily because you have floured the mold. The bottom of the bread will be noticeably darker than the top.
 - If you don't have a cooling rack, you can cool the bread on another heat-resistant surface such as a plate.
Part 4 of 5: Using a hay box
 Start the baking process on the stove. Place the pan on the stove with the bread pan in the pan and on the thermal ballast. Cover the pan and heat at a high temperature for 15 minutes.
 - Expect a few failed loaves of bread that are undercooked in the middle, or overcooked. If your equipment is different from the picture, the cast iron frying pan can provide more or less heat. The baking time may need to be adjusted.
 Finish baking in your own version of a haybox. The idea of baking in a haybox is that enough heat has built up in the pan. Completely insulating the pan ensures that the heat does not escape and that the bread can continue to cook.
 - Remove the pan from the stove with oven mitts. Instead of baking the bread on the stove, gently cover the pan with insulating material such as blankets or sweatshirts to create a haybox.
- Make sure to use a sustainable natural fabric such as cotton. Synthetic material can melt from the heat of the pan.
- If it's a sunny day, place the haybox in the sun for a little extra warmth.
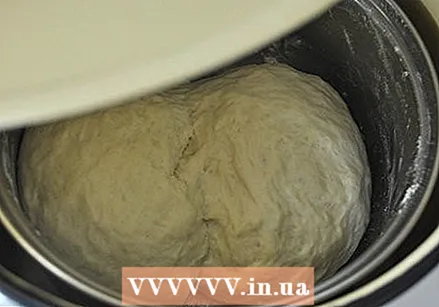
 Leave the pan in the haybox for at least an hour. Three hours gives a better chance of success and will only benefit the bread. When the time is up, or if you're just too hungry to wait, gently open the pan.
  Slice the bread and check that it is well cooked in the middle. If it's overcooked and dry or burnt, or if it's not done and still doughy in the middle, make a note and adjust the time on the stove for the next time you try to bake another loaf this way . When it turned out perfect, like here in the picture, enjoy the reward.
 - You have saved up to 80% of the fuel it takes to bake the same bread in the oven.
Part 5 of 5: Baking a flatbread in a skillet
 Make the dough. Stir 2 1/4 teaspoons of instant yeast and two teaspoons of sugar into 180 ml of warm water. Let this stand for five minutes, while you pour 250 grams of flour and a teaspoon of salt into a large mixing bowl. Pour the other ingredients and a tablespoon of olive oil into the mixing bowl and mix thoroughly until there are no dry spots and the dough is sticky.
  Finish the dough. Move the dough from the bowl to a flat floury surface and knead for 10 minutes. Oil the bowl to prevent the dough from sticking and return the dough to the bowl. Cover the bowl and let the dough rest for 30 minutes.
  Form the dough. Break the dough into six pieces. Roll each piece into a ball in the palm of your hand, then place it on a floured surface. Roll the dough into a circle using a rolling pin. It should be about 20 cm in diameter.
  Prepare your pan. Heat a skillet on the stove. Reduce the heat to halfway and let the skillet heat up. A cast iron skillet works best to give off the heat evenly. If you don't have a cast iron skillet, you can use any pan. Brush the bottom of the pan with oil or butter.
  Bake the flatbread. Place a slice of the dough in the pan and bake for 30 seconds. Use a spatula to turn the bread. Cook the other side for 1.5 minutes, then flip again and cook the first side for another 1.5 minutes. Set the baked flat bread aside in a kitchen towel while you repeat this process with the other five circles of dough.
 - The bread should rise during baking.
- Each side should have small brown spots after baking.
Tips
- This can work on any heat source including a campfire, and this setup is much lighter to carry than a cast iron pan. Look for stones as ballast on the campsite.
Warnings
- If you are using glass, make sure it is Pyrex or a similar heat resistant glass, and be aware that even Pyrex can explode violently if used directly on the hob.
- If you take the pan off the stove after the cooking time has passed, remember that the pan could be 150 degrees Celsius or more. So very hot! Use leather gloves, potholders or the equivalent, and test first by grasping the pan without lifting it.
- Some stones may contain water if they are cracked or porous, which could cause them to burst in the pan and break the inner bowl or glass lid, causing possible injury. Choose whole, hard and dry rocks or dense igneous rock.
Necessities
- Enameled cast iron pan or something with similar thermal properties (insulating, retains heat), with a tight-fitting lid.
- Something to use as thermal ballast: broken tiles, stones, maybe even gravel or sand.
- Pyrex bowl or bread pan that fits into the pan without touching the sides. A ceramic bowl can also work, or use a standard metal bread pan.
- Your favorite bread recipe.
- Insulation materials for the haybox after cooking: clothing (not synthetic), a suitcase or travel bag (but without plastic).


