Author:
Charles Brown
Date Of Creation:
7 February 2021
Update Date:
16 May 2024
![[GUIDE] How to Make a Brochure on Google Docs very Easily](https://i.ytimg.com/vi/7wUHEIQ_hf8/hqdefault.jpg)
Content
- To step
- Part 1 of 3: Setting up the document
- Part 2 of 3: Making the cover page
- Part 3 of 3: Making the panels on the inside
This wikiHow shows you how to create a brochure with Google Docs.
To step
Part 1 of 3: Setting up the document
 Decide what your brochure should look like. Brochures come in all shapes and sizes. Do you want yours to be letter size, multi-page, or tri-fold for an envelope? Do you mainly want text or pictures? It is usually a good idea to sketch and preview blank pages before starting.
  In a web browser, go to http://docs.google.com.
- Log in with your Google email address and password, when prompted.
 Click on the blue one ➕ in the top left corner of the screen to create a new document.
- If you prefer to use a template from Google, rather than your own brochure, click the "Template Gallery" in the top right corner of the screen, scroll down to the "Work" section and choose a template for a brochure.
- If you don't see any templates at the top of your screen, click ≡ in the top left corner, click "Settings" and tick "Show recent templates in home screens".
 Click "New Document" in the top left corner of the screen.
 Type a name for your brochure.
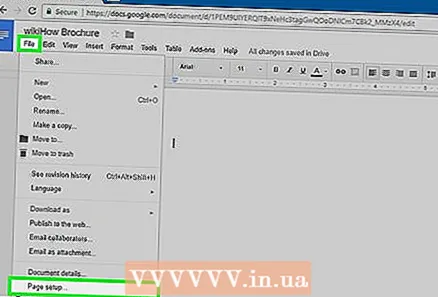 click on File in the toolbar and on Page Settings…. This will open a dialog where you can set the dimensions of the paper, orientation and margins.
  Adjust the page settings. Do that so that they match the brochure you want to make.
 - For example, if you are making a standard duplex tri-fold brochure, you should adjust orientation to 'Landscape', leave the page size at 'A4' and leave the margins on all sides at 0.75 cm - margins of 1.50 cm provide a lot of wasted space when the page is folded in three.
 click on OK.
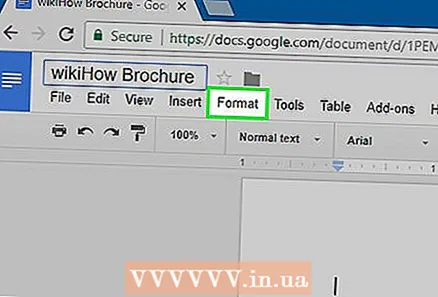 click on Formatting on the toolbar.
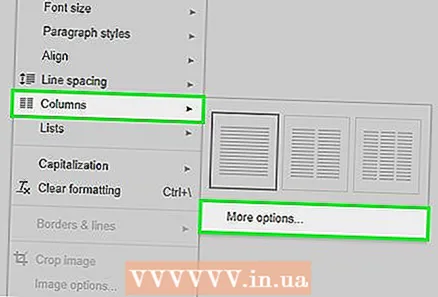 click on Columns and More options…. This opens a dialog where you can set the number of columns in your document and the space between them (the "gutter").
 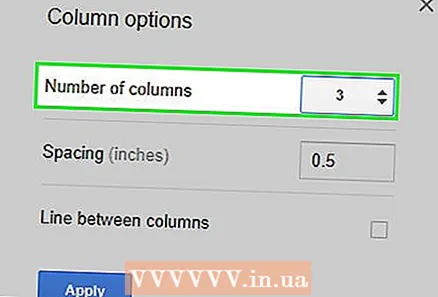 Set the number of columns. Do it as you would like it to be in the brochure you are making.
 - Continuing with the tri-fold brochure example, set the number of columns to 3 and the gutter to 1.5 cm - when folded, each panel now has a margin of 0.75 cm on all sides.
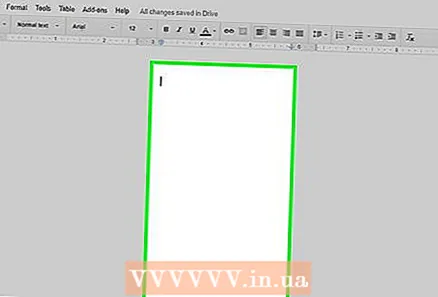
 Click on the top line in the first column.
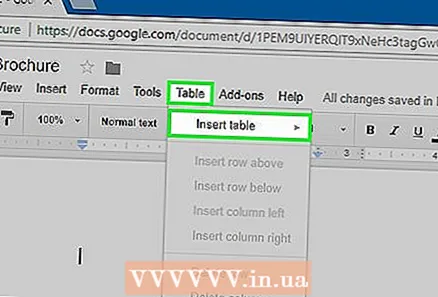 click on Table on the toolbar and on Insert table.
 Click on the first square (1x1) in the drop-down menu.
 Click on the table border and drag it to the bottom of the first column.
- Repeat these steps for all columns in the brochure.
Part 2 of 3: Making the cover page
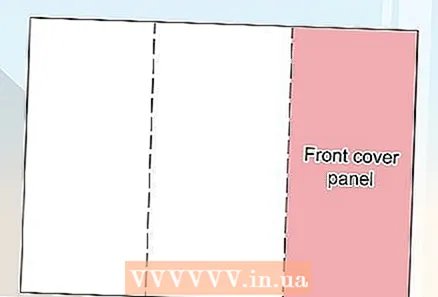 Find the panel with the cover sheet. Because of the way double-sided printing works, the location of the cover of your brochure will depend on the number of pages or folds you have.
 - The front cover of a tri-fold brochure is the rightmost column on the first page.
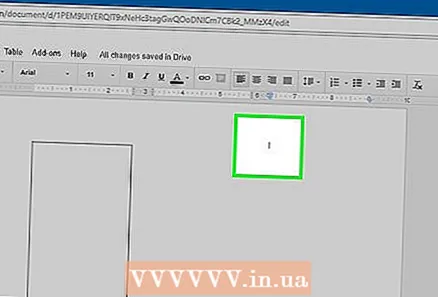 Click at the top of the front cover panel.
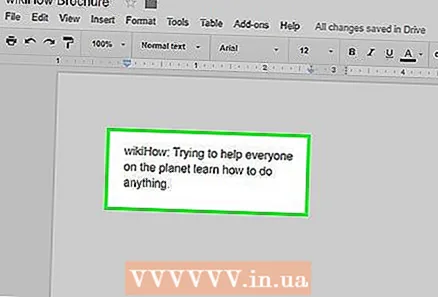
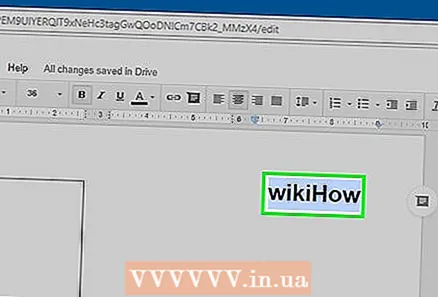 Type a headline or title for your brochure. A heading is normally text that is larger and bolder than the rest of the document.The headline on the front cover is usually the largest and boldest in the brochure. It is usually a catchy or informative text.
 - Use the tools on the toolbar to adjust the style (bold, italic, underline), color, size, and alignment - headings are usually centered - of the heading.
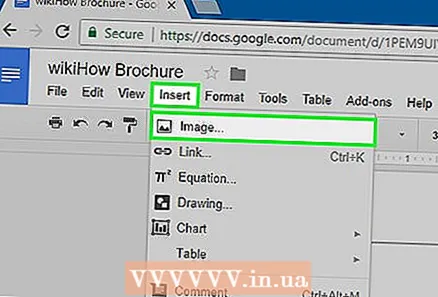
 Add an image. A strong cover image is important to convey the purpose of the brochure, as well as to grab the attention of readers.
 - To add an image, click "Insert" on the toolbar and then click "Image ...".
- Choose or take an image, and use your mouse or trackpad to move and resize it.
- Click on a wrap option. In the tri-fold brochure example, you want to wrap the text around the images, so you click "Wrap Text" at the bottom of each image you insert. "Break text" means that the text stops above the image and continues below it. This is also a reasonable idea, especially on the small panels of a tri-fold brochure. "Inline" basically means that the image is pasted in the middle of the text, in the case of a brochure, which can lead to formatting problems.
 Find the back panel. Because of the way double-sided printing works, the location of the cover of your brochure will depend on the number of pages or folds you have.
 - The back of the brochure in threes is the center column of the first page.
 Click on the back panel.
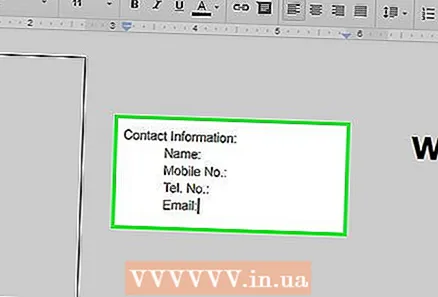 Add contact information. The back of a brochure often contains information about the next steps or how to contact the organization that published the brochure. Sometimes it is designed as a dispatch panel, so that the brochure can be mailed without an envelope.
  Add an image. Graphics on the back help ensure that the brochure looks good and that people will pick it up.
Part 3 of 3: Making the panels on the inside
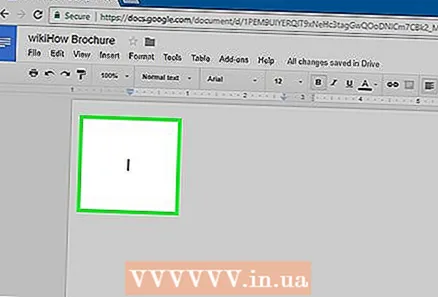 Click on the first inner panel. This is where you start to add the text and images, which are the core of the informational ones you want to convey through the brochure.
 - In the tri-fold example, this can be either the left-most panel on the second page or the left-most panel on the first page, as these are the two panels readers see first when they open the brochure.
 Type or paste the text of the brochure into the text boxes.
 Adjust the text. To do this, highlight the text with the cursor and use the tools at the top of the screen.
 - Headings above articles are often in bold or italics, and sometimes in a different font than the text of a section of the brochure.
- Normal text is usually in a 10- to 12-point font. Heads are generally larger.
- Use the alignment buttons to align the text.
- Regular text in columns is usually left justified or justified.
- Headings are normally left justified, centered, or justified.
 Add images. Pictures help to emphasize what is said in the text and to help the reader's eyes move through the brochure.
 - To add an image, click "Insert" on the toolbar and then "Image ...".
- Choose or take an image, and use your mouse or trackpad to move and resize it.
- Click on a wrap option. In the tri-fold brochure example, you want to wrap the text around the images, so you click "Wrap Text" at the bottom of each image you insert. "Break text" means that the text stops above the image and continues below it. This is also a reasonable idea, especially on the small panels of a tri-fold brochure. "Inline" basically means that the image is pasted in the middle of the text, in the case of a brochure, which can lead to formatting problems.
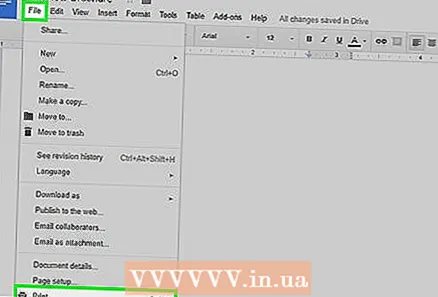 Print or share the file. When you are ready to print the brochure, click "File" on the toolbar and "Print". From the file menu you can also download the document in a different format or e-mail it to a print shop or colleagues.
 - Google Docs automatically saves the file.


